Catching Up, Part 2: Boatyard

Round two of this set of blog updates, this is the chapter I like to refer to as “Dust, Pain and Exhaustion: Oh God, Not Another Boatyard”, or perhaps “How I Spent My Summer Vacation: Part Four”. It was a couple of months of hard labour in unpleasant working conditions, but we got through it and have a stronger, faster, more capable boat as a result.
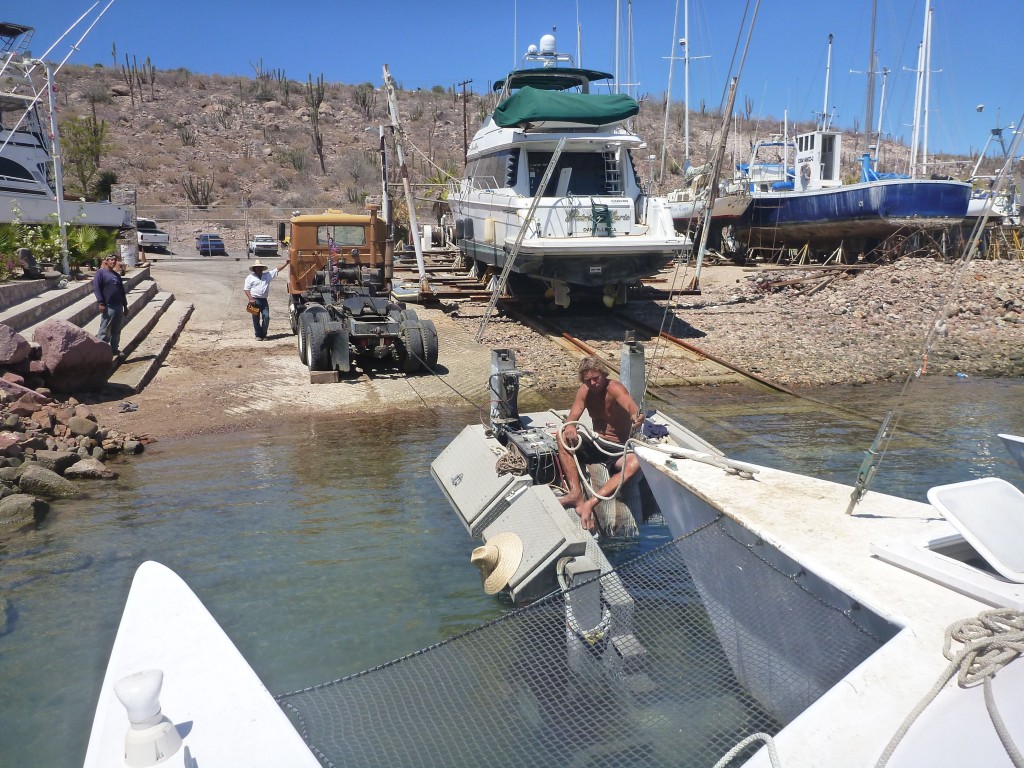
 

first time hauling out on a trailer

We hauled out at ‘Talleres Navales Bercovich’, under the supervision of the main boss, Abel. That’s not Abel on the trailer – that’s Mark, or ‘Tarzan’, who was a great deal of help to us tracking down materials and figuring out random problems.
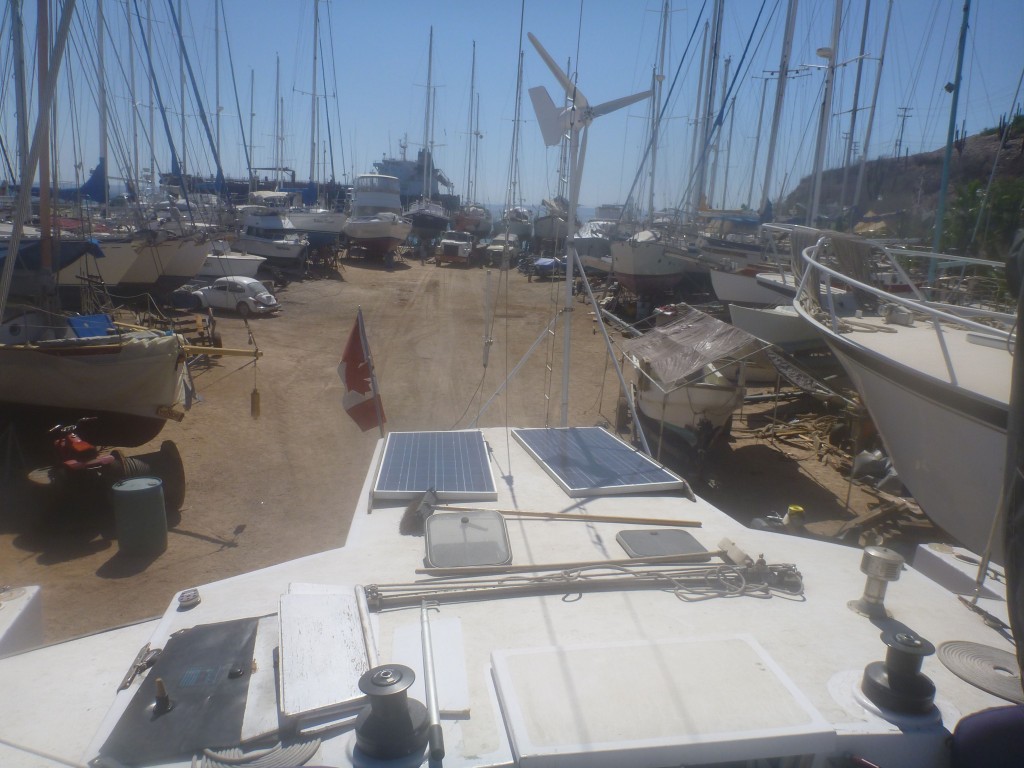
 

you're going to back us through that?!
you’re going to back us through that?!

The guys in the boatyard were extremely capable with their equipment, and managed to back us through about a hundred meters of very, very cramped quarters between many other boats being stored for the summer months.
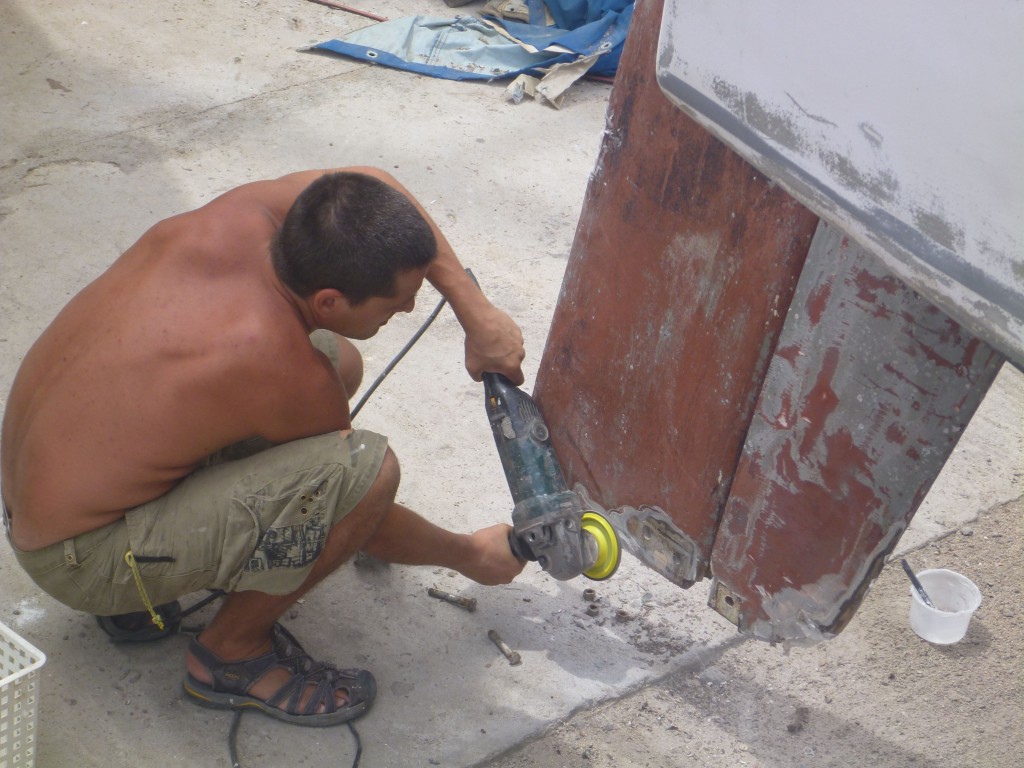
 

we must have hit the rocks at some point

Once we had the bottom powerwashed and the boat blocked, we got started – clearly we had hit the bottom at some point. Whether it was dragging anchor in Tsehum Harbour in Sidney BC, or maybe when we dragged anchor in the A9 anchorage in San Diego, at some point we tore a bunch of fiberglass off the bottom of the rudder and the skeg on which it was hung. Time to grind it out and patch it over with new glass.
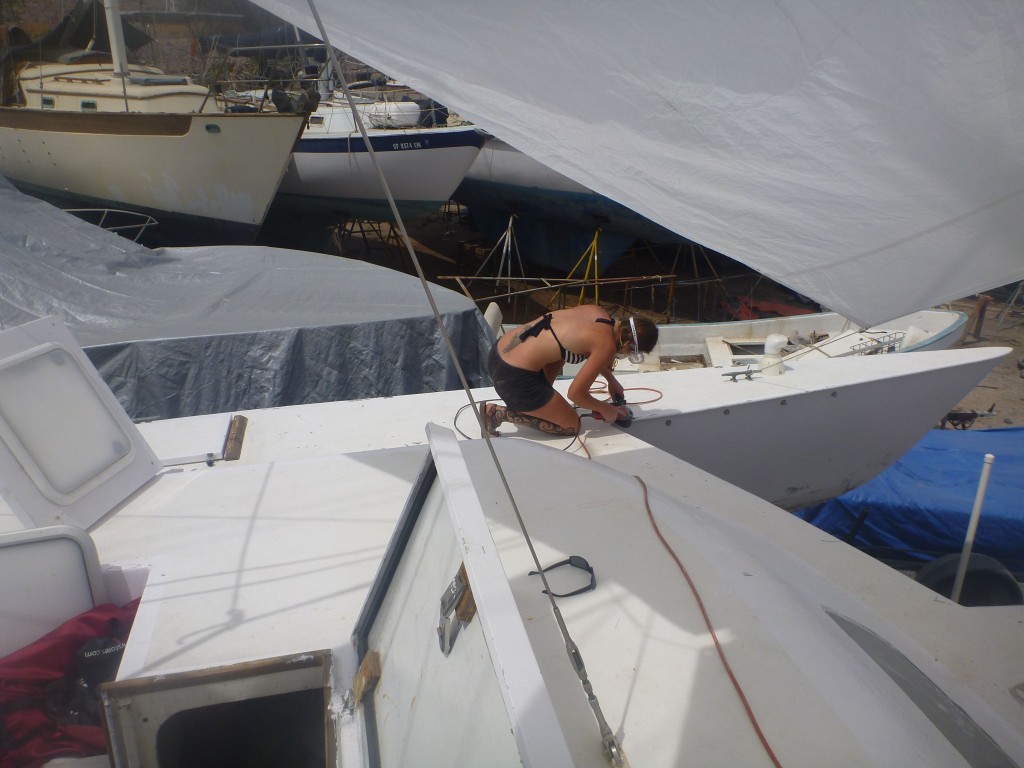
 

Miya grinding fiberglass in the sun

Miya took on the topsides as her main project – there were dozens of places where the 25-year-old fiberglass had cracked from expansion or been worn through or damaged, and each of those spots would have to be ground out, fiberglassed, sanded, faired, sanded, primed and painted.
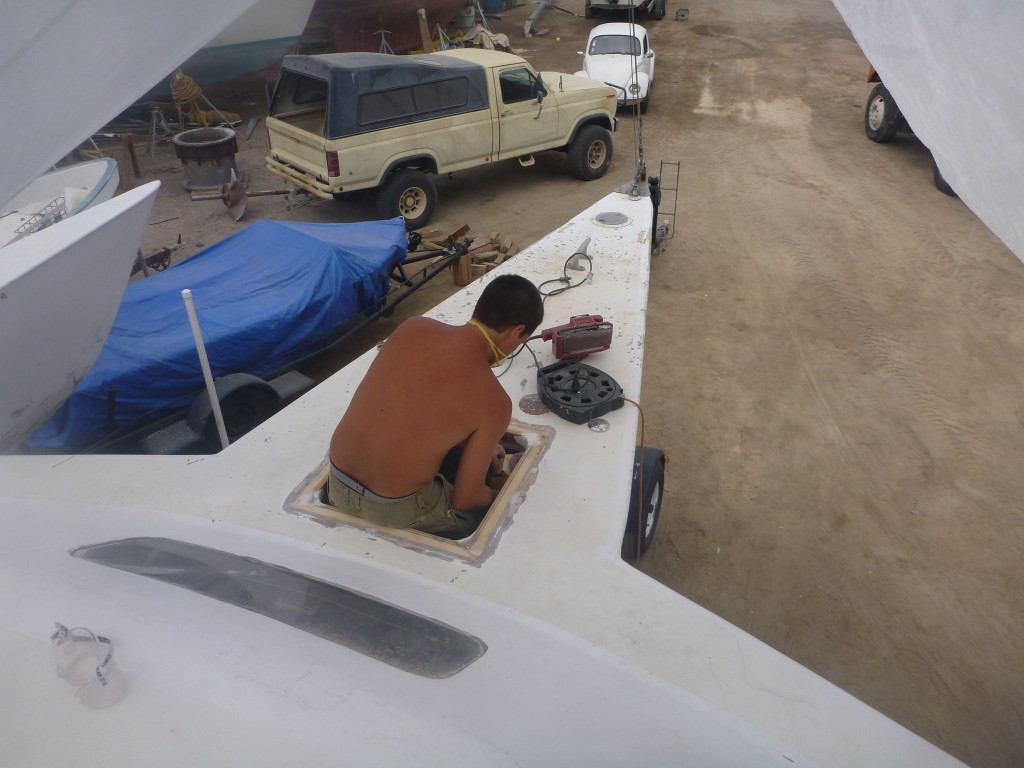
 

building the base for the new forward hatch

We picked up a very nice new bathroom hatch at Second Wave, a used-sailing-gear store in Seattle, but I had never yet had the chance to properly install it. The old hatch coping had to be cut away, and a new lip had to be fabricated approximately one inch smaller than the old one, and then the whole thing would need fiberglassing for waterproofedness. This was a task I had been looking forward to for over a year!
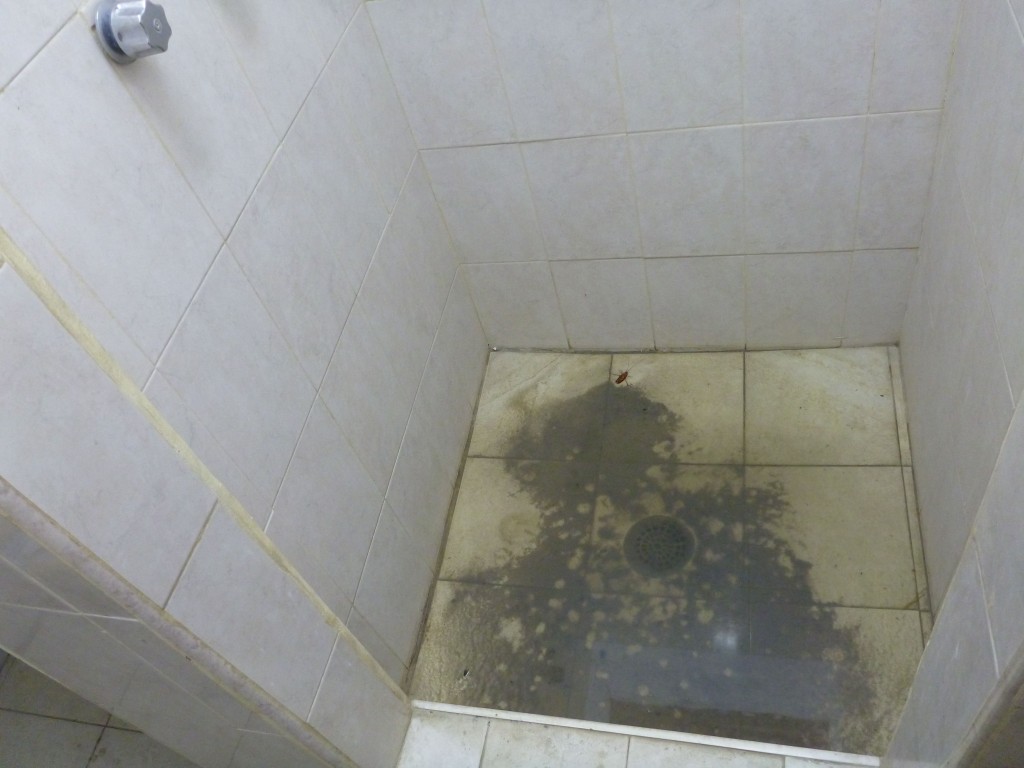
 

you should really click this photo

Working in a boatyard quickly drops your standards – at the end of a day of grinding fiberglass a shower is critical, but this is what we had to look forward to… two inches of stagnant water and a large dead cockroach. If you were lucky you got to the showers before the sun went down – as soon as the site cooled off, the mosquitoes would descend in a cloud!
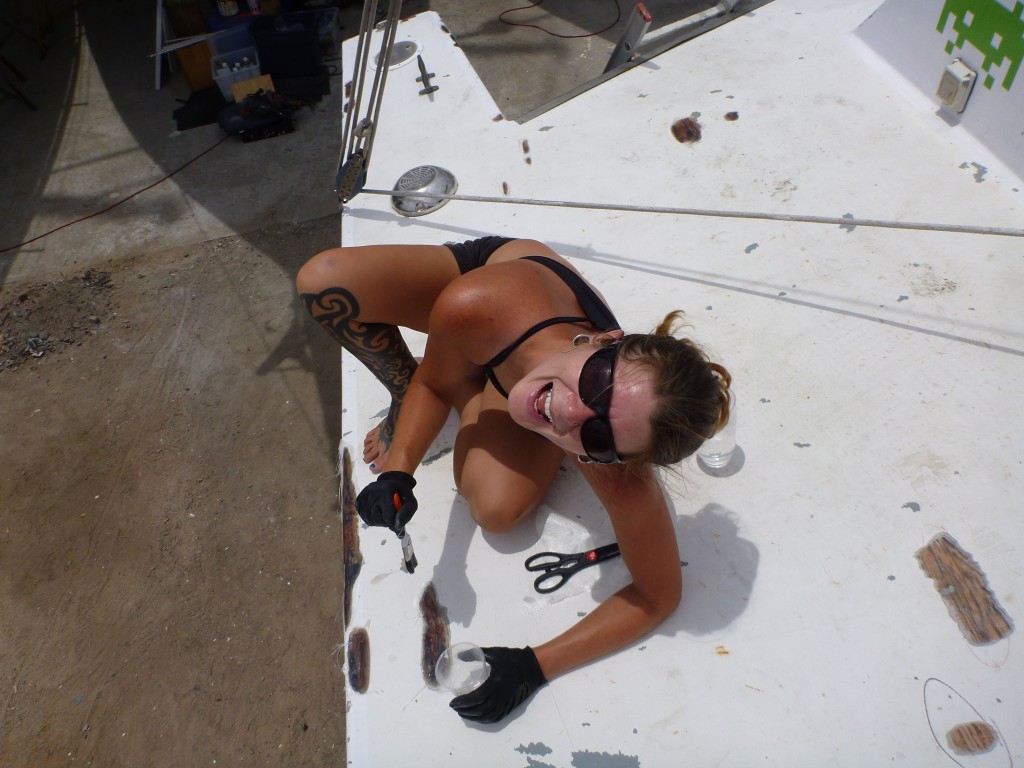
 

Miya laying up fiberglass patches

Miya continued to work on fiberglass patches, while I worked on structural patches on the hull. We had to make several trips to the marine store for more epoxy resin – we went through three large gallon-sized tins of resin (and accompanying tins of hardener), each costing about $180 USD.
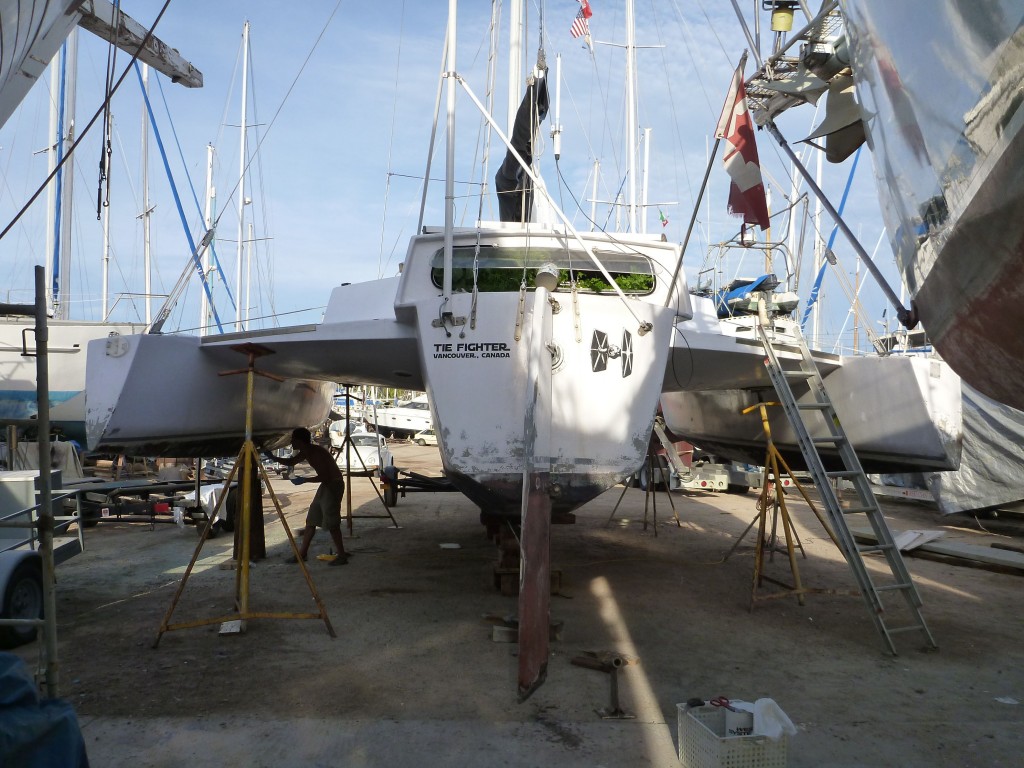
 

fixing bubbles and blisters under the waterline

You can barely make me out in this photo, but I’m working away under the port wing, patching ground-out blisters and bubbles in the hull fiberglass. The garden is still going strong at this point; you can clearly see the carrots growing out the rear window.
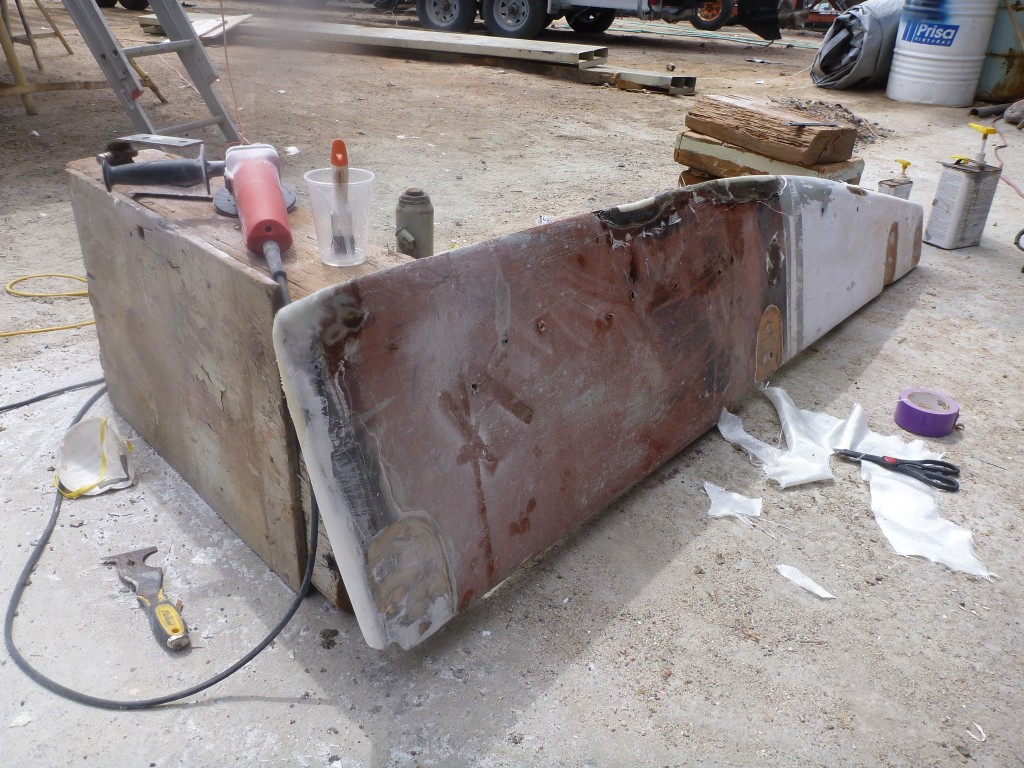
 

the rudder, removed for repairs

Eventually I realized that the rudder had more damage than previously thought, and it made a lot more sense to remove it to work on it. It also made sense to spend time overdrilling all the previous mounting holes, filling them with epoxy, and re-drilling them, giving the hard-working rudder a much stronger connection to the fitting hardware.
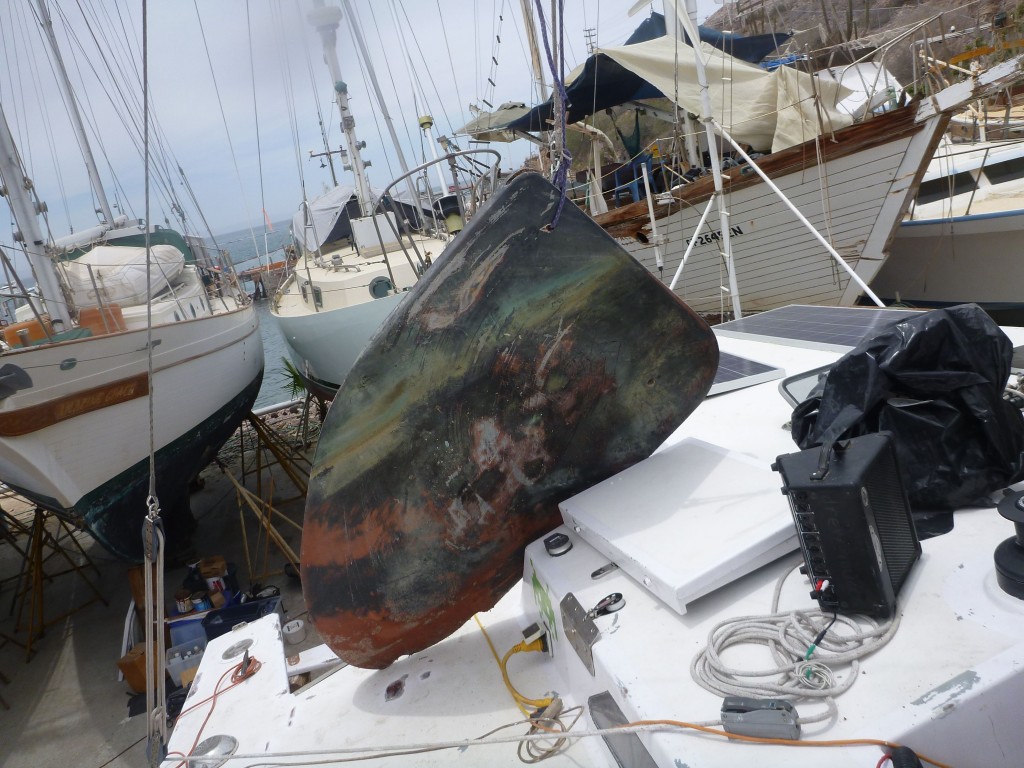
 

the damaged swing-keel

The swing-keel on a Searunner trimaran is simultaneously one of the best and worst features of the boat. It’s the best feature, because it allows us to float happily in one meter of water, but if the keel gets damaged it’s a real hassle to pull it out to repair it. The binnacle (the pedestal the steering wheel is mounted on) has to be completely removed, which means disconnecting the steering, the engine controls and a bunch of wires.. and then you have to drag the filthy thing up across the decks and lower it to the ground for repair. Our keel, being waterlogged from breaks in the fiberglass, weighed about 200kg!


our boatyard friend Doug

The boatyard was apparently quite quiet while we were in residence, though there were a few longtime denizens to spend time with – shown here is Doug from Snug Harbour Sails, a salty old sailor who would come visit with us regularly and made the time in the boatyard markedly more bearable.

This photo was also taken shortly after the sun drove me a little bit nuts, and haircut one of two occurred… Miya helped, but mostly it was me sitting under the boat with the clippers removing the bulky weight of hair that was nothing but a liability in the yard.
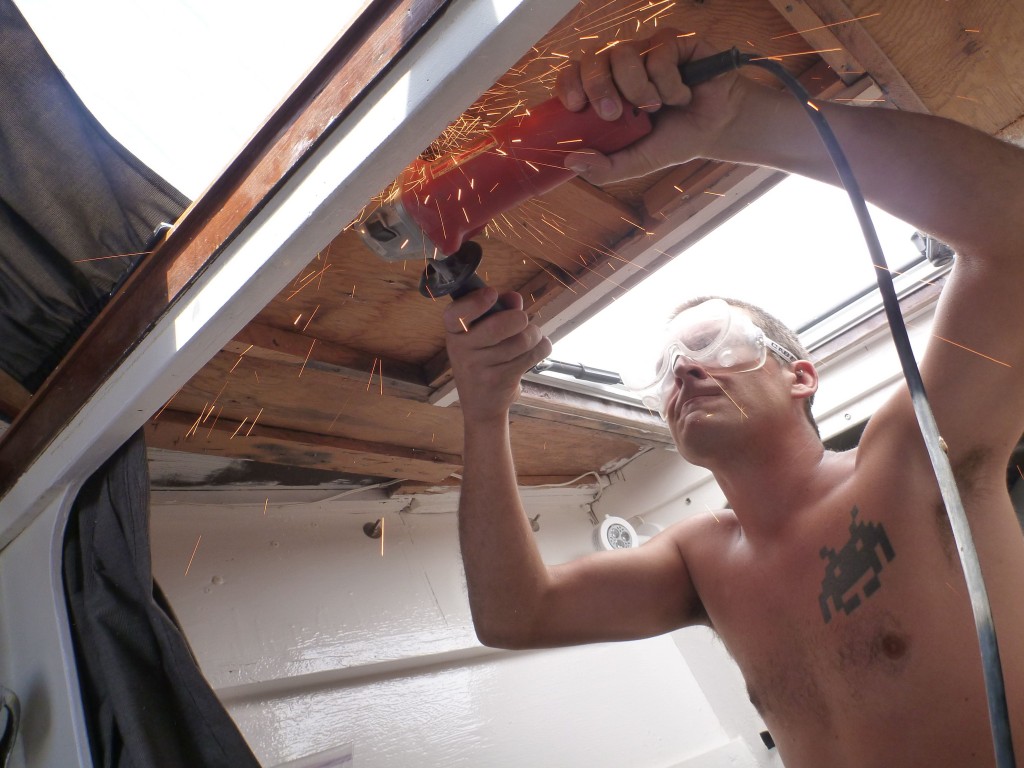
 

grinding pointy nails off the ceiling

Project after project slowly got done. For instance, those pointy nails in the ceiling of the bathroom, the ones that punctured both Miya and my head on numerous occasions? TERMINATED.
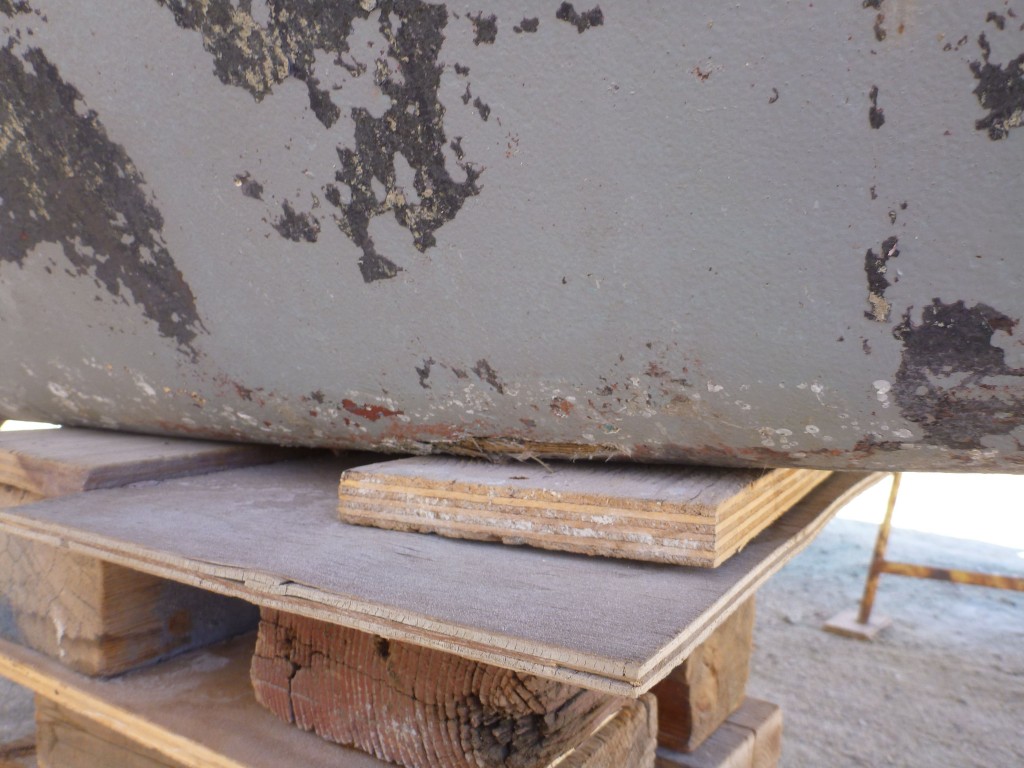
 

whoops, another bit of rock damage found

The more time you spend looking at the bottom of a boat like the TIE Fighter, the more damage you realize you have to repair. Looks like another bit of rock-rash here that’ll need to be ground out and fiberglassed.
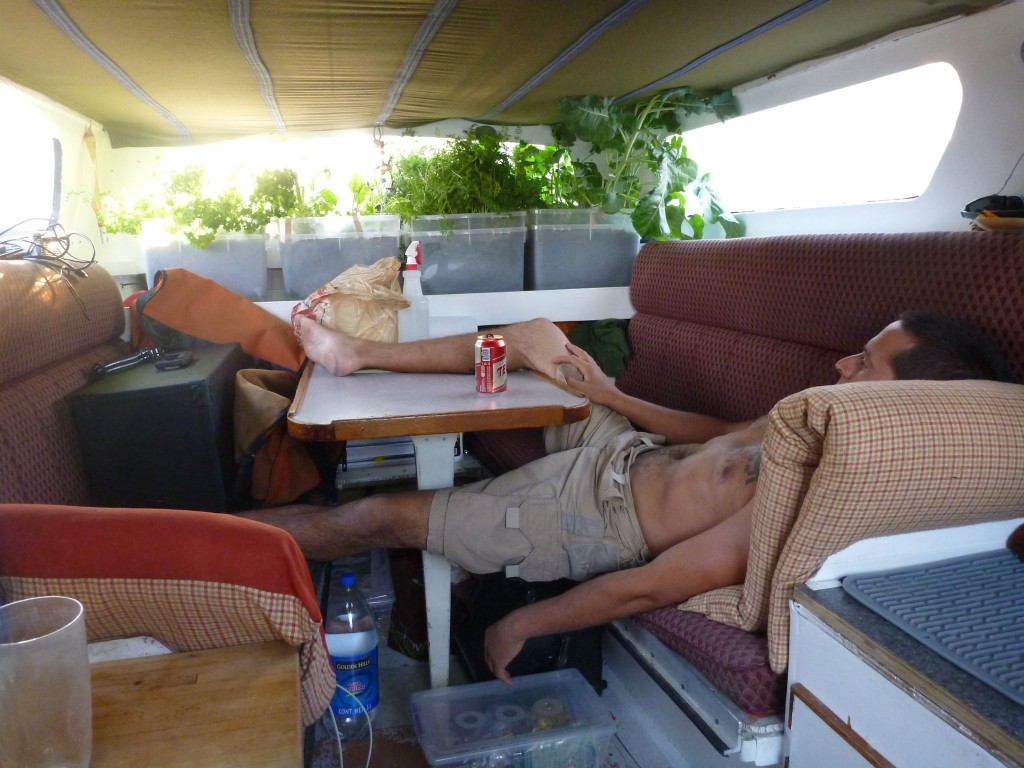
 

the end of another long, hot day

At the end of eight-to-ten hours of hard labour, punctuated by the occasional break to jump in the nearby ocean to cool down, there’s very little that can be done besides crashing hard. In this photo you can also see the ill-fated broccoli plant on the right side of the garden, attempting to take over the rear cabin… we never did get any broccoli crowns from that plant.
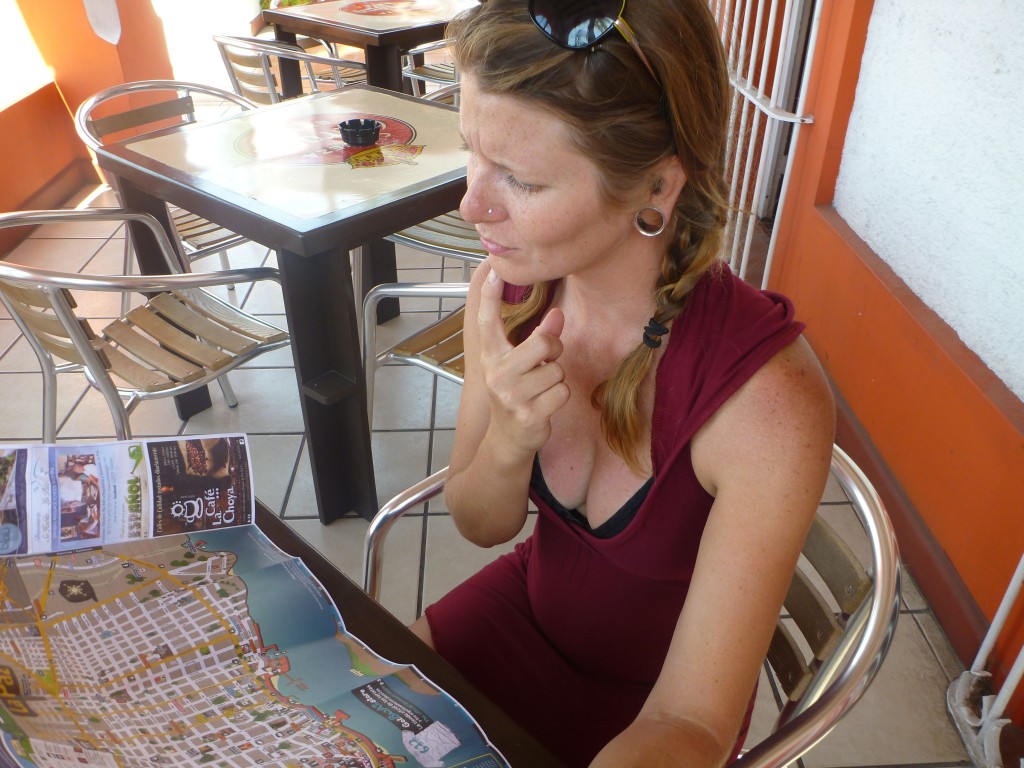
 

Miya planning our next destination on our day out

At some point we realized that if we wanted to continue being sane, rational humans, we’d need to take a break from all this work. We packed up our things and took a shuttle bus back into La Paz, where we spent the day wandering and doing our best tourist impressions, much to the delight of the locals. Many margueritas later, we stumbled back into the boatyard.
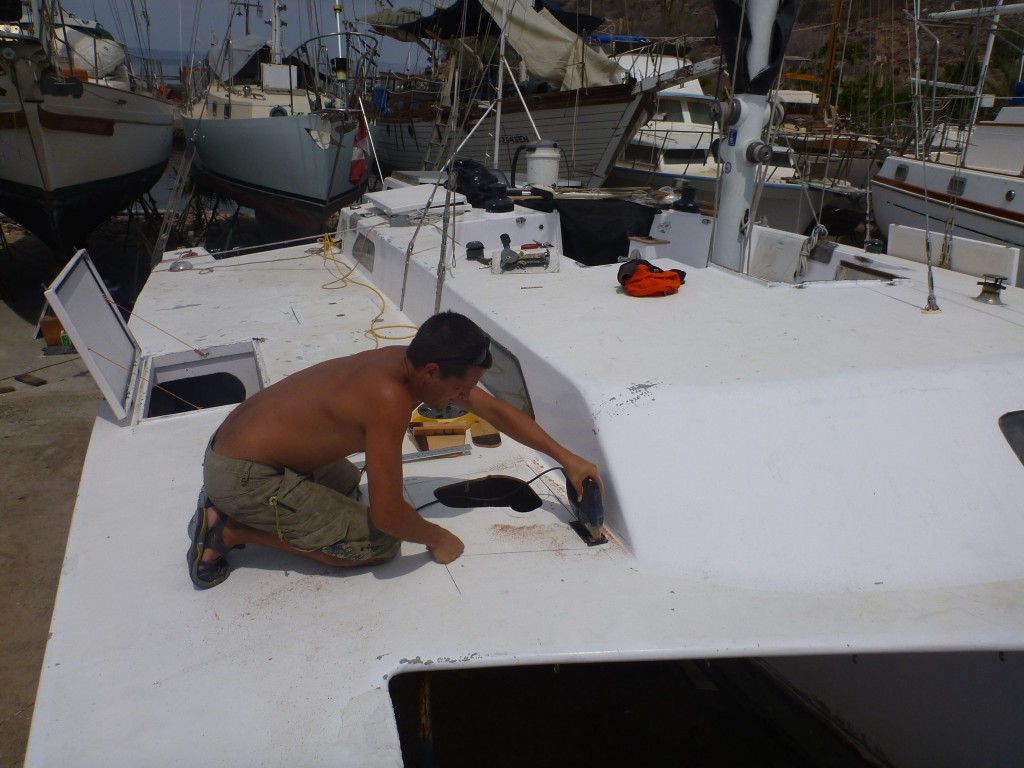
 

cutting big holes in the deck

During our time away, we paid a visit to Sea Otter Jimmy, a local with the same make and model boat as ours (though in MUCH better shape!). Jimmy’s boat, s/v Sea Otter, had four more deck hatches than ours, giving him a tonne more wet-storage space for line, cleaning supplies, beach toys or whatever. We were jealous, so we took a bunch of measurements and decided to cut hatches into the TIE Fighter.

My tan is getting deeper and deeper…
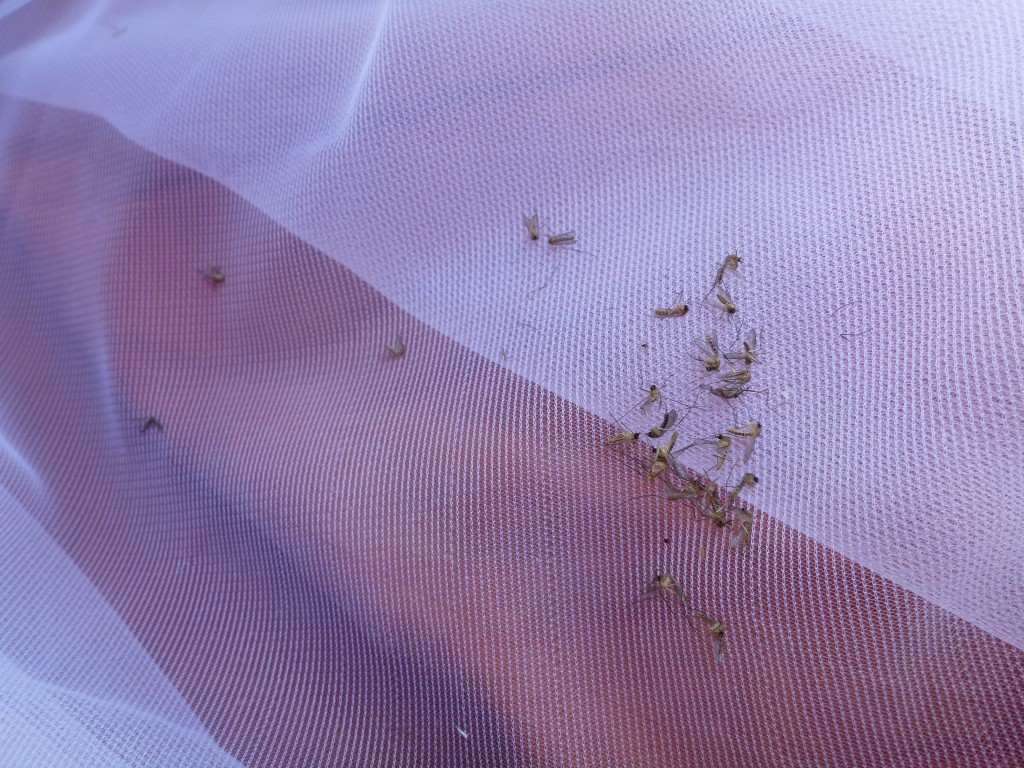
 

a tiny sample of our nightly guests

The mosquitoes in the boatyard were TERRIBLE – and the TIE Fighter, having no sealing hatches (not that you’d want them anyway, the boat would become a sauna), was the idea place for them to congregate. Miya visited the fabric store and returned with this sheer fabric, which she made a series of overlapping mosquito screens with, hot-glueing them to the walls of the cabin around the opening to our berth. Several iterations later, we finally had our first good night of sleep.

This photo is just the ones we found dead at the bottom of the mesh at the end of the first night!
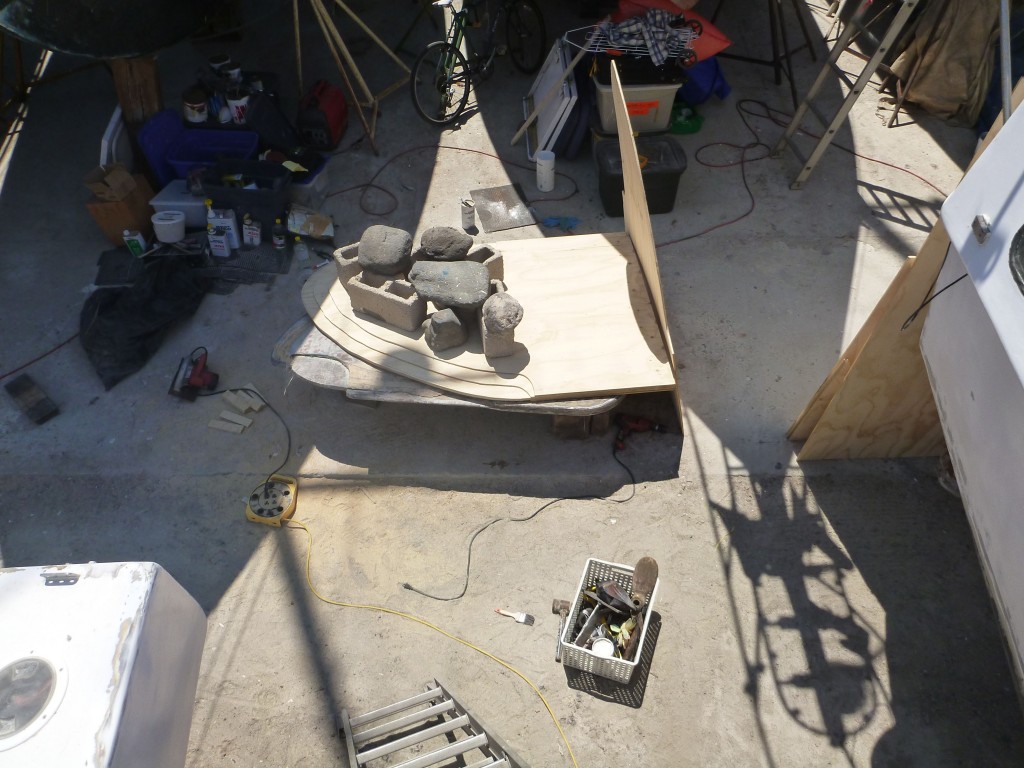
 

laminating the new keel, using rocks

When I finally got around to grinding out the problems in the swing keel, as I ground around the edge of the keel the laminated plywood suddenly jumped apart, leaving me with a giant, heavy, waterlogged, delaminated mess. It was time to face the facts: that keel was finished, and a new one would have to be built.

I went to town and found a place selling plywood – I had six sheets shipped in, cut them into the shapes I needed and coated them liberally with epoxy glue, then laminated them all together by weighting them with heavy rocks while the glue dried. I also destroyed our angle grinder during the “shape the newly-laminated raw keel into a foil shape” stage of the construction.
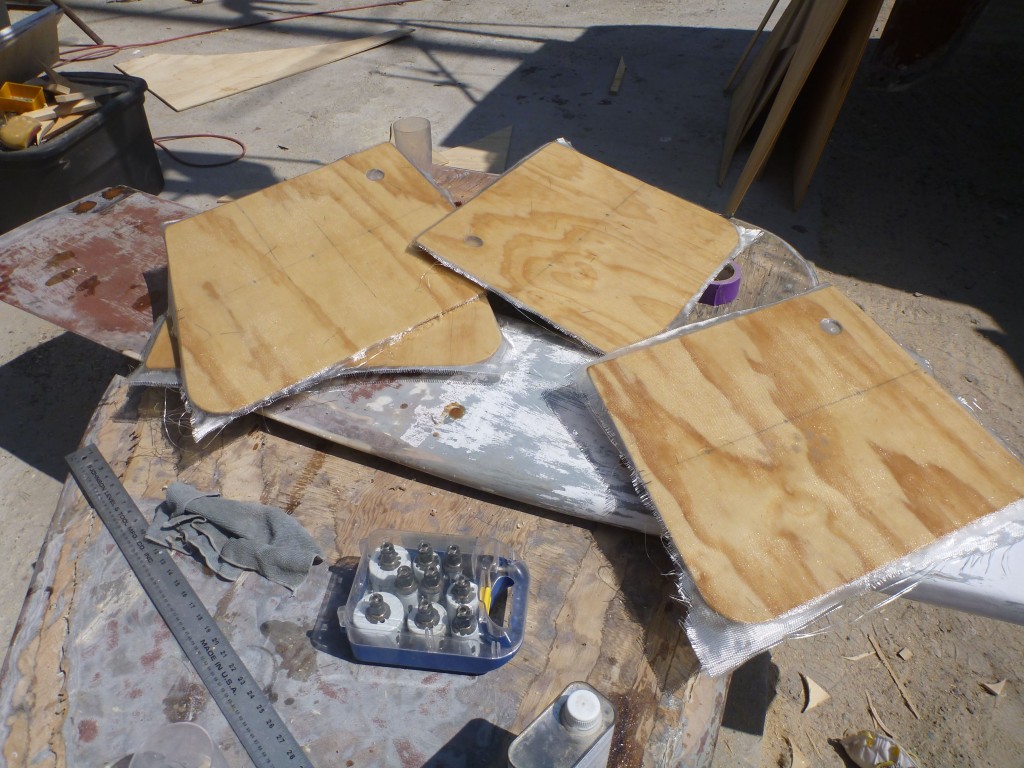
 

freshly glassed new hatch covers drying in the sun

The hatches for the newly-cut wet storage lockers are here drying in the sun, fiberglassed but not yet sanded or painted. I was pretty proud of my carpentry work on these – the hatches fit really nicely, and the extra locker space is definitely appreciated.
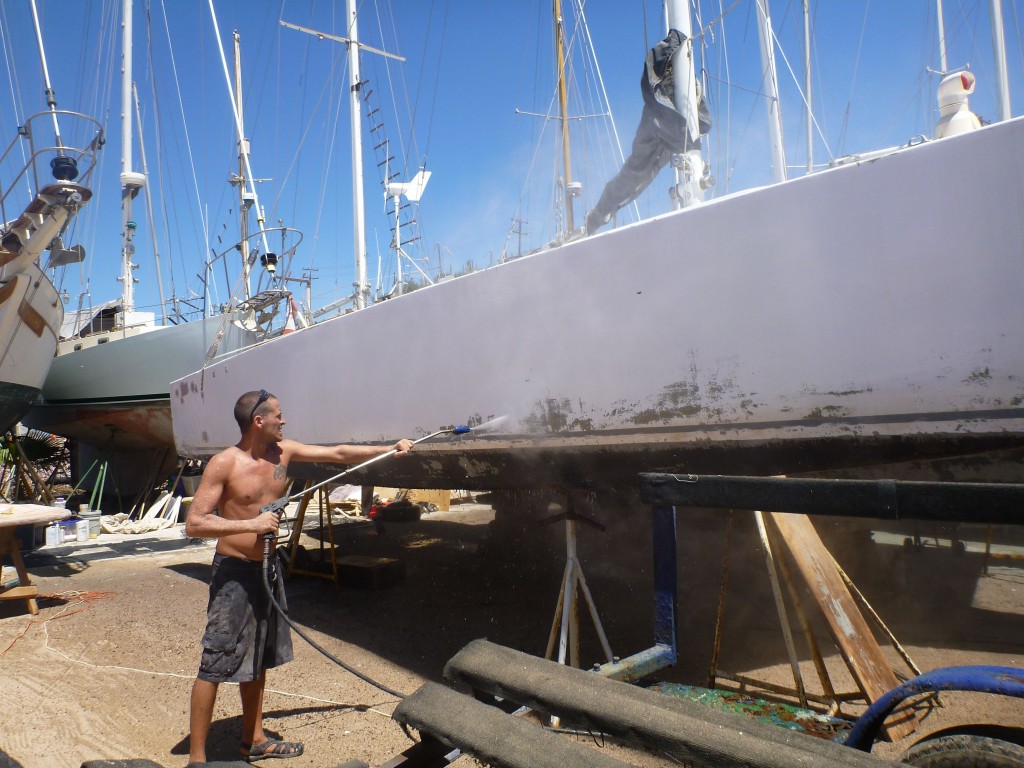
 

powerwashing off the old paint

A month in, I finally convinced the yard that the best way to take off the old paint would be to rent me their largest power washer, which I knew would take the previous coat of (non-sticking) paint off, leaving the previous coat of (very good) two-part epoxy primer behind. The power washer was 7,000psi – compare if you will to the strongest power washer available at Home Depot being 4,000psi!

Also notable in this photograph are the second boatyard haircut, taking my hair down from the #4 clippers to the #1 clippers, or 1/8″, and the fact that all the hard labour has kicked in and I’m looking a lot more ripped than before the boatyard. 😀
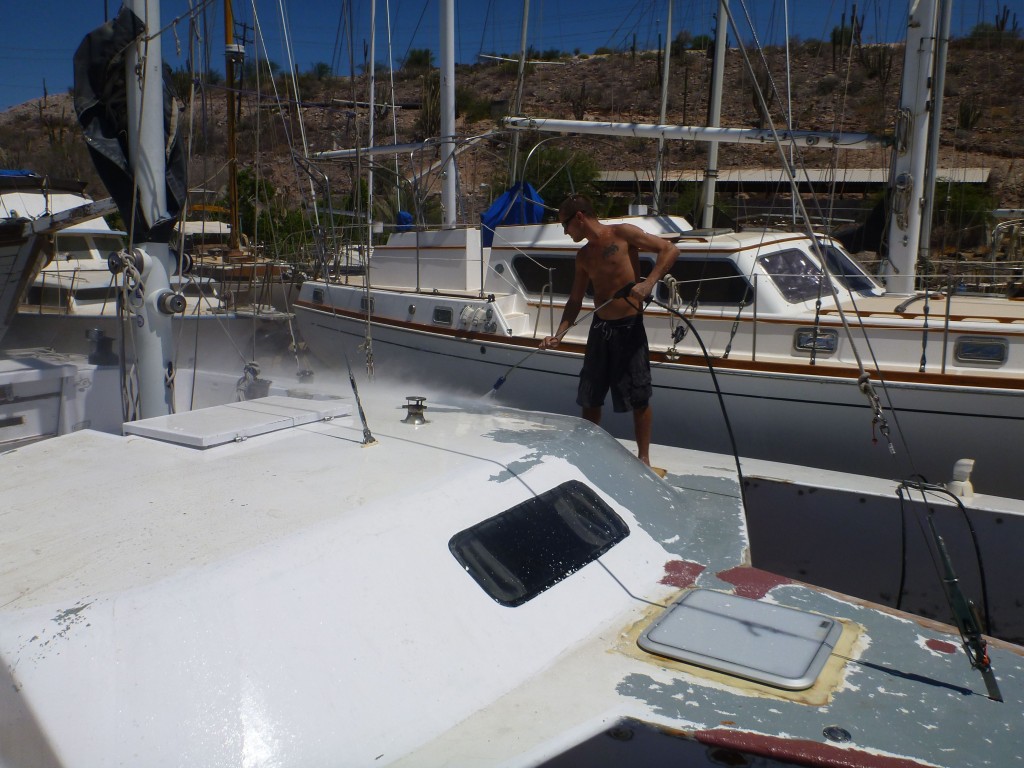
 

the paint on the topsides came off easily!

Sadly, I was very much correct about the paint on the topsides coming off with the power washer… but with the exposure of the grey primer came exposure of dozens – no, hundreds – of new problems with the fiberglass. It didn’t help that the power washer also tore away any weakened fiberglass, probably creating at least half of those new problems, though it was pretty clear that those problems would have surfaced sooner or later anyway.

You can also see a bit of brown in the bottom right of the photo – Miya spent days on end repairing all the damage to the bows done by dragging the anchor chain up over the edges of the bows. We finally have a bow roller now, and will get around to installing it sometime in the near future.
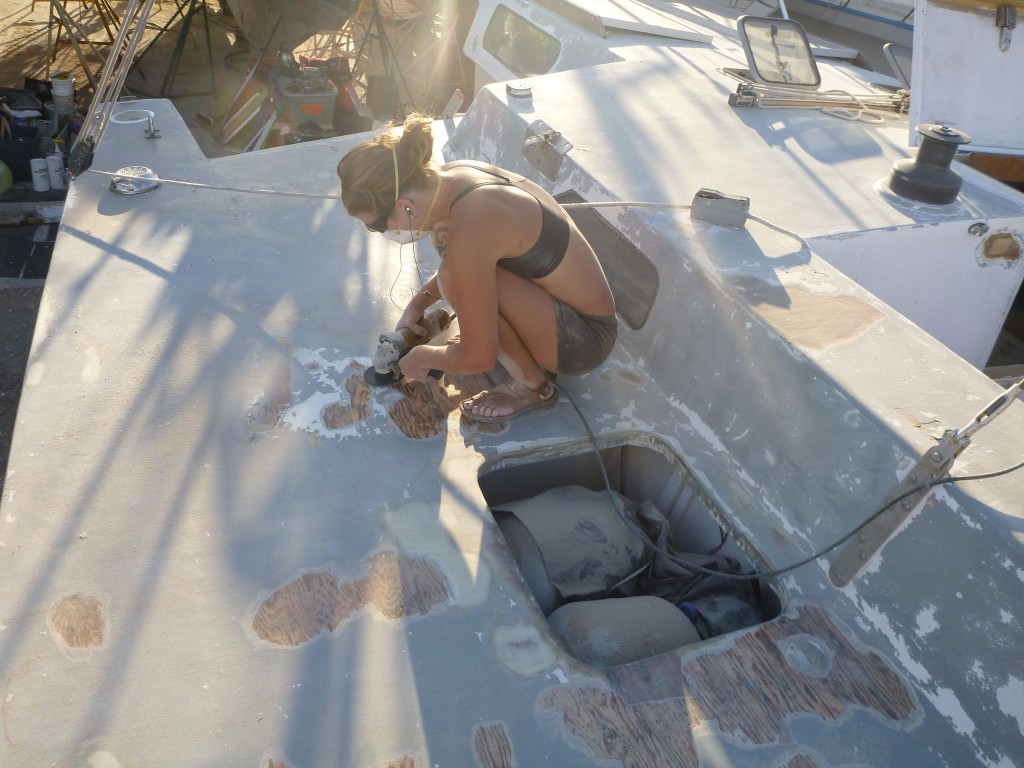
 

...though powerwashing exposed a LOT more fiberglass problems
…though powerwashing exposed a LOT more fiberglass problems

With all the new patches, it almost seemed like we would have been ahead of the game to strip off the entire deck and replace the fiberglass, but it was a bit late for that – not to mention the price of fiberglass and epoxy in Mexico is prohibitive!
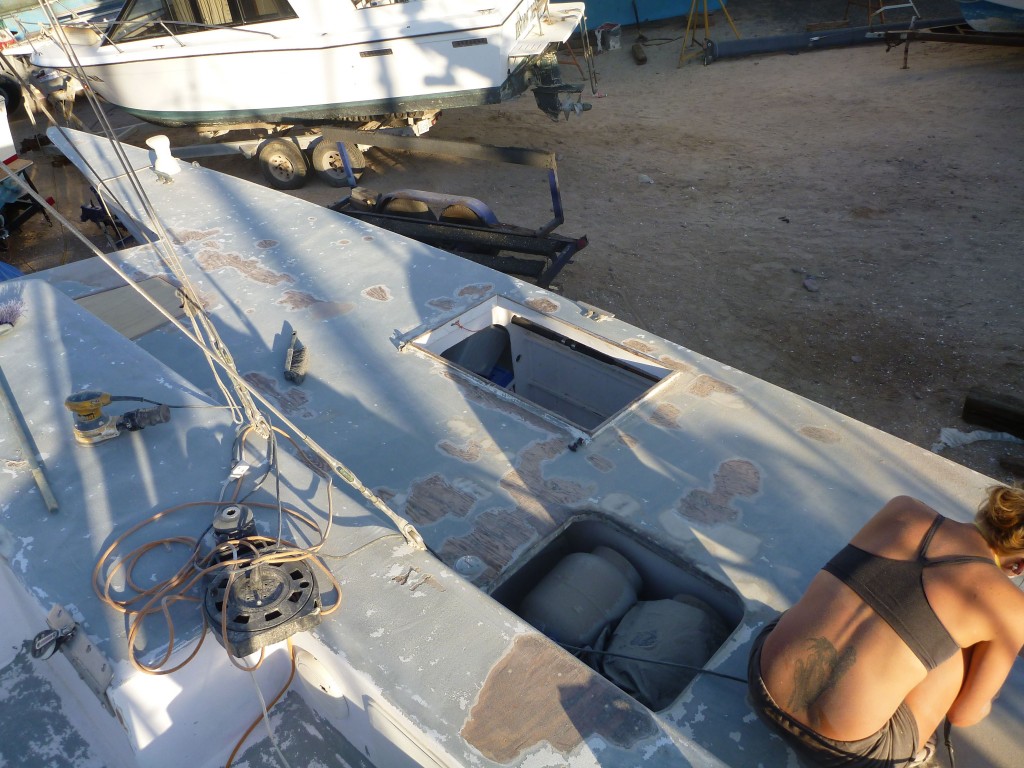
 

many of the newly-exposed patches

Another shot of the deck with all the new patches opened – before powerwashing we were pretty sure we were almost done with ‘glassing the deck! It would have saved a lot of time if we’d been allowed access to the power washer much earlier on, but there wasn’t much point in getting mad about it.
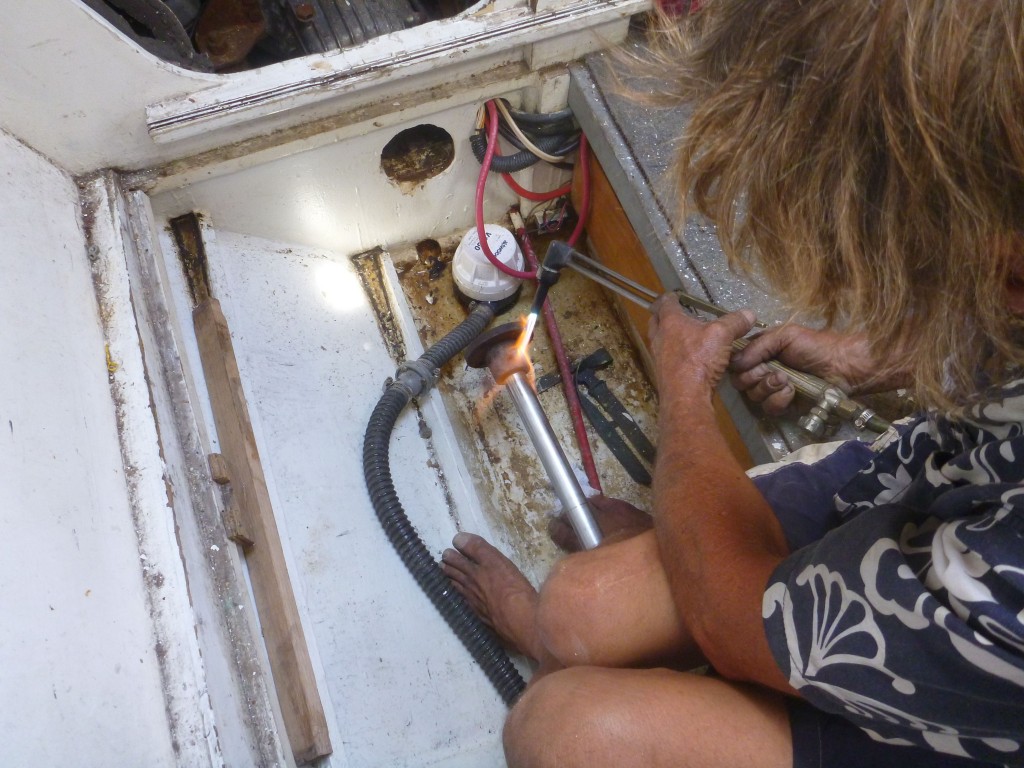
 

pulling out the propellor shaft

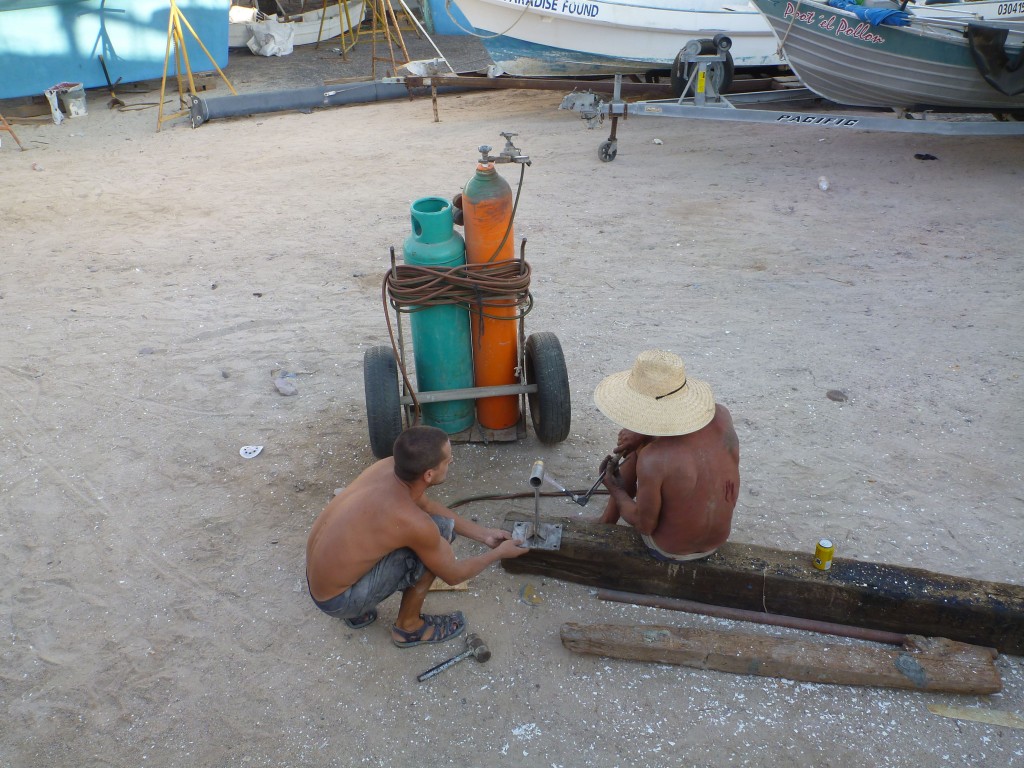
One of the big under-the-boat tasks was to replace the cutless bearings, rubber sleeves that hold the propellor shaft steady and perfectly aligned. Unfortunately to do this you really need to remove the propellor shaft, and I’d never done that before. Here Mark is heating up the propellor shaft coupling with a torch.
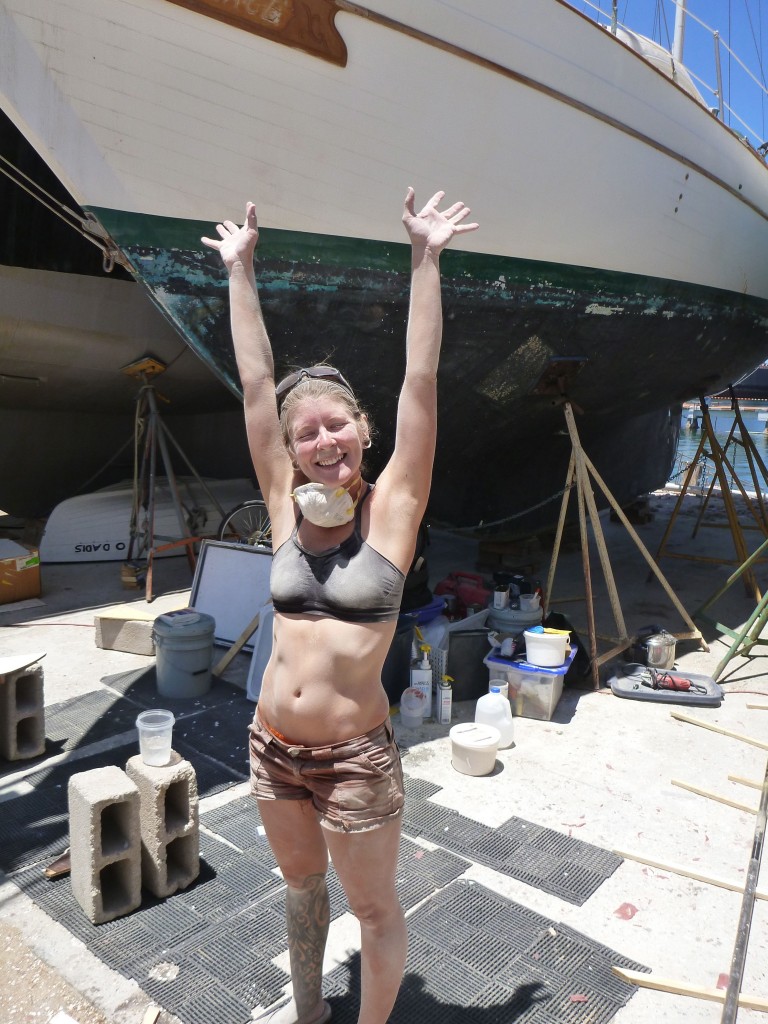
 

Miya's nickname in the yard: "Lady Polvo"
Miya’s nickname in the yard: “Lady Polvo”

Miya’s constant sanding, sanding, sanding of the deck earned her the nickname “Lady Polvo”, where ‘polvo’ is spanish for dust or powder. The more we sanded, the more we had to jump into the ocean, which you can see about twenty meters behind Miya.
 

how to destroy a brand-new cutless bearing

Once the replacement cutless bearings were acquired, the old worn-out bearings had to be removed. This I accomplished without much hassle, but when I went to put in the new bearing it seized halfway up the shaft – no matter how much I hammered it, it just wasn’t going back in. I had the bright idea of heating up the stainless steel strut to make it expand and free up the brass bearing sleeve, but the end result was that the rubber part of the bearing separated from the brass part, rendering the bearing unusable. Nuts – that was a waste of a hundred bucks.
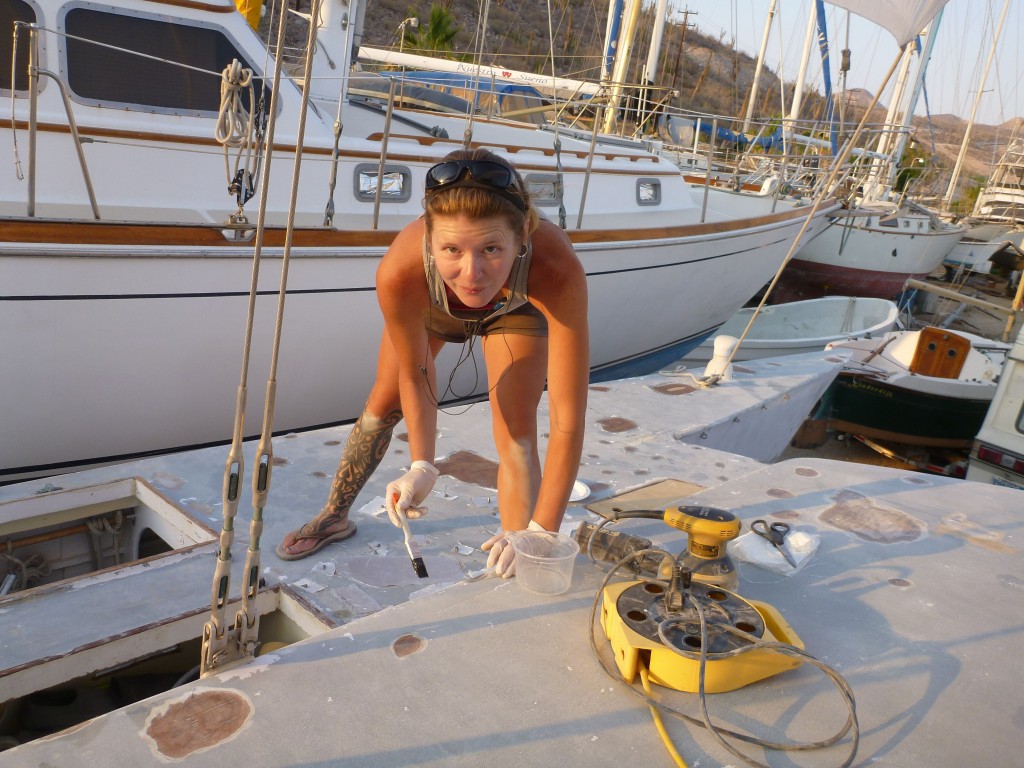
 

Miya diligently patching the deck

Miya, stalwartly continuing to patch all the deck problems. She was at this all day, every day, for weeks.


the rudder, fully repaired and re-hung

I finally finished up the patching and repairing of the rudder, and eventually we tracked down a new rubber gasket for the steering assembly – the black rubber bit in the center of the photo is actually the boot from the gear shift of a Mack truck, found at a place called “Diesel Professional” in La Paz!
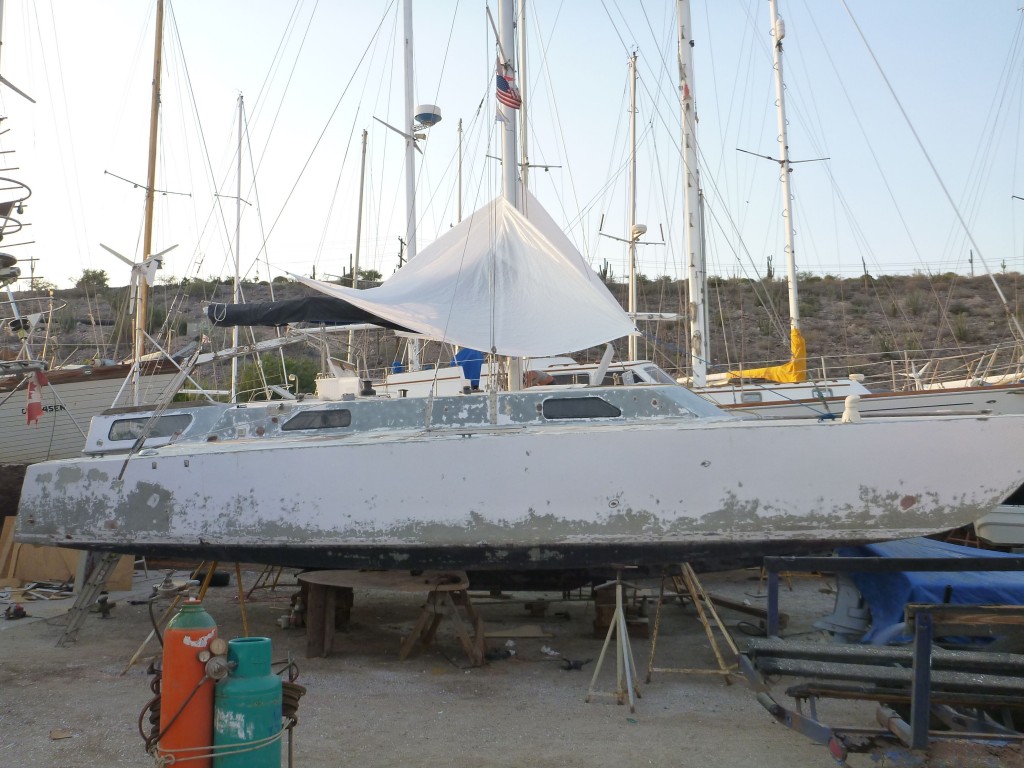
 

a month in, and she looks far worse than when we started

It can be difficult to keep your spirits up when you’ve been working your fingers to the bone for over a month, and the boat looks far worse than it did when you arrived… but in reality she’s much closer to finished.
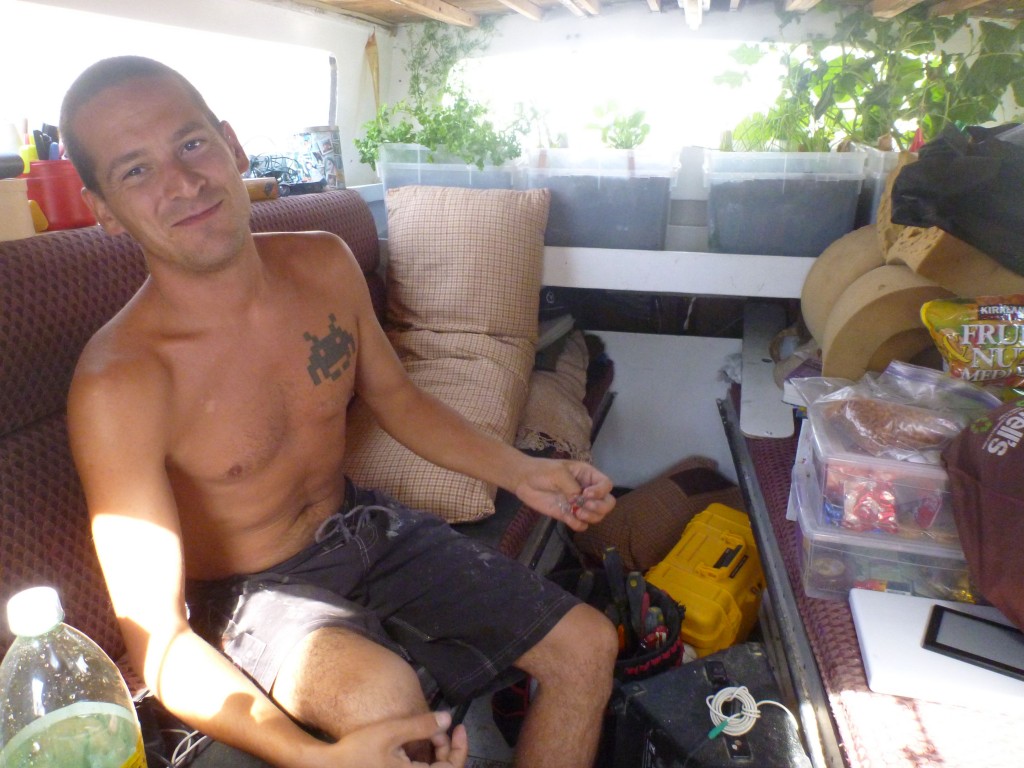
 

the interior of the boat is starting to get less habitable

…although now that we had to tear apart the kitchen to access the steering gear to reattach the rudder, there was a domino effect throughout the boat, and the normally tidy interior just kept getting more and more cluttered with tools and equipment.
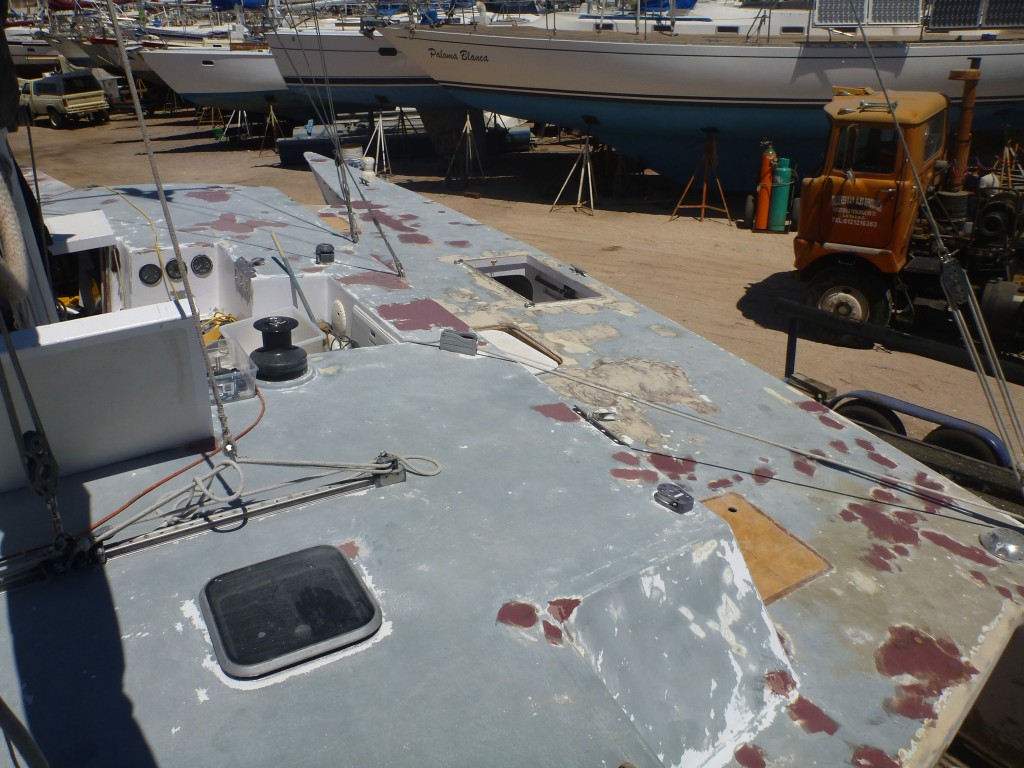
 

many of the fiberglass patches complete

This is the deck, two steps away from being finished. All of the brown patches are epoxy thickened with a talc-like powder, turning it into a fairing compound that flattens nicely and is very easy to sand. One more round of sanding, then a splash of primer, then another quick sand and she’d be ready for her final paint job!


the new swing-keel shaped, glassed and primed

Sadly I didn’t take more photos of the swing keel during the construction process, but needless to say I was several long days under the boat with a large industrial-size angle grinder and an eight-inch 60-grit sanding disc, shaping the plywood laminate into a smooth foil. Two layers of 8oz fiberglass over the whole thing, then a PVC tube glassed into the pivot point to protect the wood, and finally several coats of industrial-grade two-part epoxy primer, and we’re left with a swing-keel that should last for the rest of the life of the boat.
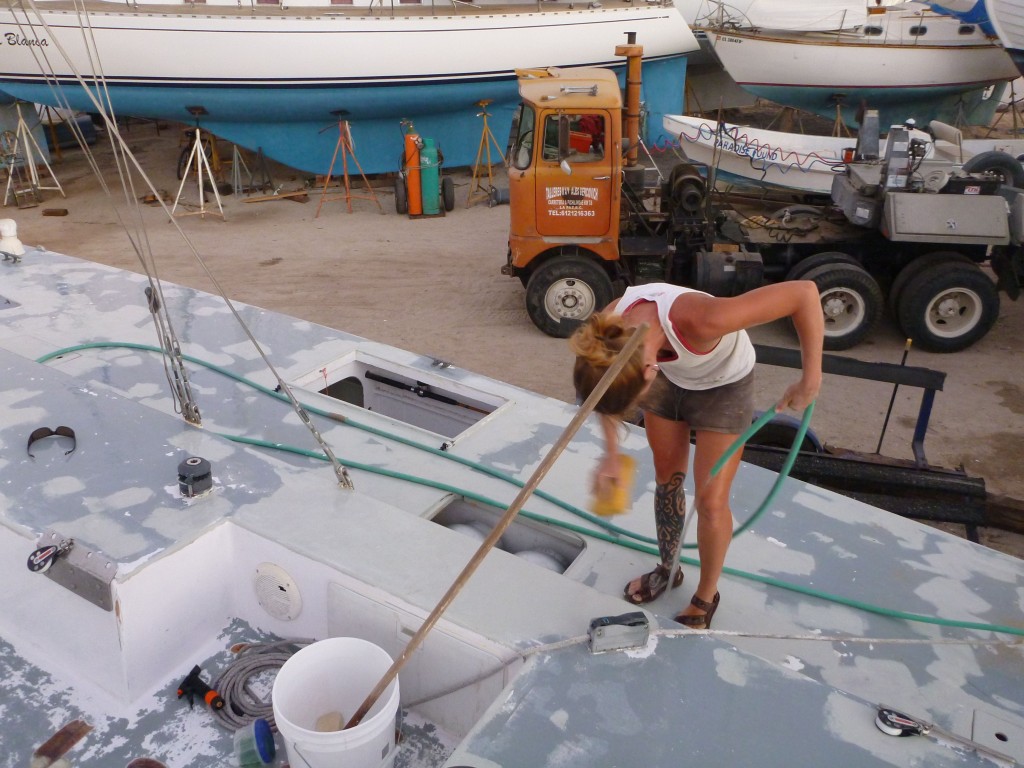
 

the deck, primed, sanded, washed and ready for paint!

Once the fairing was sanded and the primer applied, a quick sand to make it all smooth and it’s time to wash down the decks in preparation for the first coat of her final paint job!
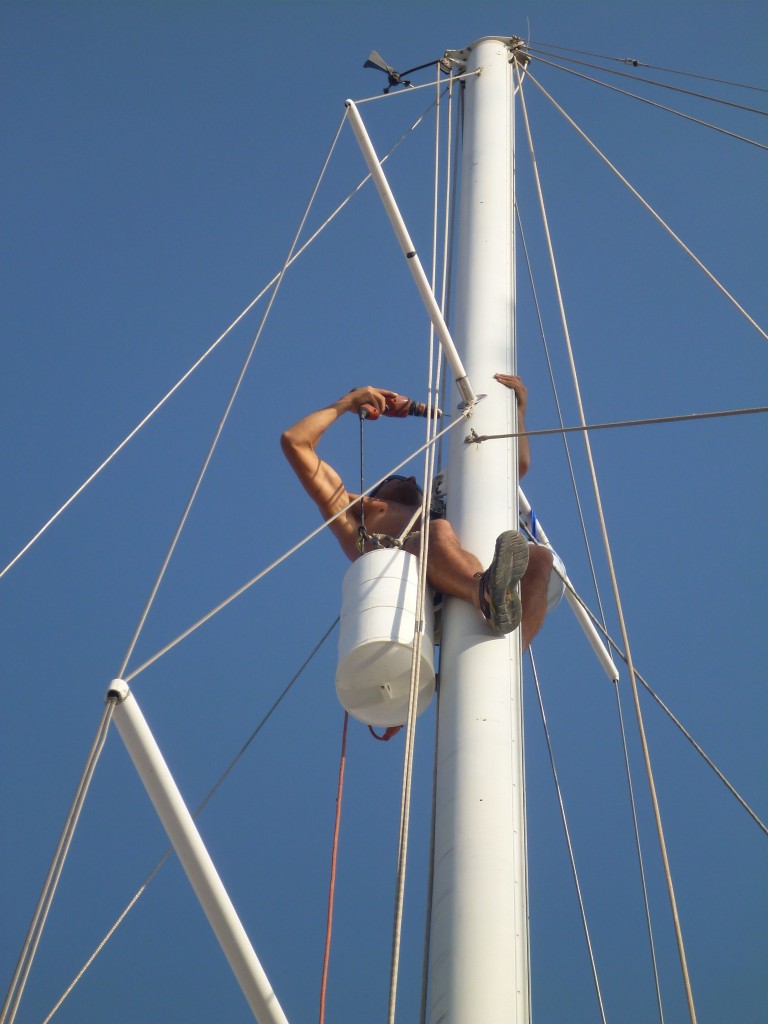
 

installing the new radar reflector

After seeing all the big freighters and fishing boats offshore, we realized that our little wooden boat probably didn’t show up all that well on radar, especially with our little metal ball-type radar reflector mounted six feet off the cabin roof. We did a bunch of research and settled on an EchoMax 230 reflector, that I mounted just above the staysail stay. Apparently this will make us look HUGE on a radar screen!
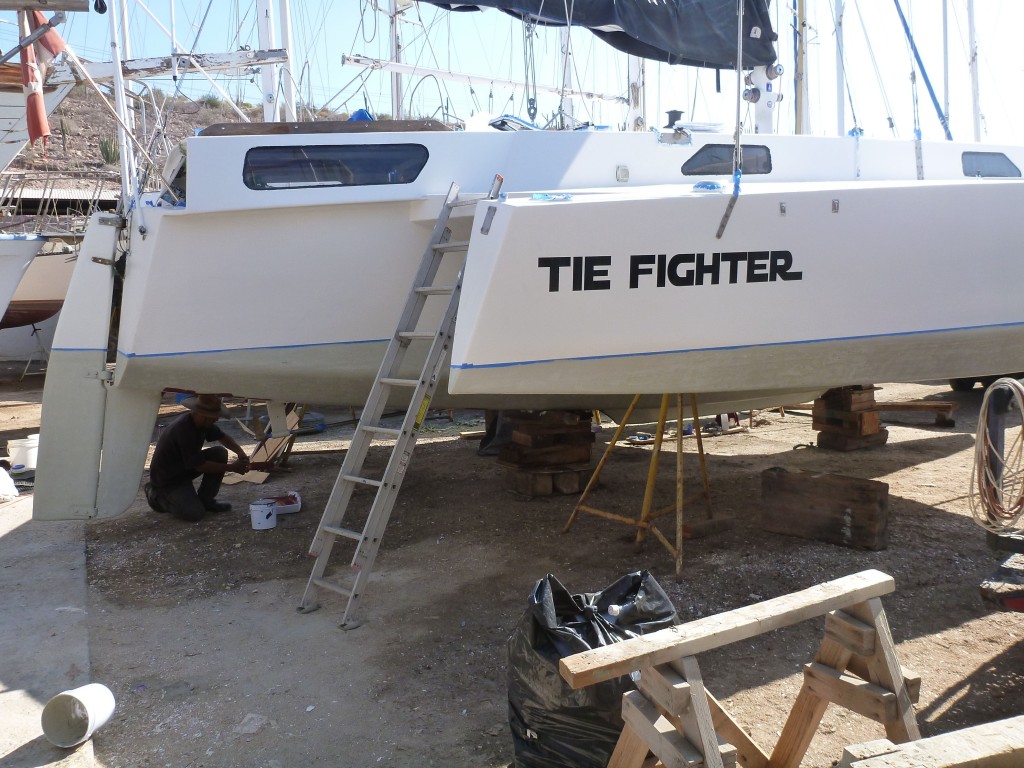
 

TIE Fighter with a fresh coat of (cheap) paint!

Once all the prep work was complete, the painting of the boat went very quickly, and we were done within two days. The bottom was taped and painted by the yard, but we rolled on three coats of latex-based housepaint quickly and efficiently.

In retrospect we probably should have just bitten the bullet and paid for the more expensive two-part epoxy paint. House paint is cheap and non-toxic, but it never really hardens completely, and you’re left with more of a latex “skin” over the entire boat. Time will tell if this was a nightmare decision, but currently in the dry southern tip of Baja it is working out acceptably – there have been a few instances of the paint becoming tacky in wet weather though, and I am a bit nervous to see what will happen in damper climates, like the rainy season of Costa Rica.
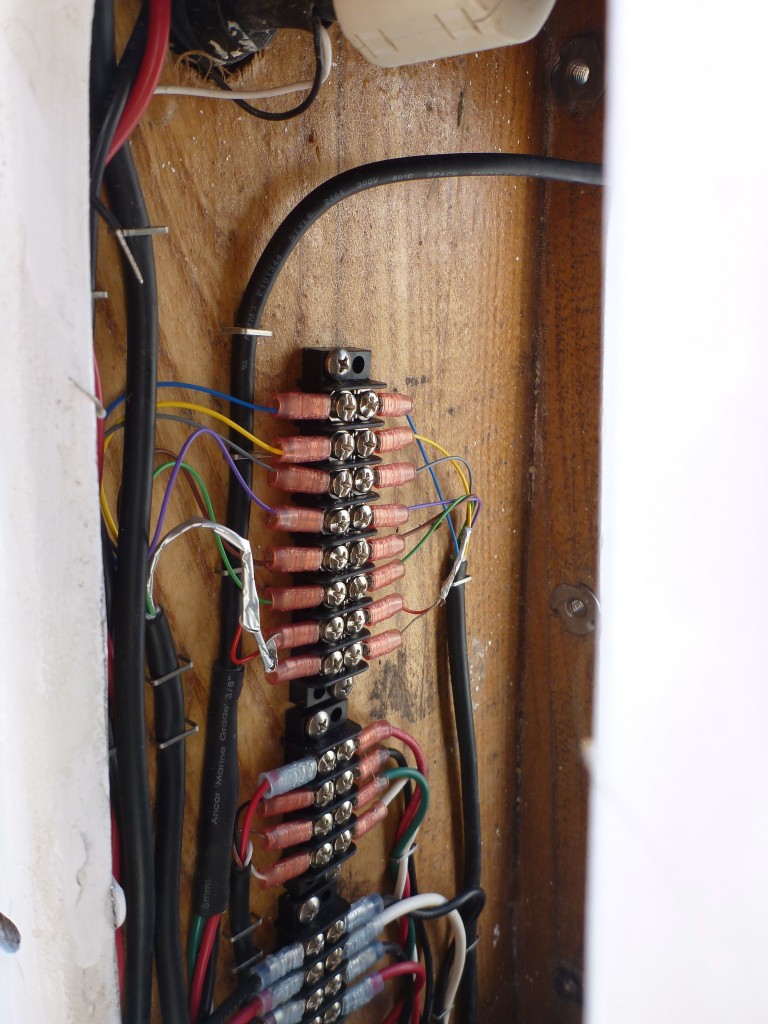
 

wiring the binnacle so that we can remove it easier next time

As I mentioned, removing the swing keel requires removing the binnacle, which in turn requires cutting a bunch of wires. Rather than ever have to deal with that again, this time I added terminal blocks and ring terminals to all of the wires, so that they can be easily disconnected and reconnected. I’m a big fan of well-organized wiring!
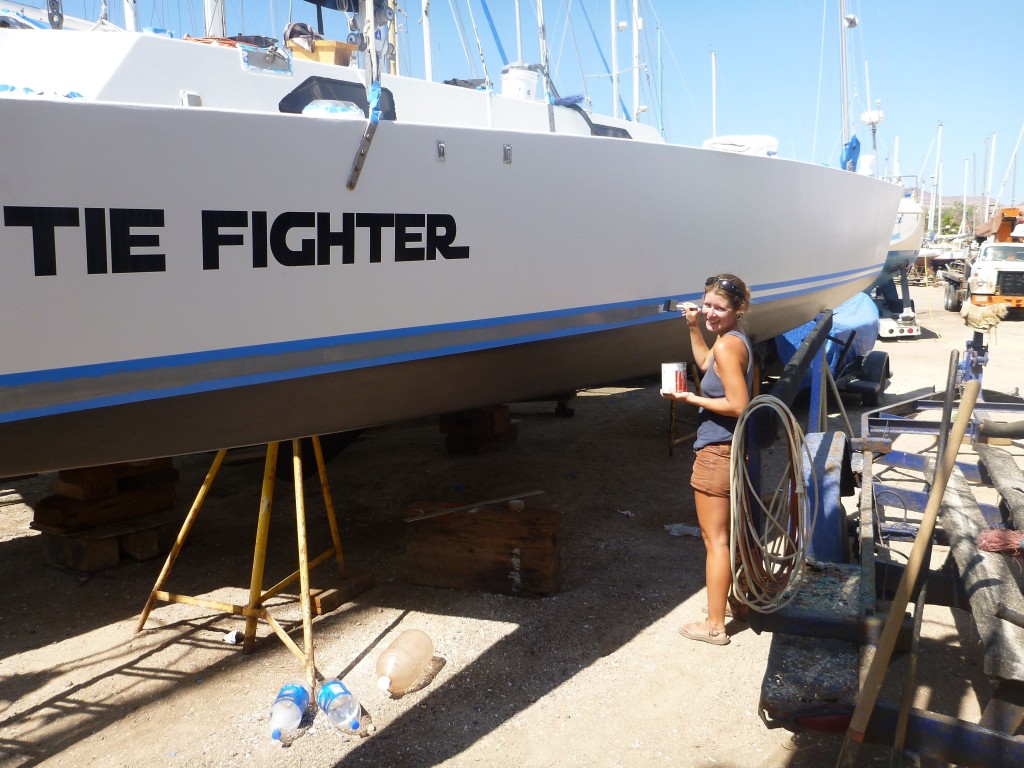
 

Miya painting the bootstripe

The last step to painting a boat is always the boot stripe – a quick splash of color parallel to the water line. Jim Brown, the designer of the Searunner trimarans, says that a boot stripe can make the difference between a home-built backyard boat and a jaunty yacht, and so for the past two paintjobs we’ve added a grey stripe at the end. I am extremely fond of how this looks.
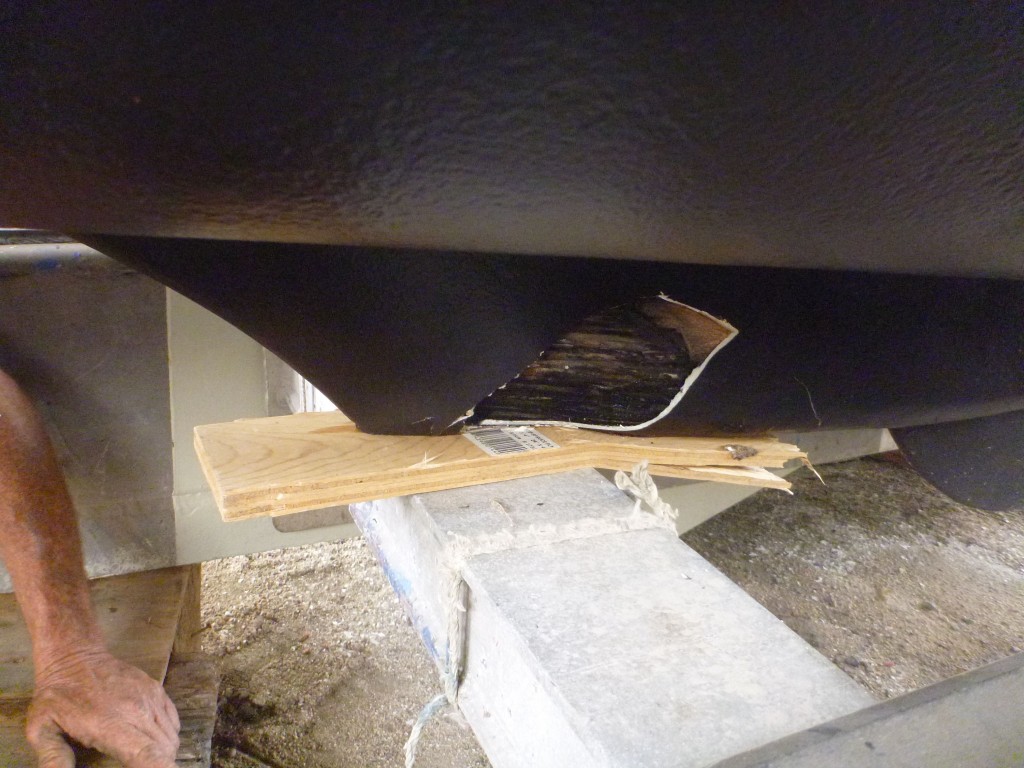
 

I did a poor job repairing the minikeel; live and learn

Apparently when you repair a keel you should use more fiberglass and less filler, as I discovered painfully when we finally got the boat ready to be lifted up and put back in the water. My repairs just didn’t stand up to the pressure of lifting the whole boat – this was actually good to find out; if we’d been lifted with a travelift this error never would have come to light, and then next time we ran aground we’d be faced with a much larger problem. The trailer was pulled away and we spent an extra few days in the yard grinding and fiberglassing.
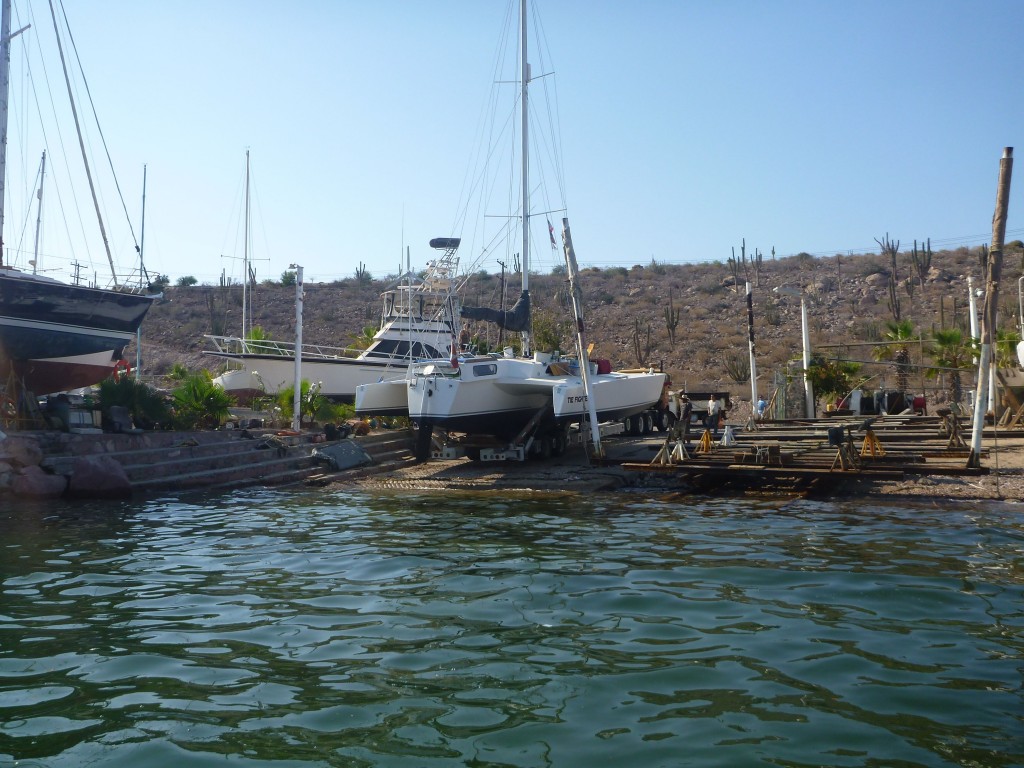
 

back into the water!

FINALLY, two months to the day since we’d been hauled out, we were back into the water. Of course, there was a strong wind blowing and as we drifted away we were blown right back into the shore, forcing the boatyard owner and his employees into the water, fully clothed, to help push the TIE Fighter back out into open waters before she ground onto the rocks… ahhh, memories.

More to come…
 

Catching Up, Part 1: Pre-Boatyard

OK! So! It’s been over six months since the last posting, and I’m finally just now finding myself with enough free time motivation to update the blog with what we’ve been up to. Miya and I just returned to La Paz after a month-and-a-half whirlwind “vacation” back to Oklahoma and Vancouver, respectively, culminating in a return to the Black Rock Desert for the incredible Burning Man Festival.

Regardless, we’re back now and I haven’t updated since March, so it’s time to bring you up to speed about where we’ve been. There were four distinct chapters to the past six months: pre-boatyard, boatyard, post-boatyard and traveling back to the first world. I’ll break these parts up into four pasts just to keep things logical.

So! Without further ado, here’s some photos from the pre-boatyard chapter.


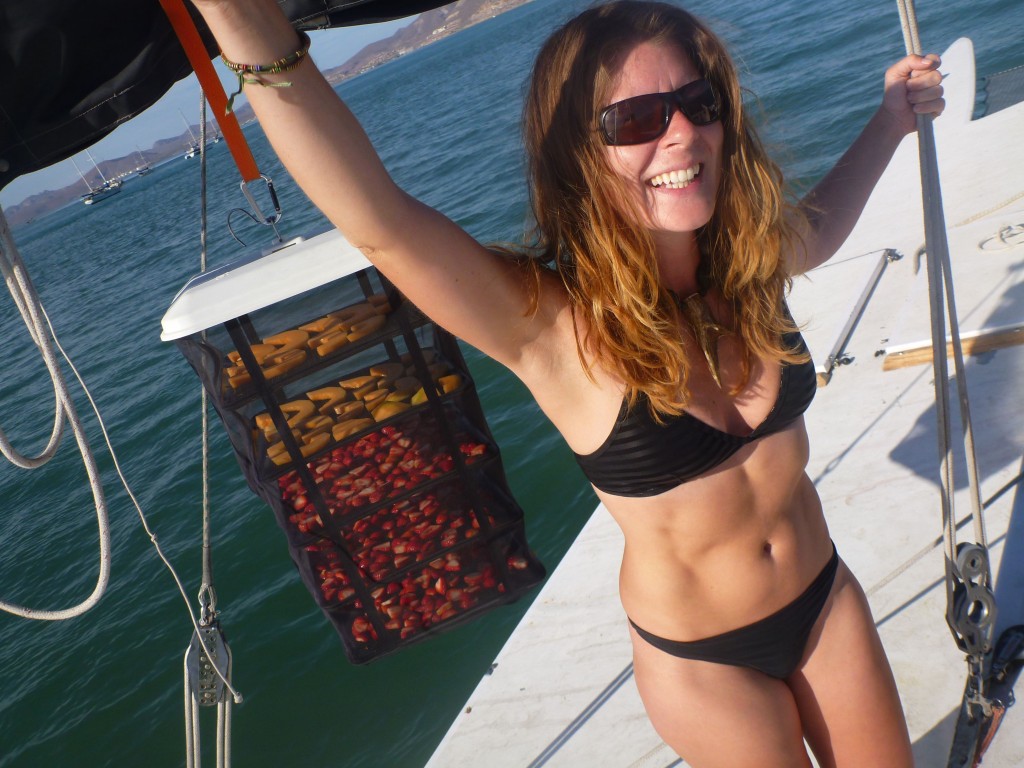
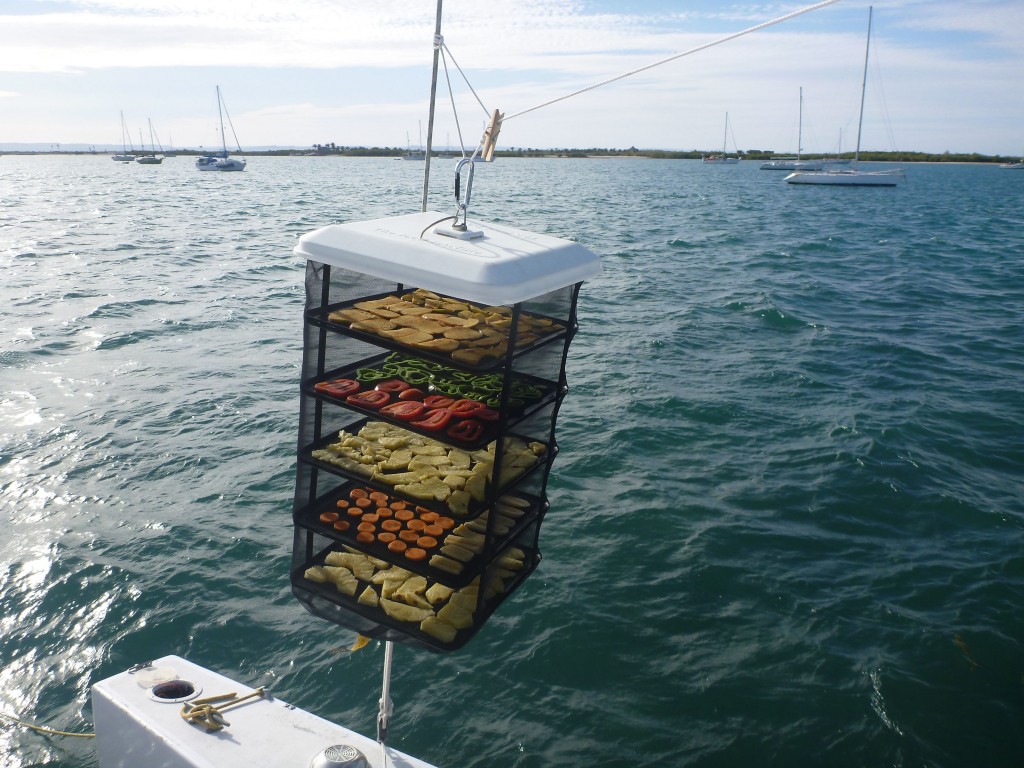
dehydrating fruits and veggies

Miya picked up a food dehydrator online in San Diego and started drying fruits and vegetables. It’s a lot of work, but the results are worth the efforts. Flashing forward a few months, Miya’s mother actually bought me a hand-cranked apple peeler/slicer, which is something I’d been envying for a long time now, and Miya just dried the first batch of Red Delicious apple slices, which we’ve been eating all weekend.


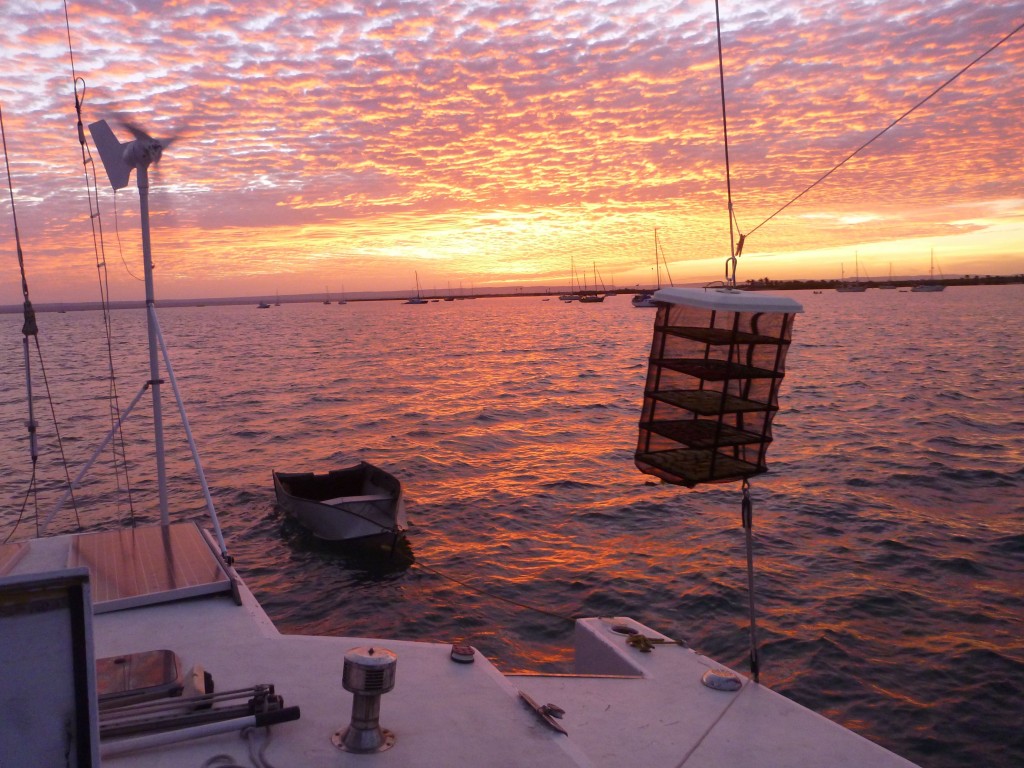
another gorgeous sunset in La Paz

La Paz certainly has no lack of natural beauty, and each evening we’re treated to a spectacular sunset. It’s gotten to the point that we’re not easily impressed anymore, which is both amusing and sad; it’s strange how quickly you can acclimatize to any situation, and no matter how otherwordly, sooner or later anything can become “normal”.


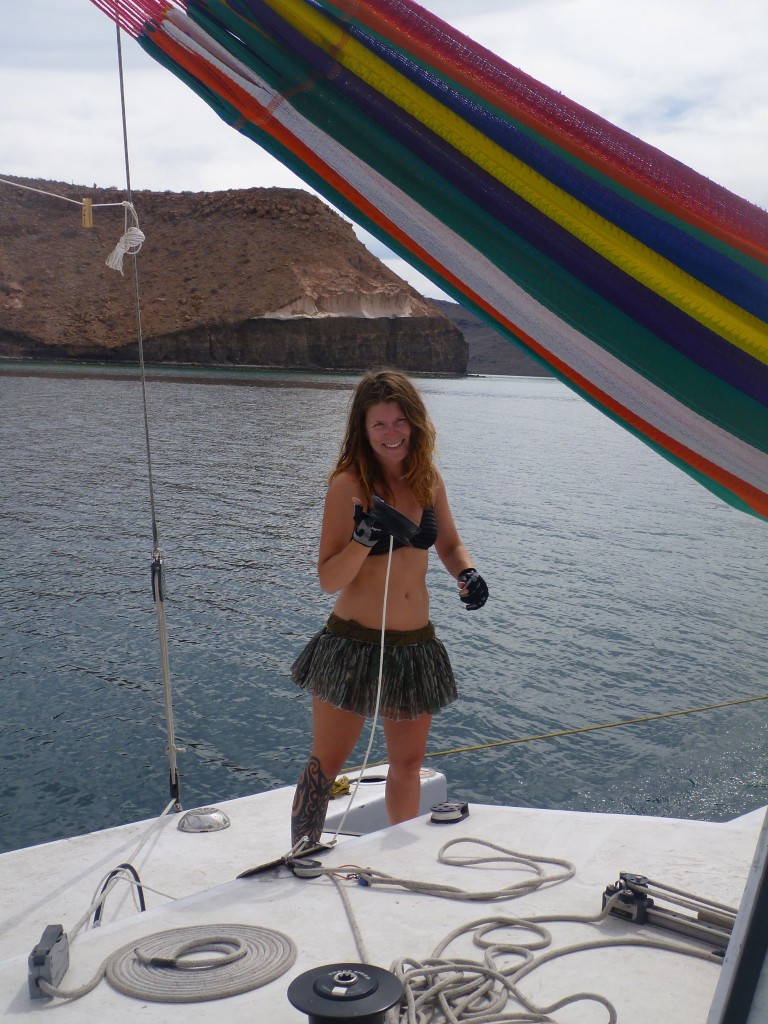
Miya fishing near the Isla Espiritu Santo

We did manage to pull ourselves away from La Paz for a few days, and spent an amazing ten days or so living in anchorages on the Islas Espirtu Santo and Paritida, just north of La Paz. Uninhabited, the islands are beautiful rocky deserts surrounded by blue waters teeming with fish. Here Miya is pulling in one of her trolling lines – the colors above her are the woven hammock we found in La Paz.


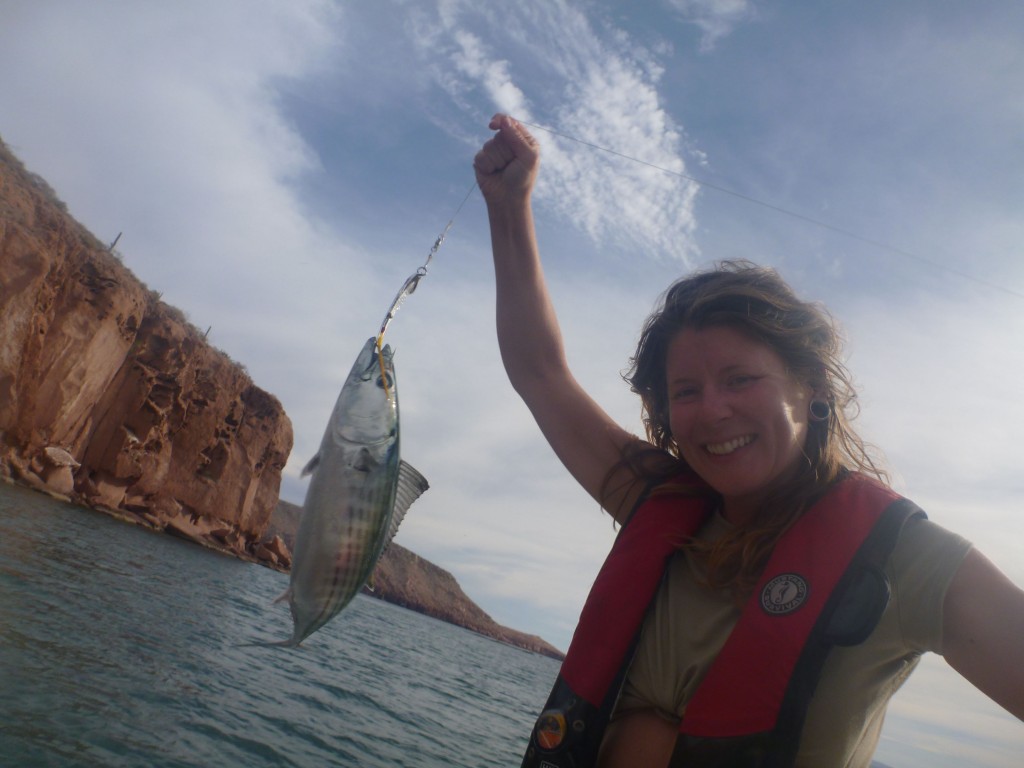
dinner acquired!
dinner acquired!

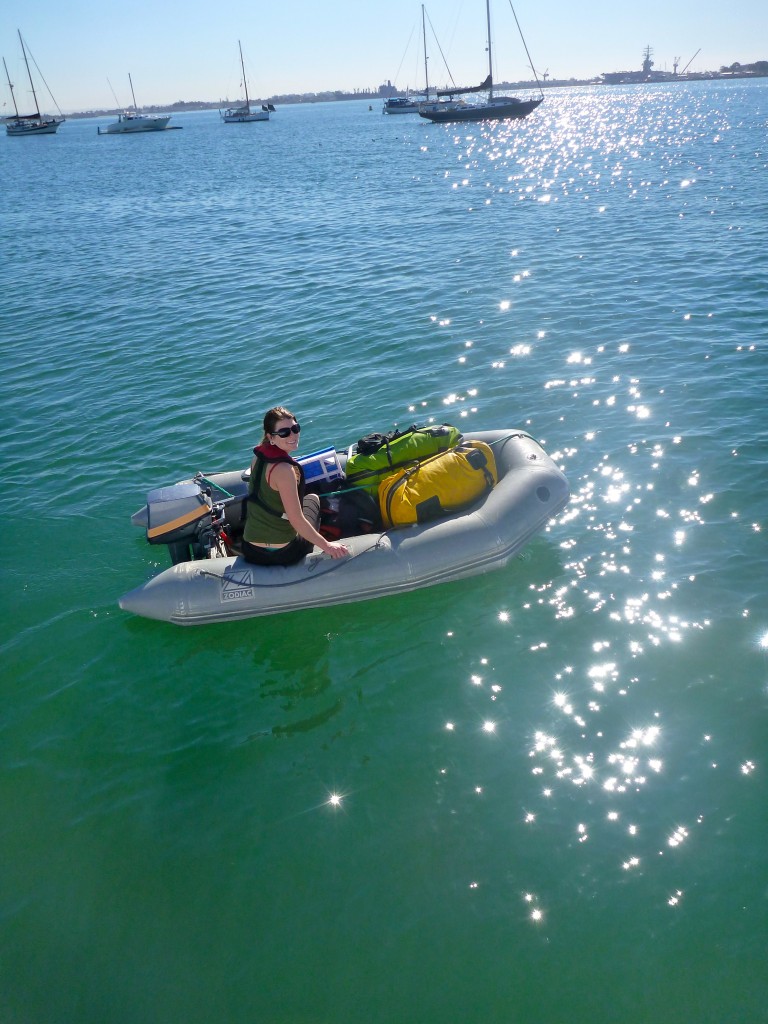
Aside from trolling from the TIE Fighter when we’re underway, Miya also enjoys trolling behind the inflatable dinghy when we’re exploring, and in this case she landed some sort of fish that we have never managed bothered to identify. Is it a bonita? Who knows! It was delicious.


another sunset, from an anchorage on the Isla Espiritu Santo

Certainly sunsets at anchor in the city are beautiful, but they’ve got nothing on sunsets in (nearly) empty anchorages out on the islands! This was taken in the northernmost anchorage on Isla Partida. Not shown is the 35kn winds that picked up after midnight – we had a 15kg ‘Delta’ anchor down, but I jumped into the dinghy in the pitch black night to kedge out a second anchor just in case… we’re able to anchor the TIE Fighter very close to the shore due to her shallow one-meter draft, but when the wind picks up the rocky shoreline starts to look terribly dangerous…
 

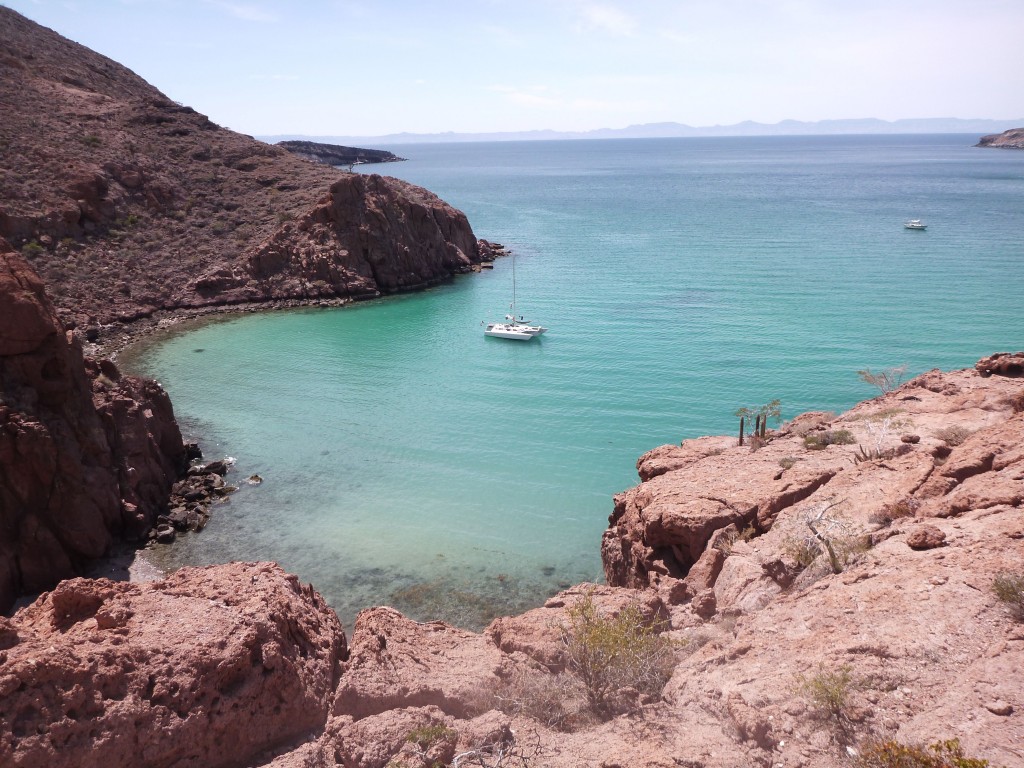
the anchorage in daylight

The anchorage on Isla Partida in the daytime – nowhere near as scary in the daytime!! Funny how howling winds and pitch black with no moon can turn even the prettiest tropical anchorage into a scary place. Here we could swim to shore and hike up into the hills, which were riddled with sandstone caves, some of which showed signs of being inhabited hundreds of years ago.


dinner with greens from our garden

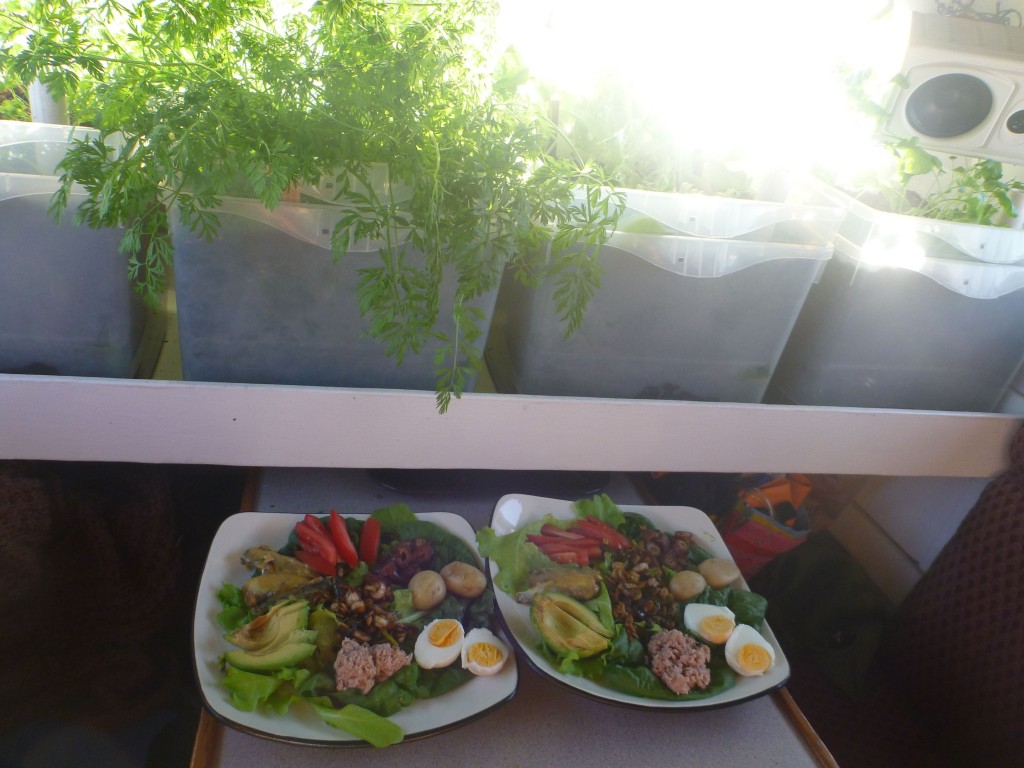
Summertime brought excellent growth to the garden, and Miya explored the local grocers to feed us with the best things she could find… here is avocado, tuna, eggs, potatoes and peppers served on green lettuce from the garden.


another round with the dehydrator

Nothing quite like harnessing the sun to help with food production!

(sure, that’s what I like best about this photo… the dehydrator… right…)


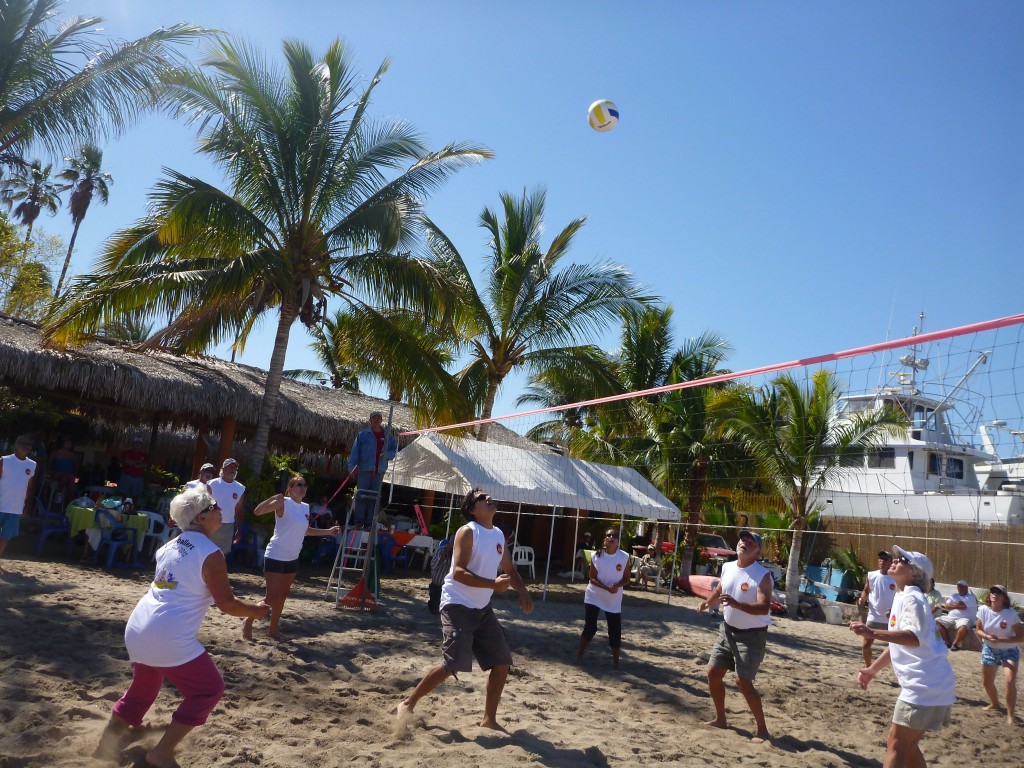
I... well... joined a volleyball team.
I… well… joined a volleyball team.

Leading up to “Bay Fest 2012”, a call would regularly come over the VHF radio – “Volleyball practice today, 5pm, no experience necessary!”. Back when I was a young pup I enjoyed beach volleyball every summer at camp, so it wasn’t too great a stretch to think I might enjoy it again. Despite not having volleyed, bumped or spiked in well over twenty years, I got back into the routine very quickly and greatly enjoyed the activity.


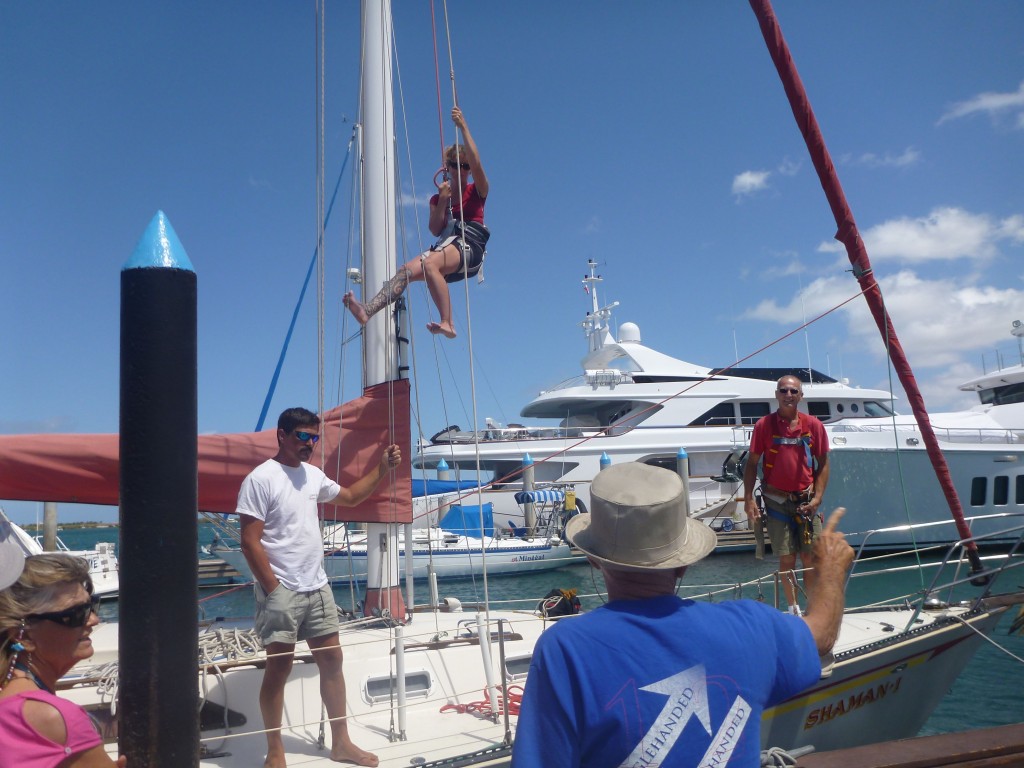
Miya as the demonstration-babe for a safety seminar

During Bay Fest, one of the seminars was put on by our friends Rob from s/v Keetya-1 and Will from s/v Shaman – they enlisted Miya to help with their “Safety Aloft” session, teaching us the basics of working safely on a mast.


our friends Tim and Meredith from s/v Luckiest, and Jody from Avatar
our friends Tim and Meredith from s/v Luckiest, and Jody from s/v Avatar

The end of Bay Fest was a big costume party blowout, but very few of our new friends had costumes – this wasn’t a problem, as both Miya and I travel with a big tickle-trunk of costumes each. We were able to costume Tim and Meredith from s/v Luckiest, though Jody from s/v Avatar already had his own costume planned out.

…and that brings us up to the 2012 haulout, which I will have to present as another blog post.


Delicious Ham

“TIE Fighter, TIE Fighter, Estrallita.”

“Estrallita, TIE Fighter, go two-one, over?”

I have to say, one of the things I’ve been enjoying most about La Paz is the active community of sailors monitoring and communicating on their VHF radios. Most of the boats have their radios on listening to channel 22 full time, and there is a popular radio net every morning, giving updates on weather, tides, lost and found, boat arrivals and departures, local news, swaps and trades and more. Seeing how effectively it creates a bond among the sailors in the harbour, I think if I were back in Vancouver I would try to encourage a local False Creek radio net.

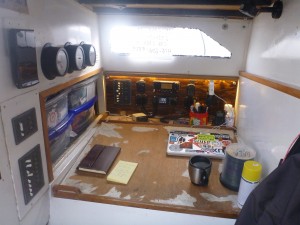
the navigation table on TIE Fighter
the navigation-slash-comms table on TIE Fighter

The great thing about VHF is that the hardware is cheap and easy to use – the downside is that the functional range of the VHF signal is somewhat low. The signal can go a lot further, from land-based transmitters or larger installations, but for a ship at sea you get about ten kilometres and that’s it.

That’s where higher-power radios come in; on the TIE Fighter I’ve recently (finally!) finished a long, expensive ham radio install. Since then I’ve linked the radio with my laptop, and have been able to use it to send and receive emails from sea and update our current position with the WinLink.org tracking site. Through the emails I’ve also been able to have weather reports and even up-to-the-minute satellite images sent to me, giving us a view of what’s happening over the horizon and letting us know what to expect during those stressful nights at sea when the winds just won’t stop building.

It’s not like data over ham radio is a new concept, though admittedly the number of active hams has been somewhat in decline for the past twenty years and the interest in packet radio doubly so. Ham radio in general has been picking up a little lately, probably in part due to more and more people taking interest in emergency preparedness and doomsday scenarios – nobody really seems to have a land-line telephone anymore, and if there’s a big earthquake or natural disaster of some type, history shows us that the cellphone networks cannot be relied upon. Still, the concept of linking ham radio with the internet has fallen somewhat, due to cheap, fast and ubiquitous internet access. I have not been able as of yet to get a straight TCP/IP connection to the internet over the radio; I’ve only been able to send and receive messages.

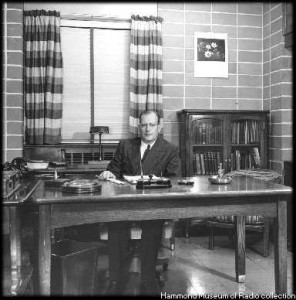
my grandfather, 'Marconi' Moe Smith

For what it’s worth, ham radio is apparently in my blood! Two of my uncles are active hams, and my grandfather on my mother’s side was the Chief Engineer of CBC Radio for many years. “Marconi” Moe Smith was responsible for the design and construction of the huge Radio Canada International 500,000-watt curtain array antenna, broadcasting CBC radio international – to most of the planet – from Sackville, New Brunswick.

It took me thirty years to finally take the plunge and get my ham license, but when I took a certification class with the Bluewater Cruising Association I found myself slapping my forehead in disbelief at the parallels. I have been a certified pocket-protector computer nerd since a very young age, dabbled in homebrew electronics and spent countless hours in front of a bank of analogue synthesizers, all of which contributed to me receiving an honours grade on my ham radio exam.

For the ham radio install, I chose an Icom IC-7000 radio – I considered the Icom IC-706, but I figured if I’m only going to buy the one radio, I should buy one with ample room to grow and features geared towards using the radio specifically for data. In retrospect I’m not sure I gained much going with the newer model, but I’m not dissatisfied with my decision. For a tuner, I was recommended the SGC-230 Smartuner over the matched Icom AT-180, because the SGC-230 can be used with any radio, not just the Icom, and I figured that might come in handy someday if I upgrade (or otherwise destroy) my IC-7000. On other recommendations, I also added a marine voltage booster and a tuner interface device to make the radio and tuner work together even smoother.

attaching the new backstay, insulator visible against my foot

For the antenna itself, I had a secondary, non-structural backstay constructed by Ed at Sailing Supply in San Diego. The 3/16″ stainless backstay is somewhat overkill, given that it will never see any serious loads, but at least it’s nice to know that it’s there in case my main backstay ever breaks, and I don’t have to worry about my main backstay losing strength from being cut to add the insulators.

Lastly, I had to add a radio-frequency ground – this is similar to an electrical ground, but for radio-frequency energy. Normally on a sailboat you would connect the RF ground to a series of copper straps that are eventually bound to the huge chunk of metal in the keel, but with TIE Fighter not having a keel I had a bit of a problem on my hands. I would have to add a lot of copper strapping, creating a counterpoise of a few hundred square feet – and with the price of copper currently through the roof, I wasn’t looking forward to dropping hundreds of dollars on copper alone.

I had a recommendation of a new kind of counterpoise, a “KISS-SSB” – apparently a thick rubber hose with over 600 feet of carefully-sized wires inside. It was about a hundred bucks, so I figured I would gamble and give it a shot before forking over for the copper ground. It worked, though I’m not entirely satisfied with the results… I think the real goal of the KISS-SSB is to provide a counterpoise very specific to the small number of frequencies used for Marine-SSB, not the enormous spectrum available to ham radio. I’ve been experiencing a lot of RF feedback in the signal and in the other electronics on the TIE Fighter – everything I read says that this is because my antenna tuner is not properly grounded.

RF grounding for marine radio, as it turns out, is a huge can of worms with many fiercely-defended opinions. I’ve got a few lines out to experts, and I think the next step will be to try replacing the KISS ground with a thick copper wire going to the bolts holding my propellor-shaft strut to the bottom of the boat – it’s one of the very few metal items that make contact with seawater. If the information in this PDF is accurate, I should be able to get away with it – otherwise, I might have to drop the money for copper strapping.

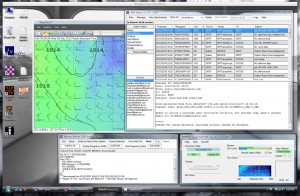
the vmware desktop running various ham radio software

Once all of the parts were installed (including a new VHF radio, a Standard Horizon Matrix AIS+ hurriedly purchased in Sausalito when our previous VHF quietly died the day we were leaving for San Diego) in a newly stained, varnished wood panel, we left offshore for two weeks, giving me a lot of time to spend bent awkwardly over the nav table fiddling with the radio dials. Within a couple of days I had figured out enough to get into Winlink and start sending and receiving emails, which made the trip down feel immensely less isolated. I don’t think I’ve welcomed email from friends and family as much as I did on that trip since my first internet emails almost twenty years ago.

The grand overall cost of the radio equipment and installation was somewhere around $3,000. I was careful to select components that are modular enough that I could migrate the system to another boat or to a land-based station in the future, and I feel like I’ve succeeded in making the setup somewhat “future-proof”. Admittedly I could have spent a third of that on a satellite phone and had $2000 leftover to spend on a data plan, but I don’t feel like a satellite phone would give me the same sense of being a part of a global community as the ham radio has.

Arguably our most important guiding tenet on this boating adventure is to actively strive to be as self-sustained as possible. It would be difficult to call ourselves self-sustained while paying a monthly phone bill to a satellite service! Now that the ham radio is installed, the bills have been paid and the licenses acquired, we’re free to use it for the rest of our lives without any further fees – communicating from virtually anywhere in the world, using power that we generated from the wind and the sun. That’s a good feeling.

La Paz, At Last!

Ok! Hopefully this will be the last big photo-dump update for a while and I’ll be able to get back on track with regular updates – but really, how many times have I said that before? I do take a great deal of pleasure in having this adventure online, but at some point the adventures have to be simply enjoyed without worrying too much about documentation.

On January 29th, a solid two days before we’d be legally in the doghouse with US Customs for overstaying our welcome in the United States (well, technically only I would be in trouble, Miya is American), we left San Diego harbour, turned left and headed for Ensenada.

On to the photos!

Miya hoisting the yellow quarantine flag prior to crossing the border

The yellow flag, flown at the top of the flag halyard on the starboard spreader, represents the letter ‘Q’, which, flown alone with no other signal flags, signifies ‘quarantine’. The quarantine flag is flown when crossing a border, to let the governing bodies know that the vessel has not yet cleared customs for that country but does intend to.


sunset as we cross the border into Mexico

We left San Diego in the afternoon, and we figure we crossed the border just as the sun set. We had excellent weather and a beautiful moon for most of the trip down.


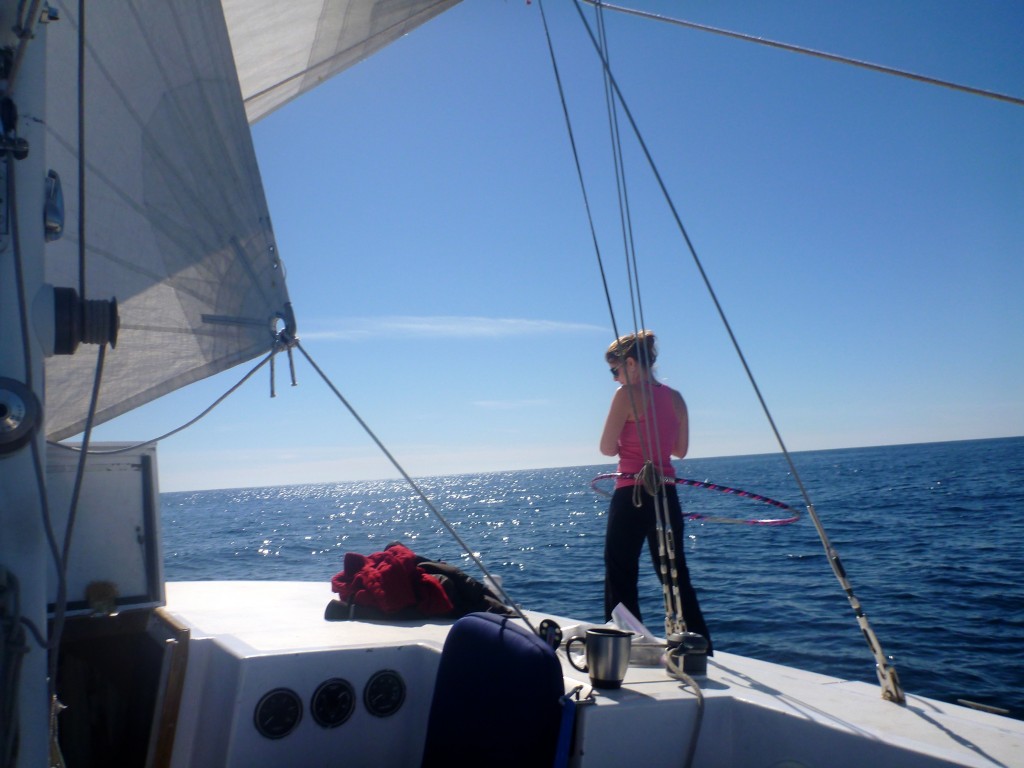
hula hoops and coffee

What a stark difference over sailing down the Oregon coast! The water was a startling sapphire blue and the mornings were warm and sunny.


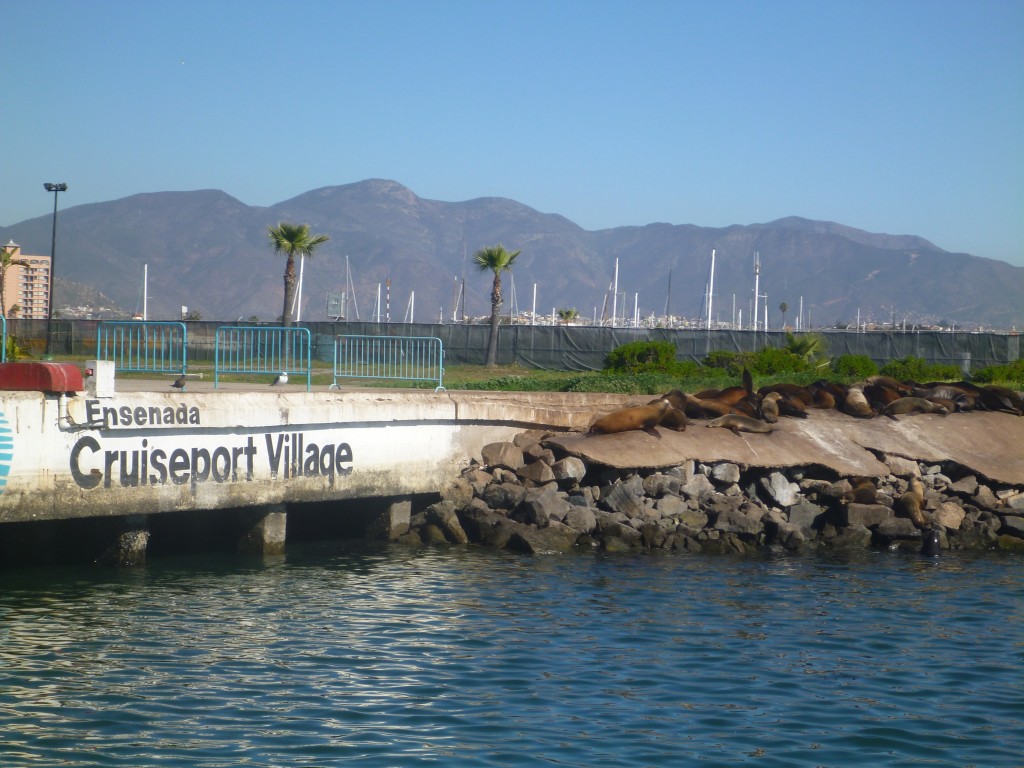
pulling into Ensenada

Arriving in Ensenada late at night – apparently no matter how we plan our trip we seem to be completely unable to arrive at our destination during daylight hours – we followed the instructions of our guidebooks and anchored “inside the breakwater”. In the morning we discovered we were anchored near the navy base, so we quickly pulled anchor and headed further into the harbour to find the sailing docks, just past the cruise ship terminal.


raising the Mexican courtesy flag!

Customs was a bit of an adventure, but with our careful organization of documents and rudimentary knowledge of spanish (and a great deal of help from the Downwind Marine Cruising Guide), we made it through in about three hours of standing in various lines.

The courtesy flag (in this case the Mexican flag) is a show of respect to the country that a yacht is visiting – it’s usually followed by personal colours, in this case an American flag because Miya is American, and then by club colours, in this case the almost-destroyed Bluewater Cruising Association burgee.


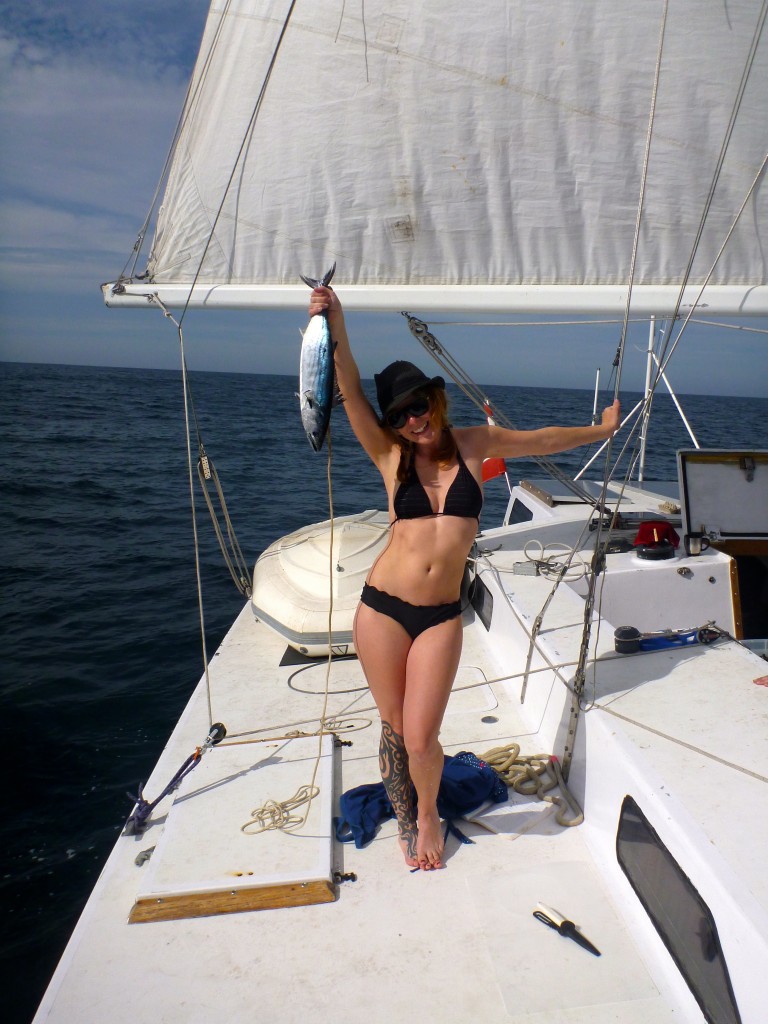
Miya with her latest catch

Miya set her lines every day – three lines, one per person on the boat, each of us having purchased a Mexican fishing license – and was finally successful in catching what was either a skipjack tuna or a bonita, we’re not entirely sure. It was delicious, if a little bit oily.

Within a day or so of this catch, we found ourselves looking down off the side of the boat at a five-foot mako shark! The shark swam up to the boat, turned on its side, looked up at us for a moment and then swam off again. When Miya pulled up her lines later, all three were missing their lures and her downrigger/diver thing had a few deep scratches where it had been attacked by something with sharp teeth!


life offshore
life offshore

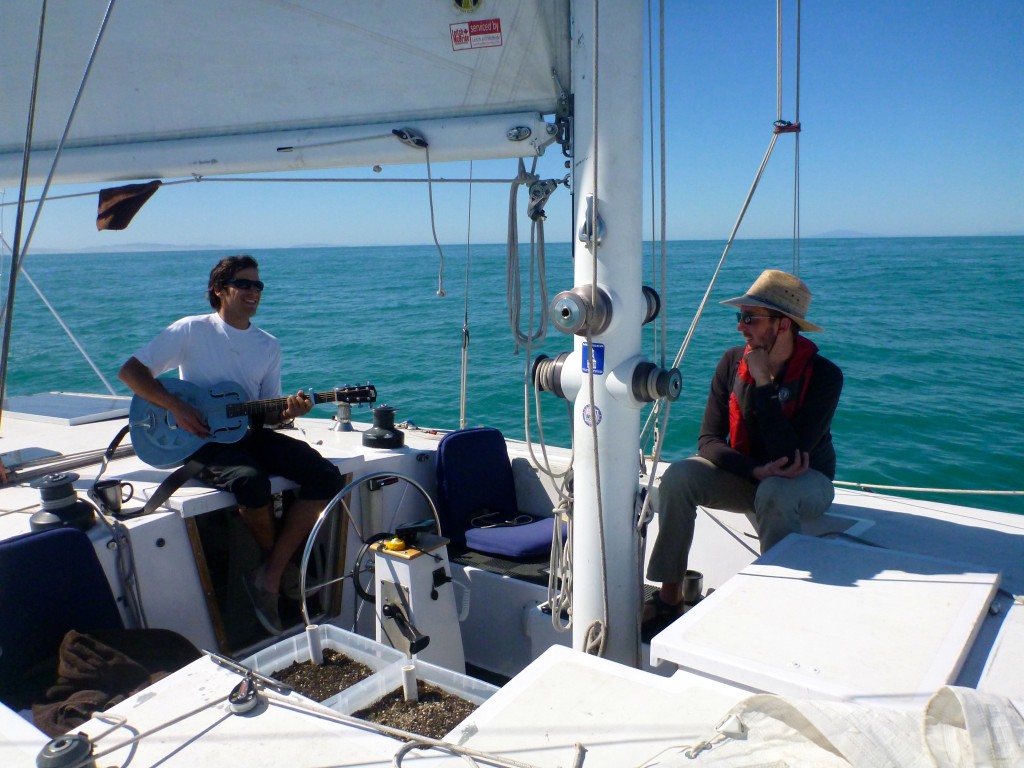
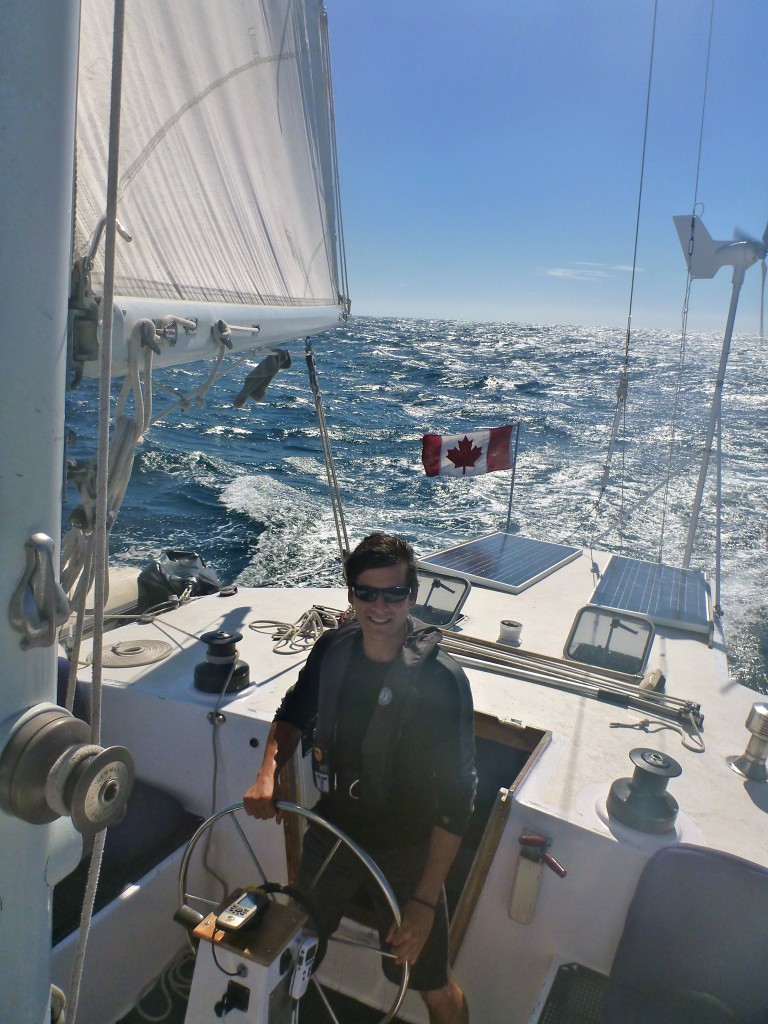
Sailing settled into an easy rhythm, with everyone getting ample sleep and the weather (mostly) cooperating. Our main problem during the long sunny days was a lack of wind – we had to be satisfied with trundling along at 2-3 knots.

Let me say that again: we spent days at a time on our 1200km sailing trip travelling at approximately 5km per hour.

It quickly becomes obvious that sailing is for people who love sailing, not for people who are in a hurry to get somewhere!


ghetto downwind rigging

After a time, we realized that we could optimize our downwind sailing by dropping the staysail, switching the headsail to the 150 genoa and “poling it out” to fly the main and headsail in a wing-on-wing configuration. Unfortunately, we do not have a spinnaker pole! We improvised with our boathook as seen in this photo, but the collapsible boathook pole kept… collapsing. Eventually we tried an oar instead, and it worked very well – though we’re shopping for a used spinnaker pole now, as a very large percentage of sailing in the trade winds is downwind sailing. In the photo you can also see us using a snatch block and the staysail sheet winch to pull the sail downward, giving us much better control over trim.


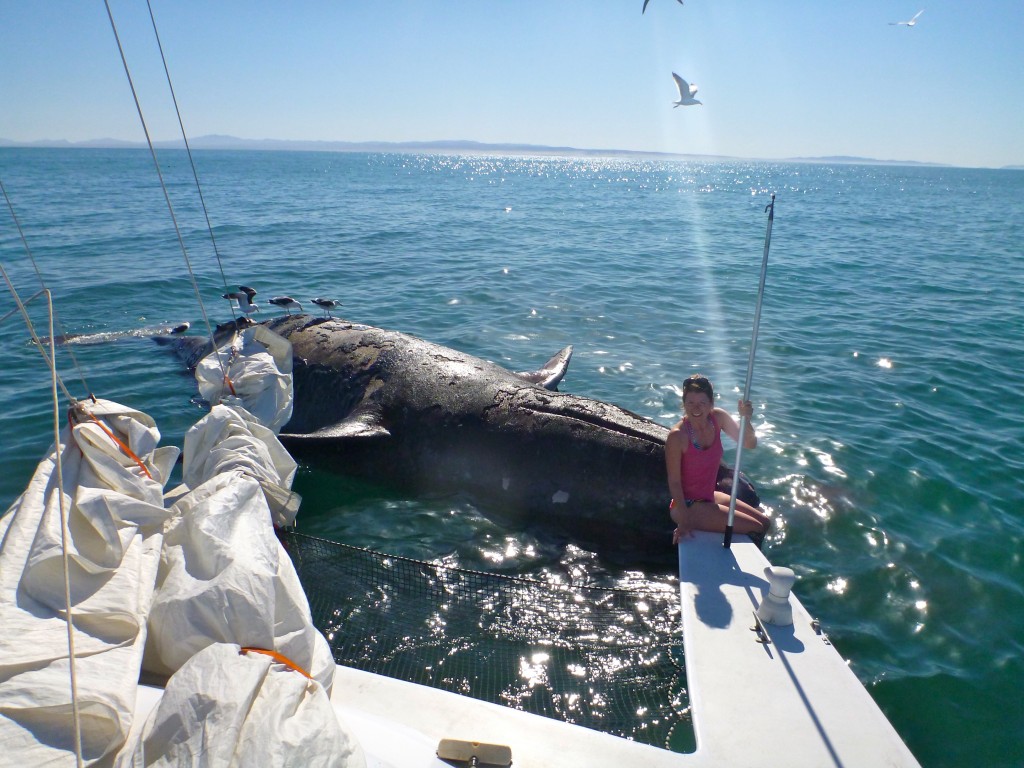
Miya with the dead whale

This photo represents an adventure! Miya heard about the Laguna Ojo de Liebre on the internet, and we made plans to visit the lagoon on our way south. We pulled into the large bay that houses the lagoon late one night, and shortly after I got up for my midnight watch we encountered our first squall of the voyage, with winds gusting to… oh, I have no idea, our wind instruments have never worked properly. Suffice to say we required a double reef in the main, and we were still doing eight knots under just the main and staysail.

The squall was a northerly, and the lagoon was to the south – when we went to enter the long, shallow mouth of the lagoon we found ourselves swiftly approaching sand dunes, surfing down steep three-meter breaking waves. We broke our all-time speed record, hitting 15kn, before realizing that if one of those waves were to cause us to dig an ama bow into the sand the entire trip would come to an abrupt end. We quickly turned around and headed back out into the open bay.

In that bay, we saw something floating off in the distance, and I was curious so I took us on a fifteen-minute detour out to find out what that something was. It turned out to be a dead, bloated grey whale, which Miya found endlessly fascinating. The whale was blowing a steady stream of some sort of decay-gas from its mouth, and as it bobbed up and down in the small waves the gasses would alternately hiss into the air and bubble into the ocean.


shower time!
shower time!

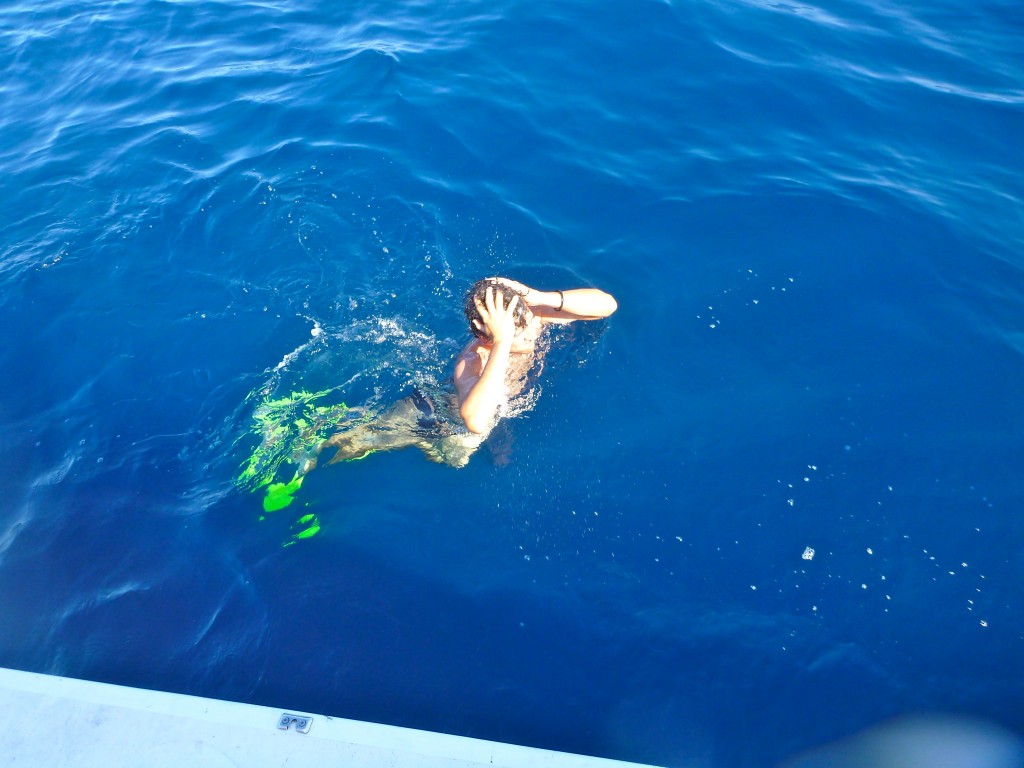
Once back out into the open ocean, the water took on that unreal deep sapphire blue hue again, and we all took advantage of the warm, clear water to jump in with a handful of shampoo and get ourselves clean. With a pair of swim fins, it’s surprisingly easy to keep up with a sailboat travelling at about 2kn, even with both hands occupied with shampoo.


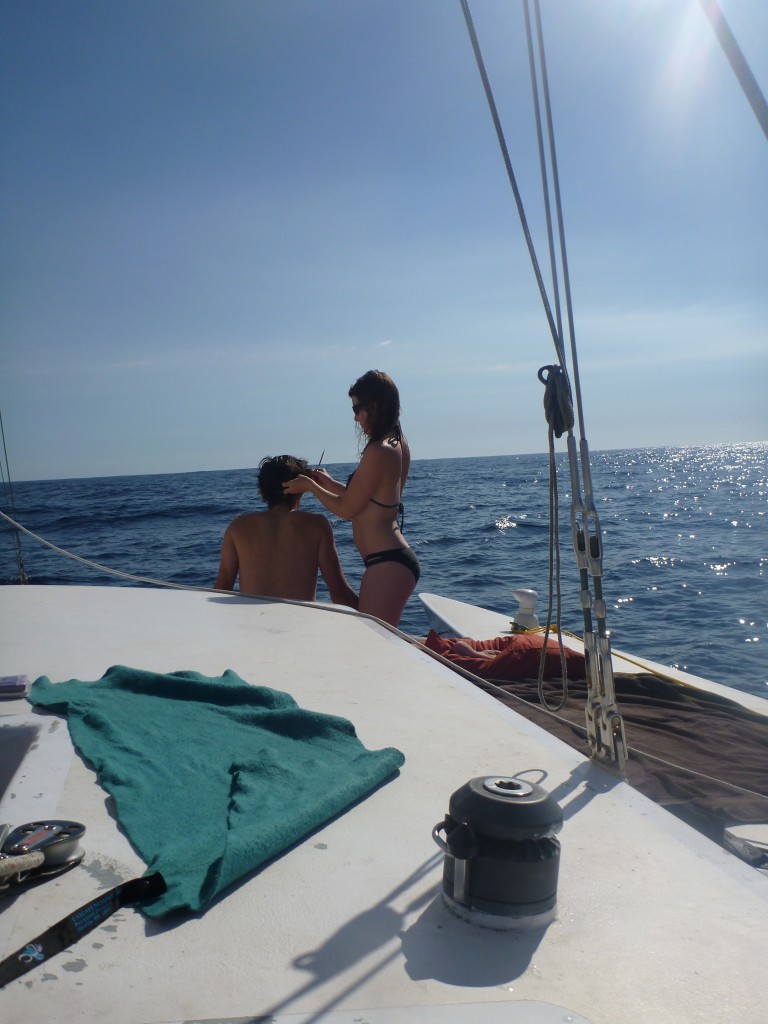
Miya trimming my hair

By this time it was almost three months since my last haircut, so we figured it was time to let Miya have a go at it. She’s performed probably thirty haircuts before, so I wasn’t that worried – and besides, even if it was botched utterly it would just be an excuse to give myself a nice, easy-to-maintain buzz cut.

She did a fine job – arguably one of my best haircuts of the past few years.


a friendly visitor
a friendly visitor

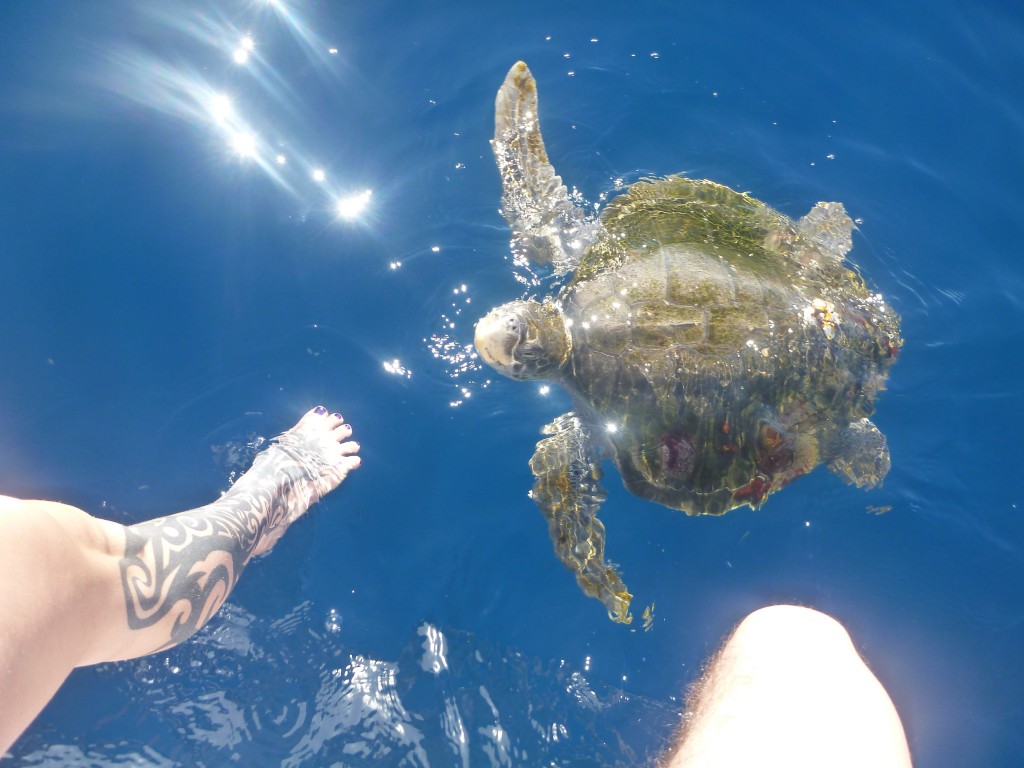
Just after breakfast one morning, Miya called me up on deck excitedly – a sea turtle was swimming along behind the boat, apparently following the thick white fishing lines. The turtle came closer and closer to the boat, eventually seeming to play in the slipstream of the main hull – it stayed with us for probably an hour, coming close enough for us to look it in the eyes and have a lovely conversation about fishing. Miya named her ‘Marguerite’.

I took a video of the turtle, and Miya posted it to her YouTube account.


20kn winds near Cabo San Lucas

Finally, as we rounded the tip of the Baja Peninsula, we saw some reasonable winds! We estimated around 20kn, and rather than start putting in reefs and taking down the headsail, we decided that it would be nice to “open her up a little”, and we spent most of the afternoon flying past Cabo at between 7.5 and 9.5 knots, splashing through whitecaps in the Mexican sunshine.


jumping waves near La Paz

After rounding the peninsula, we had about 12h of good winds to ride north to La Paz – but then the winds shifted, and we spent the next day trying to beat our way northwest into northwesterly winds, gaining little ground. We were running low on fuel, so we couldn’t just motor the whole way – luckily we had time, so the next day or so we sailed to weather as best we could, with the winds taunting us, switching between “utterly dead” and “decent but in the exact opposite direction from what we’d like, regardless of our current tack”.

Finally, we had had enough – I looked at the fuel tank and decided that we had enough fuel to make it into La Paz by nightfall, and so we turned directly into the wind and motored for the next eight hours. The wind had been blowing steadily from that direction for at least a day, so the wind waves had built up quite a bit, and we were motoring right into them. We discovered at this point that if we harnessed ourselves in and went to stand at the absolute tip of the bow, the bow would dive down into the wave trough and then leap eight or nine feet straight up with the next wave! We all had a few turns; it was a fun diversion for an otherwise gruelling day.


a giant moth found in the sink

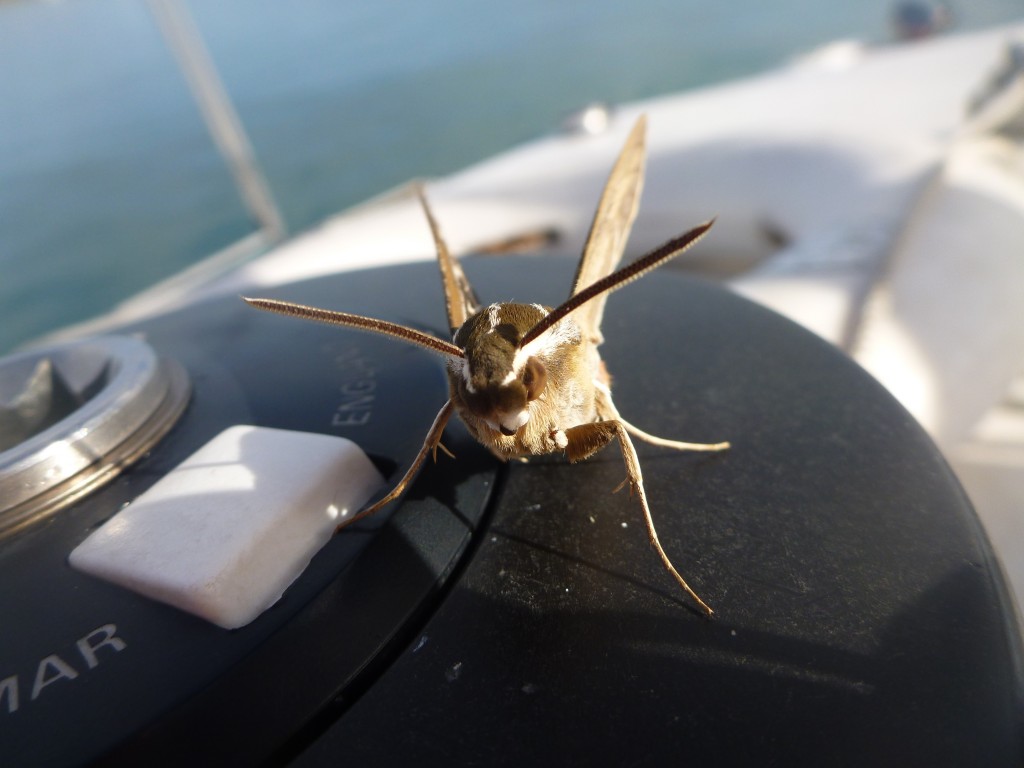
The closer we got to land, the more Mexico started to show up in the boat. This was a giant moth that was found sleeping in the sink drain the last morning before arriving in La Paz. It was huge!


Miya's garden starting to grow

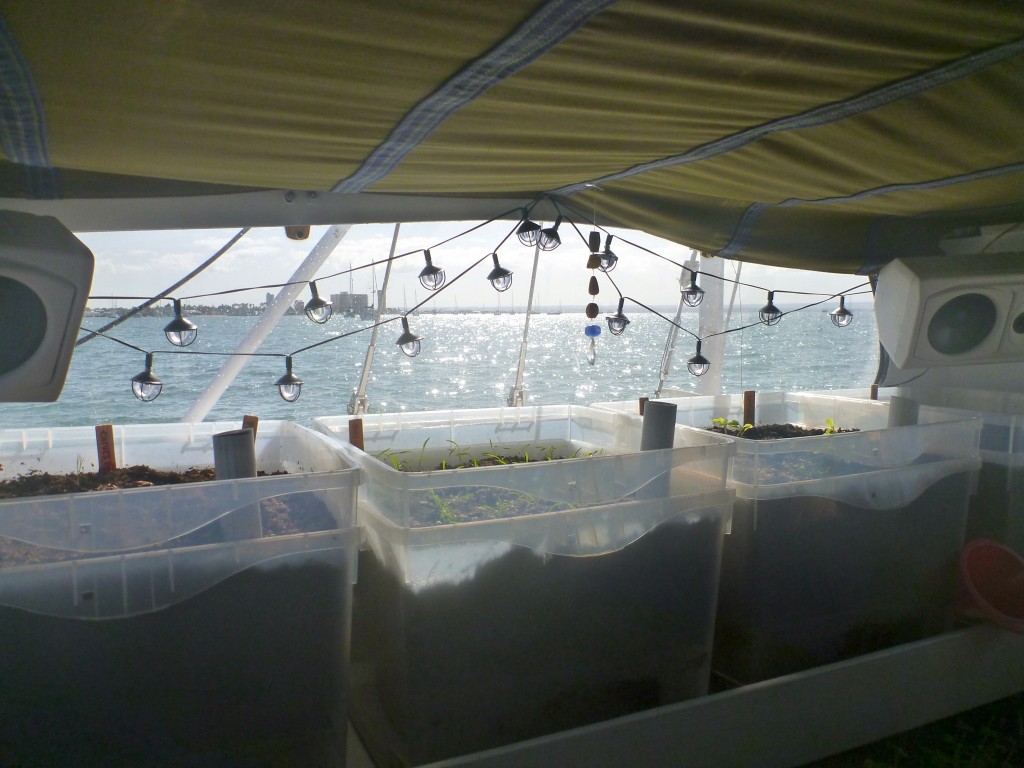
On the long trip down from San Diego, Miya’s garden began to thrive! Her carrots, broccoli, spinach and lettuce all sprouted, and the chives and parsley came up soon after. Combine all of those with her regular sprouting of a ‘salad mix’ of sprouting seeds, a 2kg bag of which she found on the internet, and her new sprout-in-a-towel technique for her micro greens, and we’ve got a very solid influx of green leafy things in our diet.


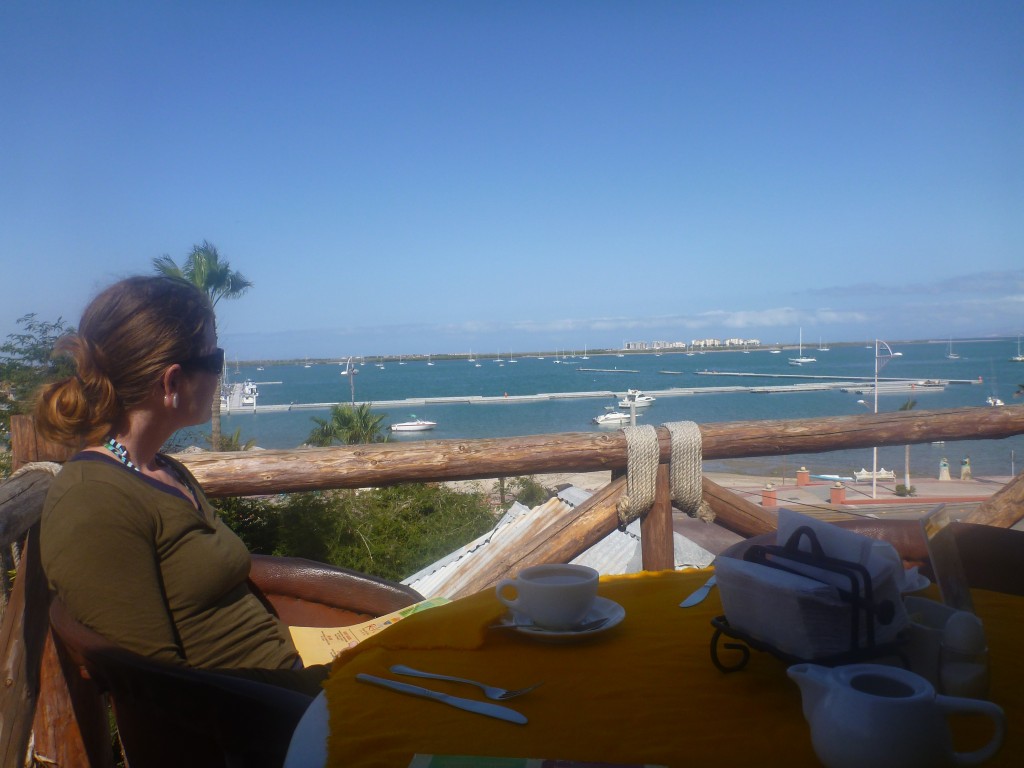
breakfast in La Paz
breakfast in La Paz

Finally we arrived in La Paz – we anchored out near the ‘Magote’, which as far as we can tell means “sand bar” (upon which someone decided it a wise choice to build timeshare condominiums; the mind boggles). The air is warm, the water is blue, and we’re settling in for a month or so while we get used to living in Mexico.

And that, my friends, brings me nearly up to date. The reality is that we’ve been here in La Paz for almost two weeks, and we’ve had a few adventures already, but at least I’m writing about the same country now. More to come, soon I hope, and with more regularity!


San Diego, Round Two

We were in San Diego for almost two months, but that time seemed to blow past us at an extremely accelerated pitch. Our ‘Cruising Permit’ (the customs paperwork allowing the TIE Fighter to remain in the US while being a Canadian-flagged vessel) would expire February 1st, so we had to hustle if we wanted to get all the pending projects completed before we left for Mexico, where everything would be an order of magnitude more complicated!

When we originally cleared customs in Port Angeles, Washington back in September, the customs officer asked how long we’d like the permit to be – we laughed and told him that we intended to be in Mexico before Christmas. He nodded and said

“I’ll just give you a couple of extra months anyway, just in case you run into bad weather…”

I guess he must had some experience with that sort of thing…

Anyway! On to the photos!

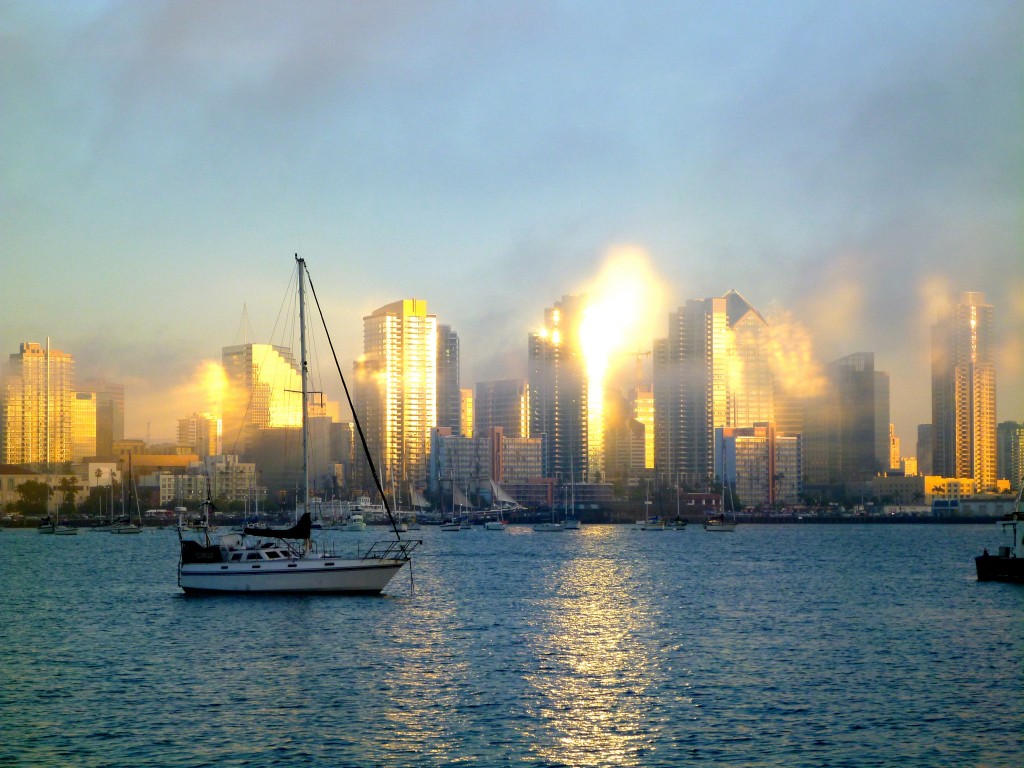
San Diego at sunset with fog rolling in downtown

San Diego, despite being a bizarre mix of old-money Republicans and impressionable young military personnel from the midwest, had its moments of beauty. Click this photo for the full-size version; check out the sunbeams reflecting off the mirrored buildings and through the early evening fog bank!


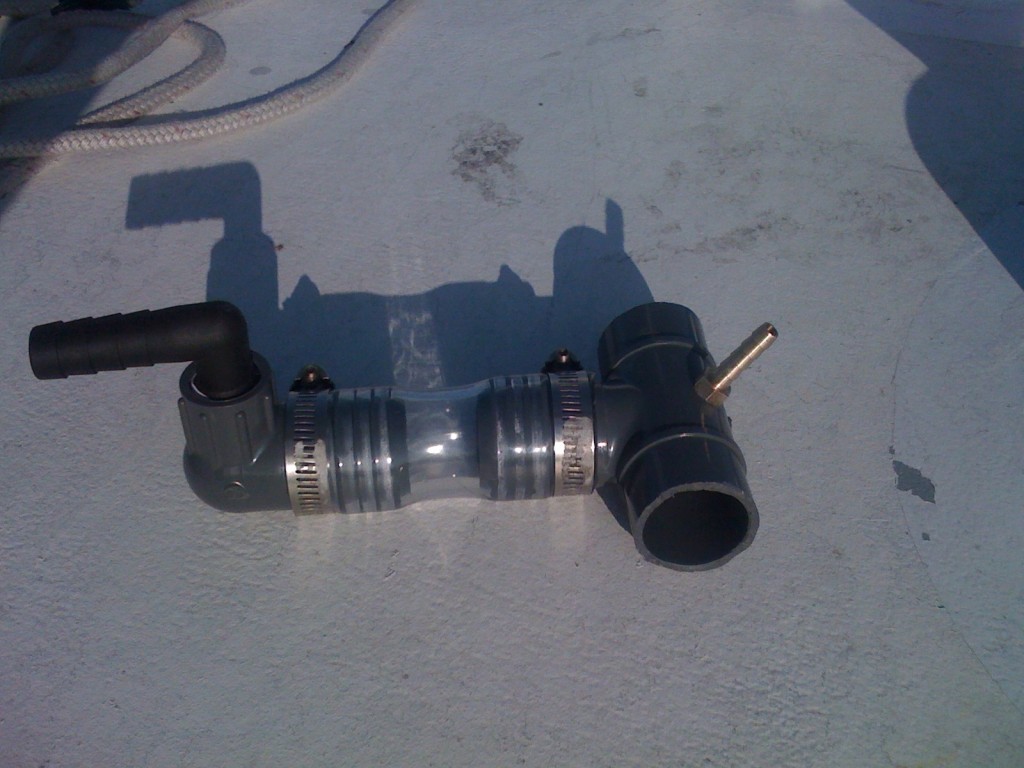
a frankenstein part I built for the water maker

At no point did we expect that the water maker install would be simple, but I have to admit I  was expecting all of the parts to be readily available. That wasn’t really the case, and I had to build this fitting to attach the product water feed to the tank inlet, while also adding a vent line so that the water maker water feed will never see more than 3psi in back pressure – apparently that would irreversibly damage the water maker membrane, which is a very expensive replacement.


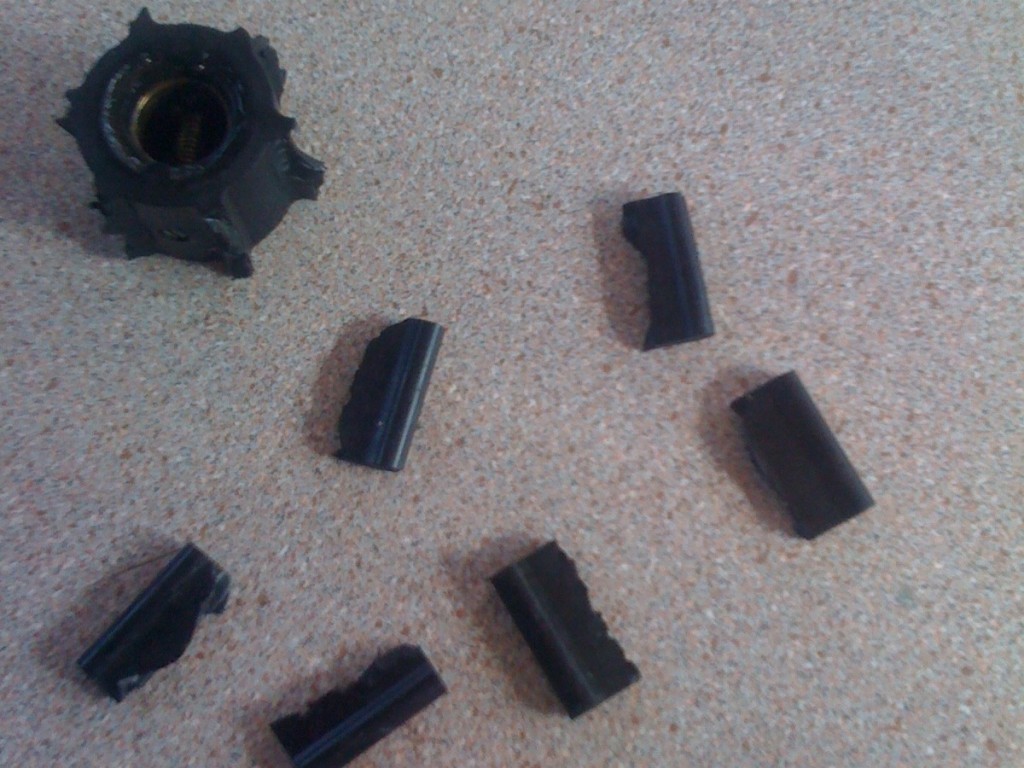
the remains of the impeller

One night just before Christmas, just prior to having the water maker up and running, we decided to make a run to the fuel dock to fill up our water tanks. We made it out of the A9 anchorage and around the corner a few hundred meters when suddenly our engine alarms started screaming…

We blew the seals on one of our freshwater pumps on the way down – it was still working, but leaking coolant. I had a guy in San Diego rebuild the pump ($50 instead of a $400 new pump), but when I reattached the pump I didn’t properly bleed the air out of the coolant lines. A brand-new impeller was just spinning away with nothing to pump, and it was destroyed within minutes.

Mostly I’m impressed with myself, that I was able to determine the cause of the problem and fix it within about an hour, without having to call for help or even consult any manuals. That kind of thing really helps with a person’s confidence in taking their vessel far offshore.


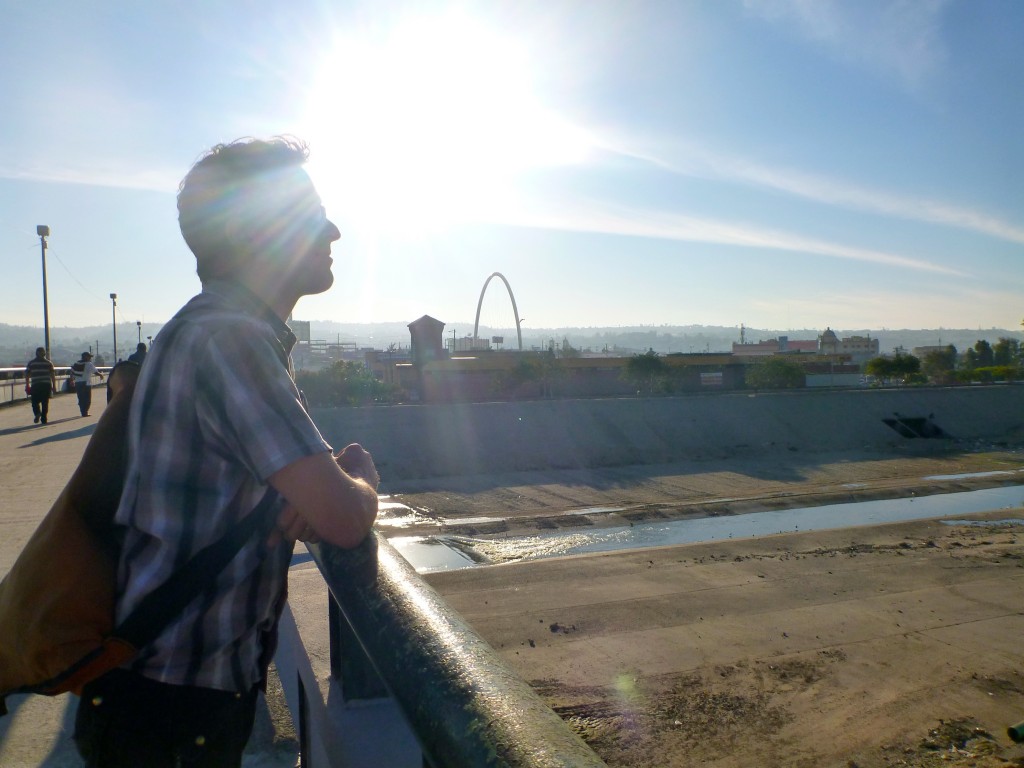
the bridge to Tiajuana
the bridge to Tijuana

As it turns out, Tijuana is a $2.50 public-transit train ride from downtown San Diego, and so we decided to take a brief day trip south of the border. Tijuana is everything that I dislike about Mexico, condensed into a single city – a stark contrast to La Paz, which is absolutely nothing like it.


a spraypainted "zebra"

Between hundreds of shopkeepers (all bafflingly selling the exact same items for the same prices) yelling at us to come into their stores and restaurant owners offering cheap tequila (followed by “I’ve got something for your nose, amigo!”), there were random street “displays”. This one, a burro spray painted with zebra stripes, was apparently available for tourists to take their photo with… for a fee, of course.


laundry day
laundry day

The first step to arriving in a new city is to figure out where the basics are coming from – internet, showers, groceries, laundry, etc. Most of the facilities were a good five kilometres away from the anchorage, however, so we made the most of our time and split up the tasks between us. This is Miya, with all of our laundry packed into a series of heavy dry bags and our collapsible pull cart, headed for the laundromat.


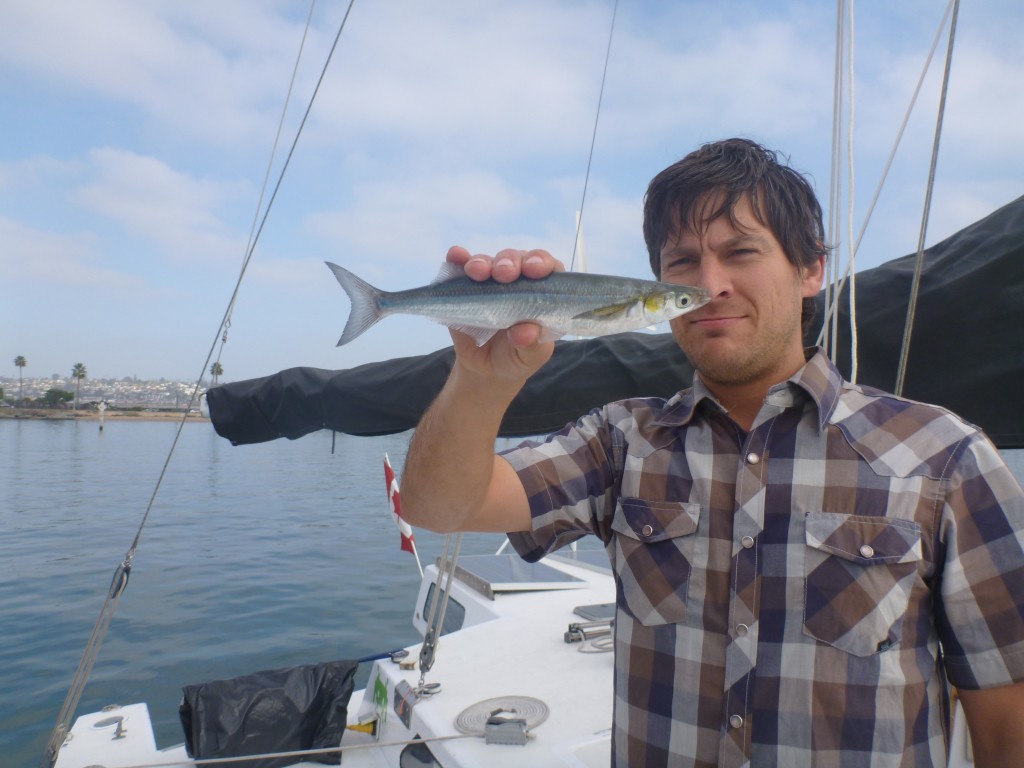
one of the acrobatic mackerel

In my last post, I began by describing hundreds of tiny acrobatic fish hurling themselves at the side of the boat. Later that day I discovered that several of the fish had leapt into the dinghy! The internet told us that these fish were mackerel, but unfortunately it also told us that you should never eat fish that you’ve found dead; there would be no way to know how long the fish had been dead. Pity I hadn’t looked into the dinghy earlier, these little guys would have made for a delicious breakfast.


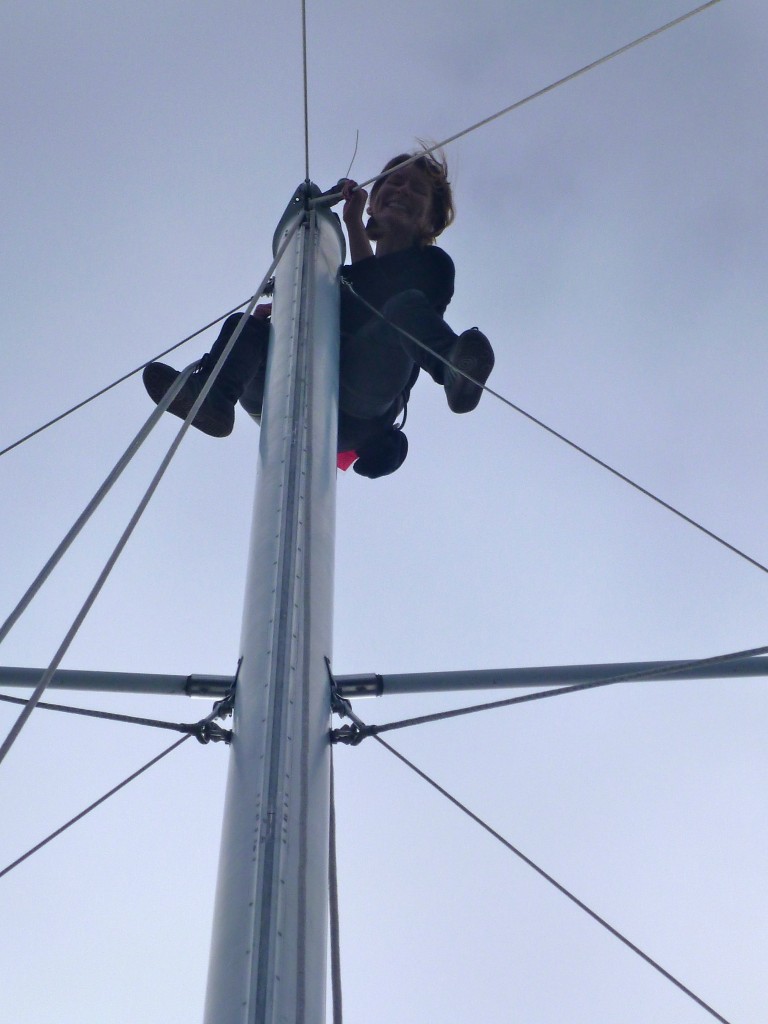
Miya at the masthead

One of the biggest projects I wanted to have completed before leaving offshore was the ham radio install. This required several trips up the mast; one to affix a temporary backstay (length of steel cable holding up the mast) to measure the length of the new antenna, one to take down the temporary backstay, and one to affix the new backstay.

After hoisting me up the mast with our largest winch, Miya decided that it would be easier for both of us if she went up and I manned the winch.


the pelican mafia
the pelican mafia

The pelicans in San Diego were pretty much completely unafraid of humans, and would regularly surround our boat during their fishing expeditions. A few times they almost appeared threatening…


yup, it's grand
yup, it's grand

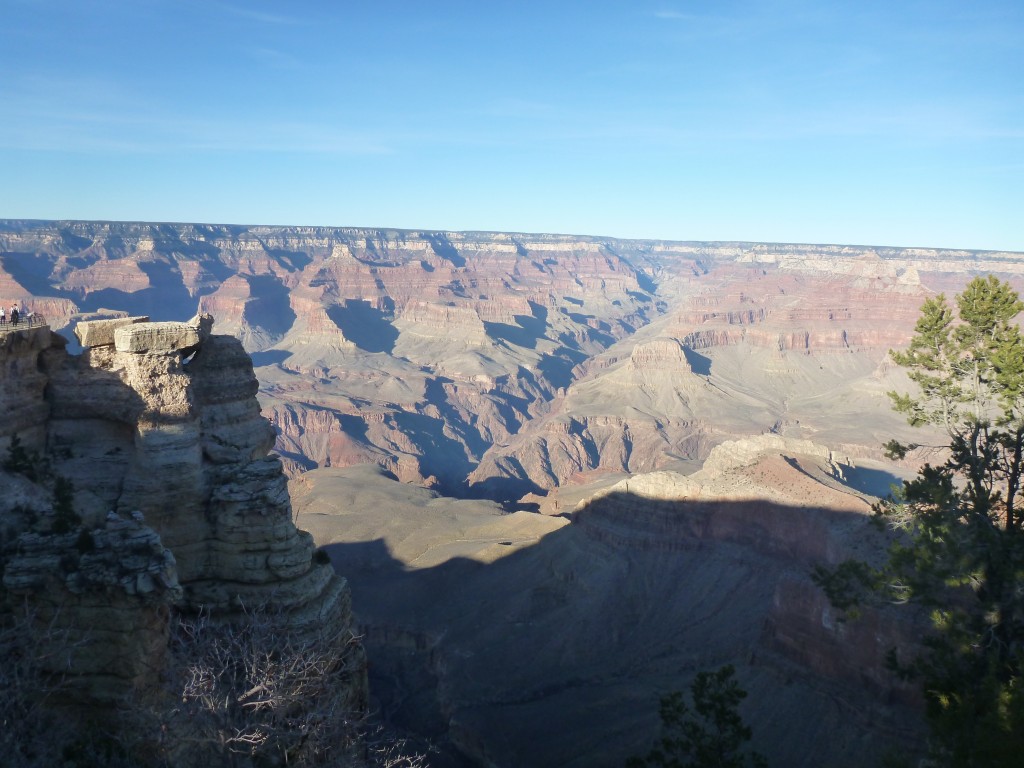
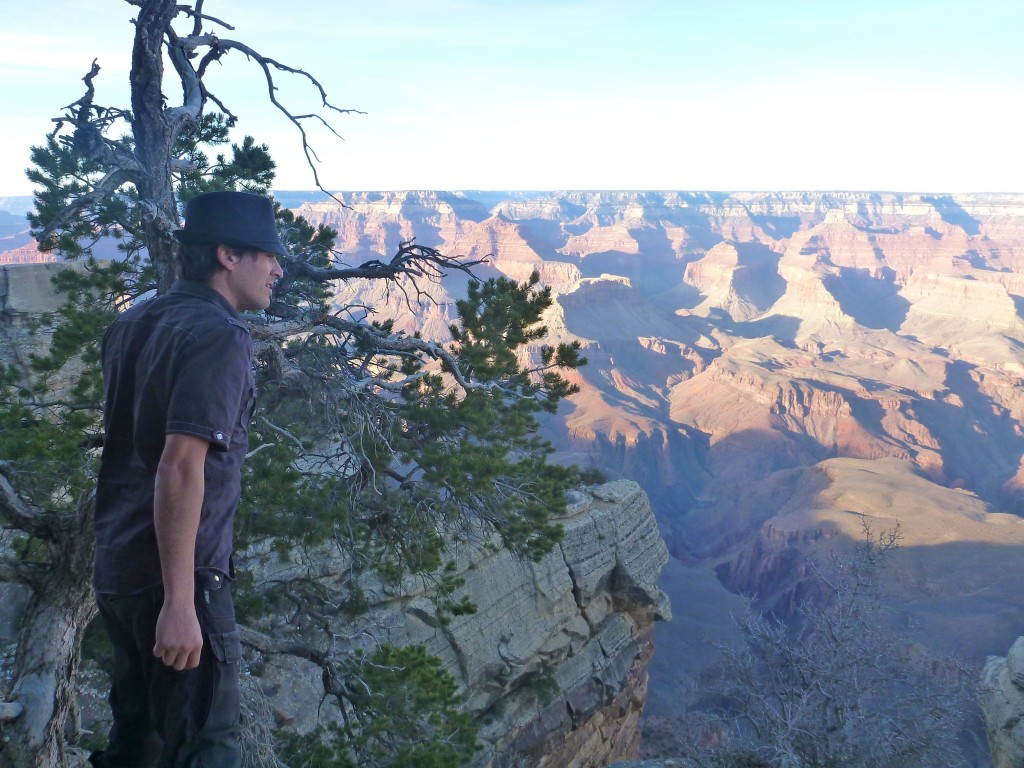
When we realized that the Grand Canyon was a short-ish eight-hour car ride away, and that we’d be unlikely to be anywhere near as close to it every again, we decided to take a few days and go on a road trip. Despite the cold January air, the canyon was everything that television and movies made it out to be: a very large, very beautiful hole in the ground.


pretty steep drop there


obligatory awful tourist take-our-photo shot

This is us enjoying the last moments of  warm sunshine, just prior to the sun falling below the horizon and sending us sprinting for the car and warm sweaters. The desert gets COLD at night!


heiroglyphs in the painted desert

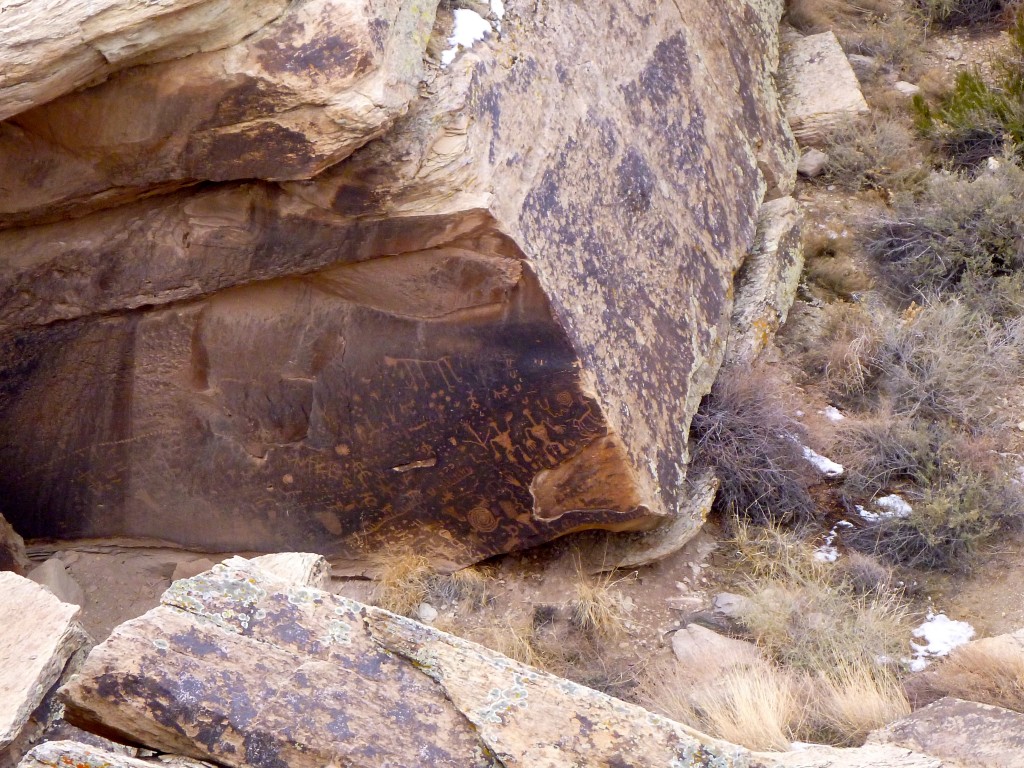
The canyon was nice, but to be honest we preferred the drive through the Painted Desert and the strolls through the petrified forests. If you click this photo and look right at the centre, you can see the 6000-year-old drawings on the side of this boulder, known as “Newspaper Rock”.


continuing our world tour

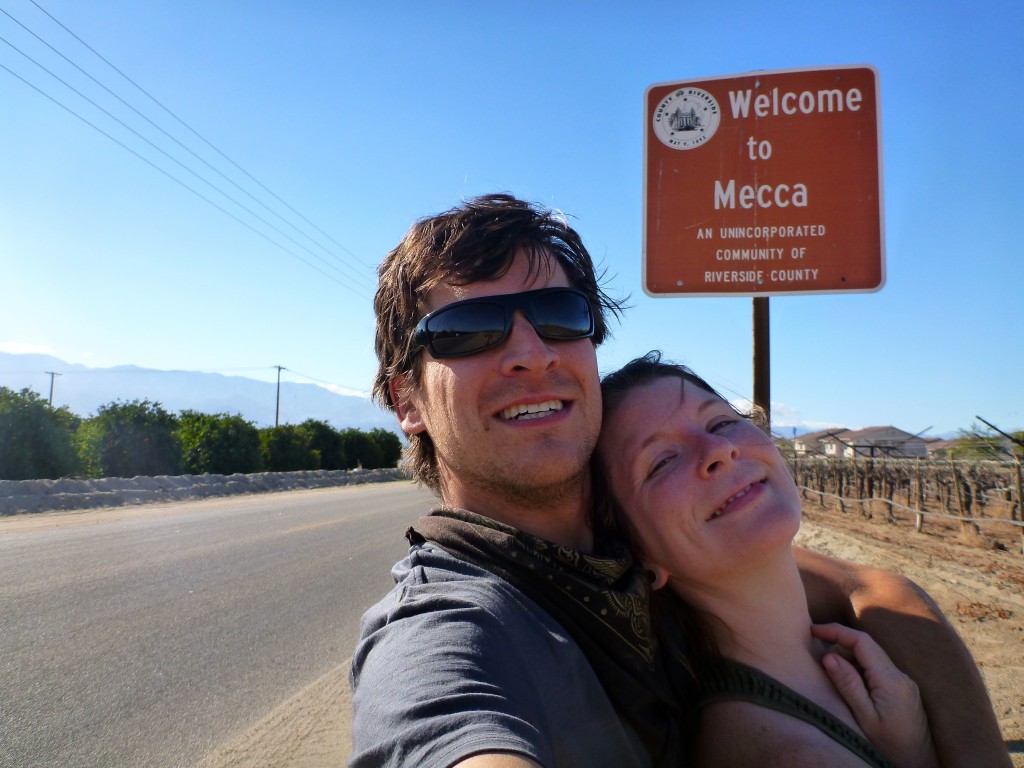
Miya and I have a habit of visiting places with identical names to larger, more famous places; in 2011 we visited Moscow and Paris, both in Idaho.


salvation mountain!
salvation mountain!

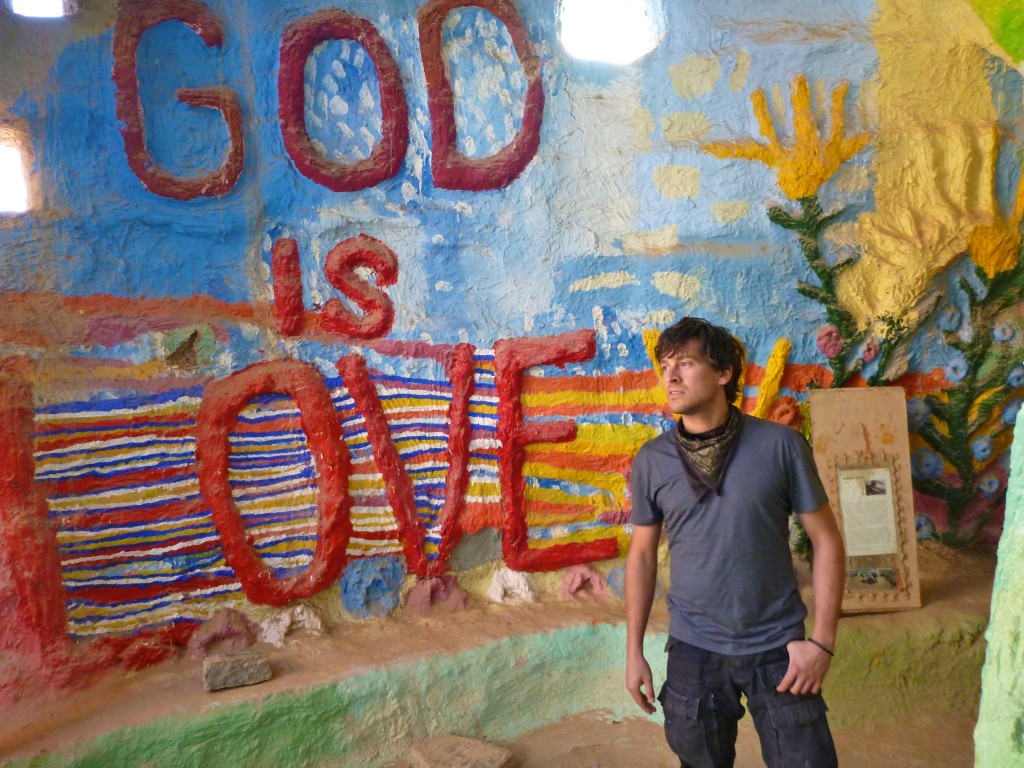
Salvation Mountain, at the entrance to Slab City (as seen in the movie “Into The Wild”) was probably the highlight of the epic January road trip. The life’s work of a devout born-again Christian artist, the mountain is made from found materials, mostly dirt, hay bales, wood and leftover paint… lots and lots of paint.

Slab City was fascinating as well, though less photogenic – a squatter community in the desert, completely off the grid and self-reliant, on concrete slabs left over from an abandoned military base. I could see myself spending time there, especially if it were with a group of like-minded adventurers.


Rich recording voiceovers

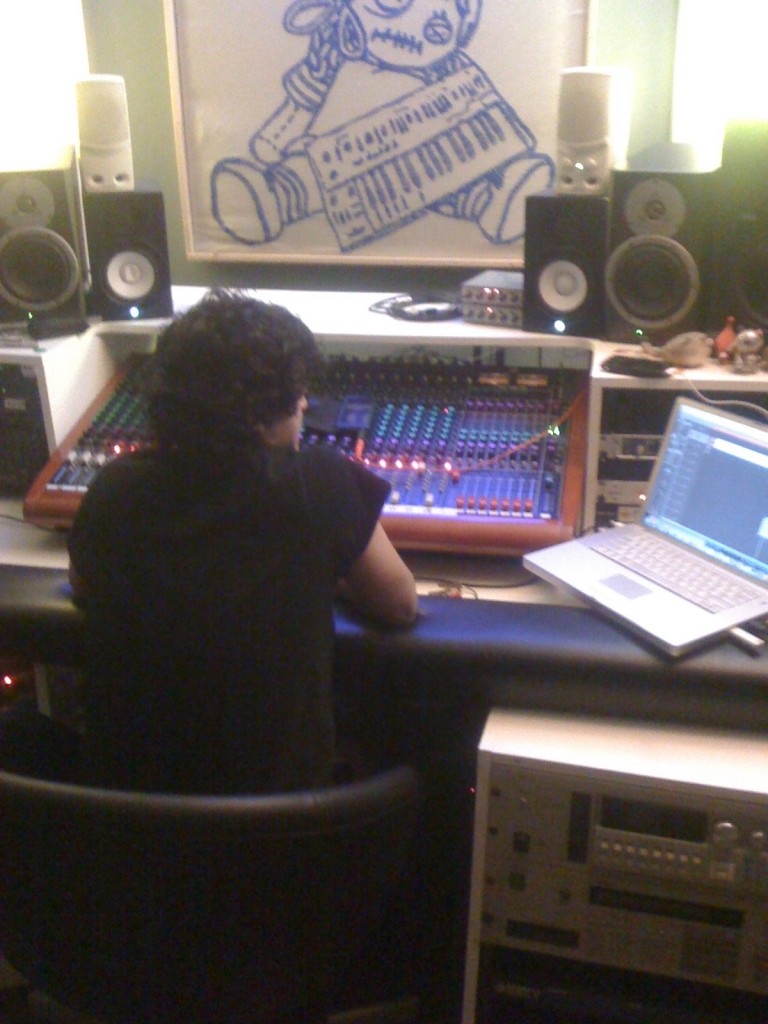
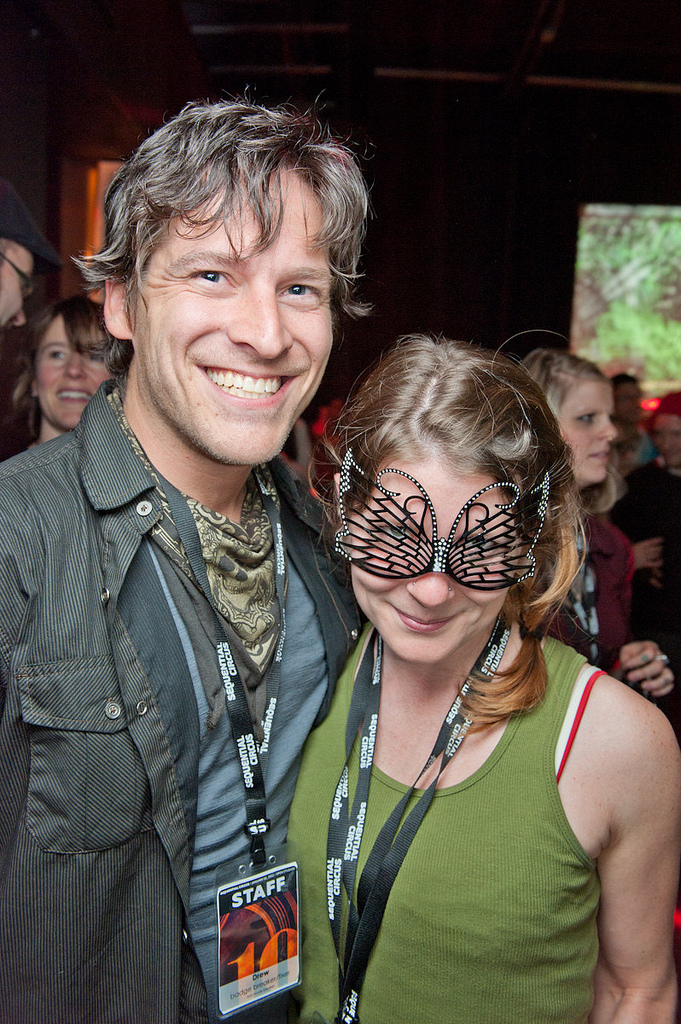
Following the trip to Arizona, we jumped a plane and headed to Vancouver to help throw Sequential Circus 10, an event series that I’ve been throwing (well, with the heavy assistance of a group of close friends and dedicated volunteers) for the past five years or so. In this photo, Rich Hamakawa is recording voiceovers (in the booth, the vocal talents of France Perras) for use as the introductions on each of the podcast recordings. Sitting in the TopFloorUnderground studios with good friends and a bottle of nice tequila is a fine way to spend an afternoon.


photo by Luke Szczepanski

I have to admit, we do throw a helluva party. This is Drew ‘Vespers’ Betts performing for a packed dancefloor. All of the performances at Sequential Circus shows are live acts.


another excellent photo by Luke Szczepanski

Much fun was had by all – thanks for the great photos, Luke! Much more of his most excellent work can be found on his Flickr site.


Miya working on the garden

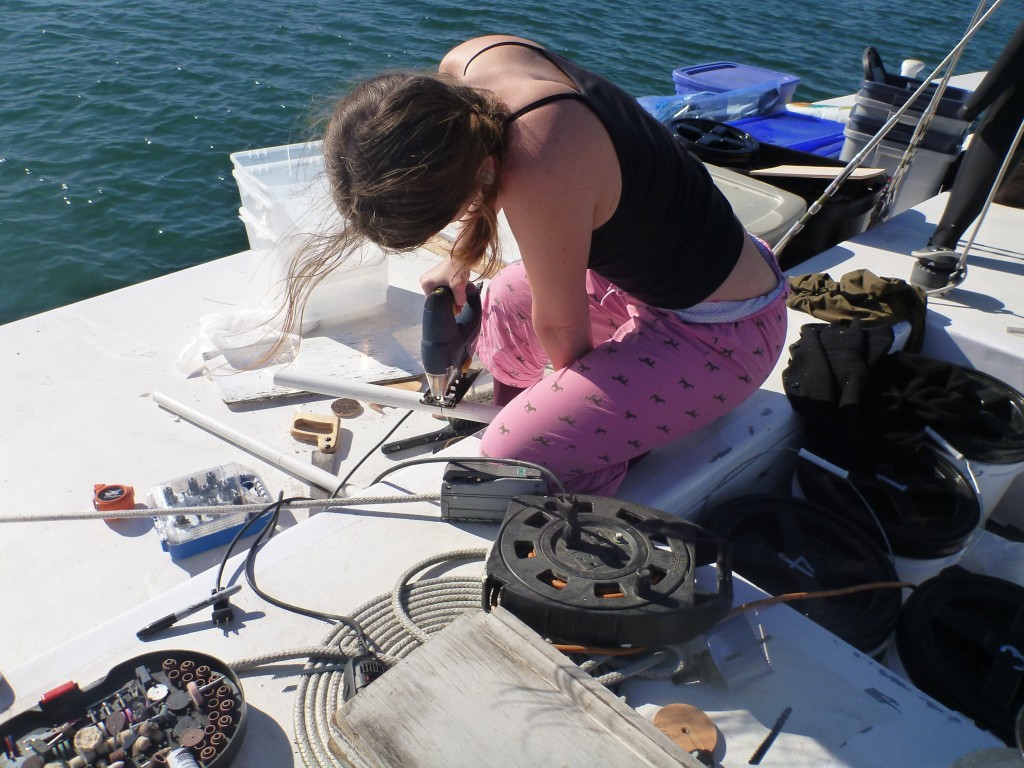
Back to San Diego and back to the grind – with only a few short days left until we left, I had my hands full with important travel-related boat projects, like finishing the water maker install and getting the ham radio up and running and retrieving up-to-date weather info. Miya took advantage of the boat being in “project mode” to make a mess on the deck, building her custom garden boxes. It’s worth noting that Miya’s blog, http://www.thenomadist.com, has lately been far more up-to-date than my own. 🙂


installing the through-hull for the water maker

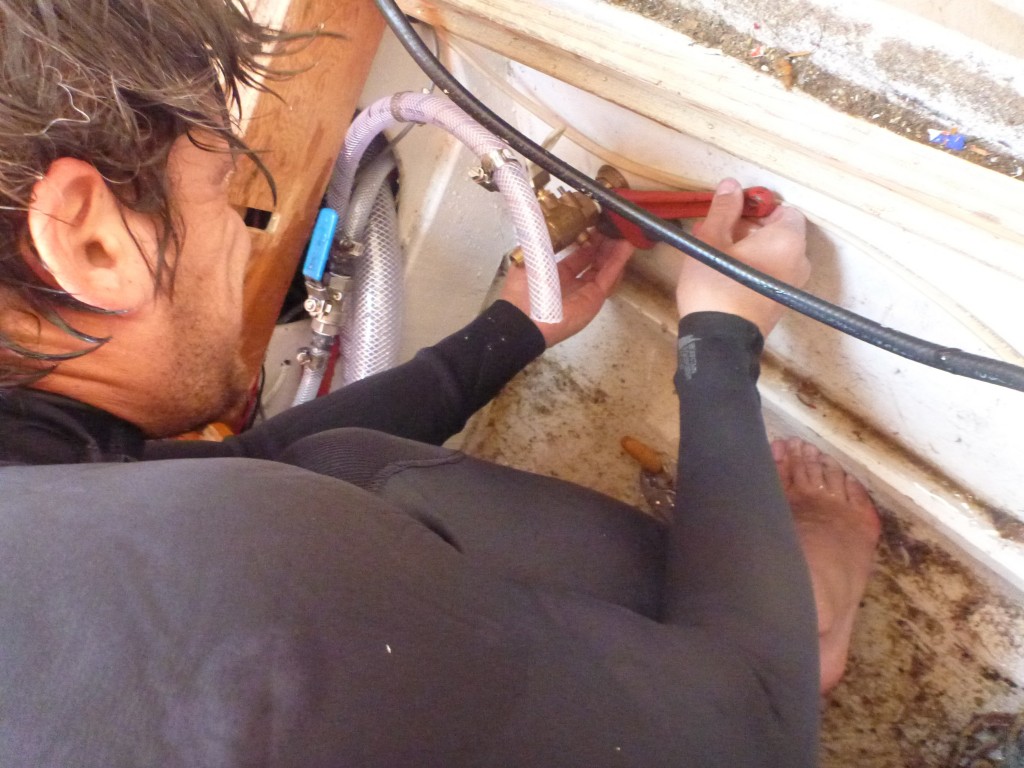
The hardest part of the install was the through-hull that needed to be installed below the waterline. Normally this would require a haul out, but we decided to try it in the water. I plugged the new brass scoop fitting with a small softwood plug, got all the tools and fittings ready, and then did the unthinkable: I drilled a hole into the bottom of the boat directly into the ocean!

I figured that given the balmy San Diego weather the water would be warm enough to do the install in just my swimsuit, but once I jumped in I quickly changed my mind and switched to my wetsuit. In the end verything went smoothly, and overall we only had about four litres of seawater pour into the bilge.


project day, viewed from above

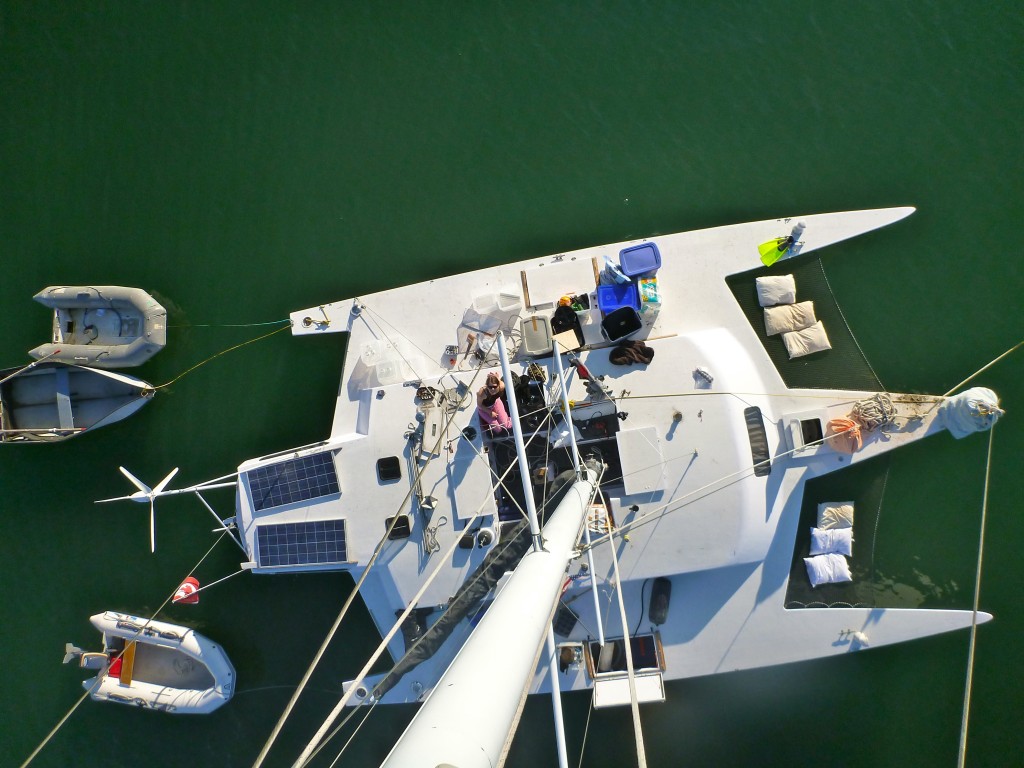
The project days were fruitful, and if you click into this photo you can see many of them on the go – the flippers on the deck from the water maker install, the detritus from the garden construction, pillows out on the bow nets to air out, the blue bins of winter clothes out in preparation for cold offshore nights, the new Achilles dinghy and the old Zodiac dinghy alongside our venerable folding “beater” row dinghy… so much going on in this photo!

And that brings us to the end of January! One more blog post to go and I should be actually up to date and back to posting about things as they happen, instead of posting about them two months later…