Given that we’re a few hours away from 2011, I guess I should probably clear this posting out of my ‘drafts’ folder! This is the third and last installment of the ‘Summer Vacation’ blog series; the series of photos showing the brutal amount of work done to Tie Fighter over the summer months.
If by some chance you missed the June and July editions, I recommend you read those first. Without further ado:
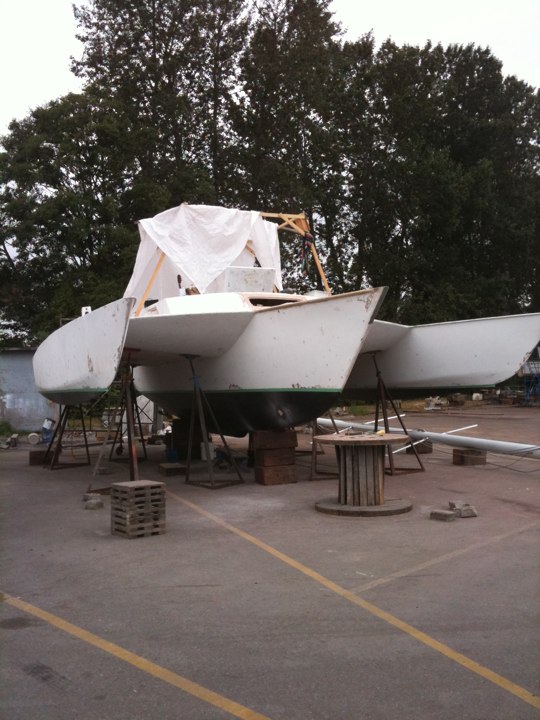
With the sanding finally finished, it was time to re-tape the hull and apply the primer paint. A darker shade of gray paint was chosen, because while white paint reflects the visible spectrum of light and doesn’t absorb heat, it still allows ultraviolet light to pass through which will eventually destroy the fiberglass. The pigment in the gray primer absorbs the UV light, protecting the fiberglass underneath.
In this photo you can also see the patched hole in the hull near the main bow, where I removed and replaced the oddball old, seized 2″ ball valve for the head output with a proper 1.5″ stainless valve. While I had her out of the water I replaced all of the old ball valves with new stainless valves, and removed and sealed up two that weren’t used anymore… the handle on one of those ball valves had rusted completely off and the outlet had been capped off with a copper pipe cap. I have no idea what that through-hull was for originally but it obviously hadn’t been used in years and was a liability.
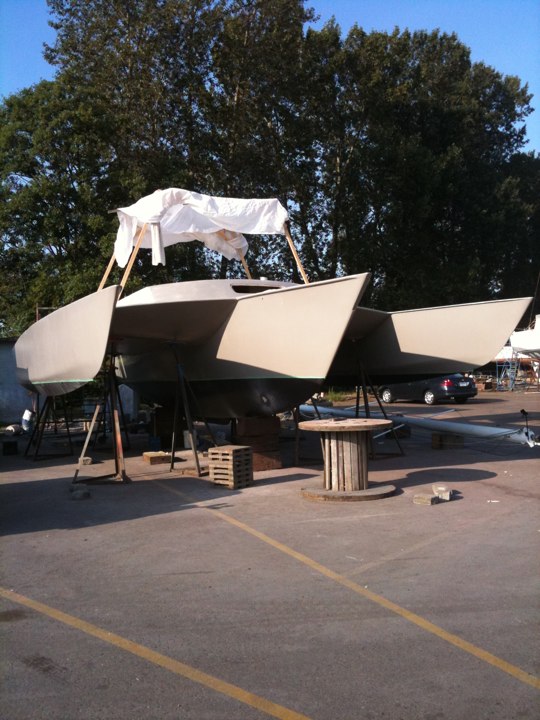
This is what Tie Fighter looked like primed with the military gray paint. I loved the way she looked, and if it were possible I would have left her this way – the problem is that as a wooden boat, she has to be painted white. Anything darker absorbs heat, and causes the wood hull to expand and contract, which will eventually cause the fiberglass to separate from the hull. If that happens, moisture (via condensation) will form between the fiberglass and the wood, and eventually the whole boat will rot from the inside out. So yeah. White.
Pity though! I wished I could have just painted a big white number on the side and left her this way – she’d look like a Canadian warship!
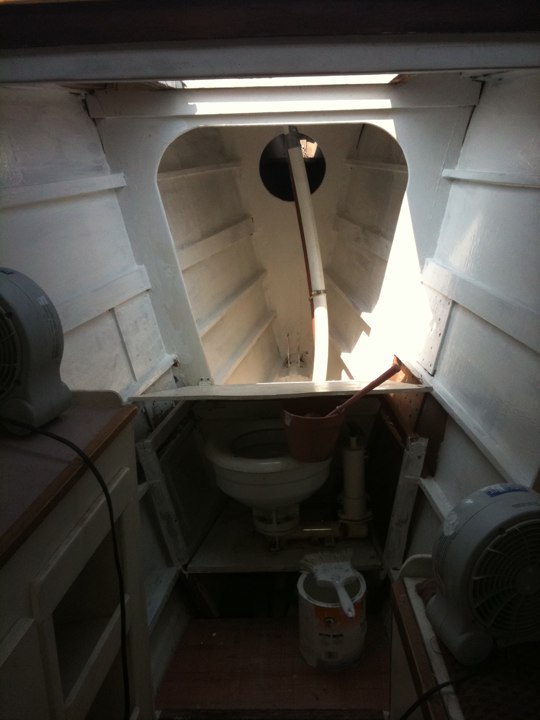
While she was up on the hard I might as well use some of the extra epoxy paint to update the insides… here’s the head, prior to ripping out the toilet, pedestal, floor and… well, everything really. The head is much nicer now, as you’ll see in later photos…
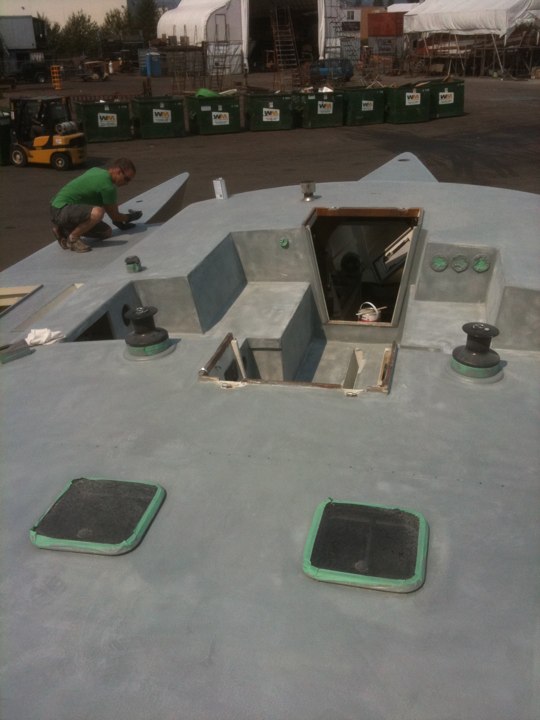
After the first coat of primer went on, the whole boat had to be sanded again and wiped down with solvents before the second coat.. Those sanders went through hell and back, and the solvent fumes made us dizzy and melted several pairs of rubber gloves.
In the background you can see that it’s garbage day in the boatyard; all the dumpsters are being lined up right across from Tie Fighter, so that the garbage trucks could spend an hour making a huge racket at 5am. By August we didn’t even hear them anymore – after long hard days in the sun, sleep was deep.
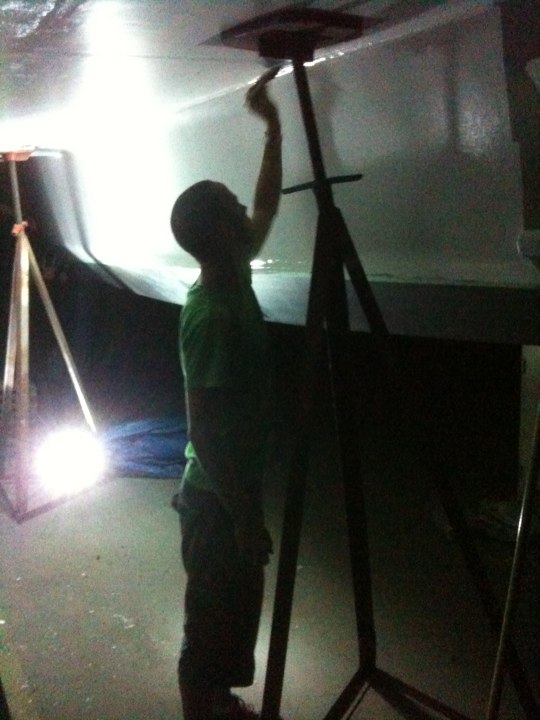
Once the second coat of primer was on and sanded, it was time to put on the first coat of the finish paint, Interlux ‘Brightside’ white. The paint is a single-part polyurethane – which we now know isn’t a good thing to put over top of a two-part primer (ie, paint that comes in two cans, a base and an ‘activator’, which need to be mixed together before application). Brightside gives a very professional-looking finish when “rolled and tipped”; first the paint is applied with a roller, and then you lightly brush over it with a foam brush to knock out all the tiny bubbles, leaving a sexy, glossy finish. When we finally figured out how to do it properly we worked long into the night painting the hulls, fighting off the swarms of mosquitoes from the nearby swamps that showed up every night as soon as the sun went down.
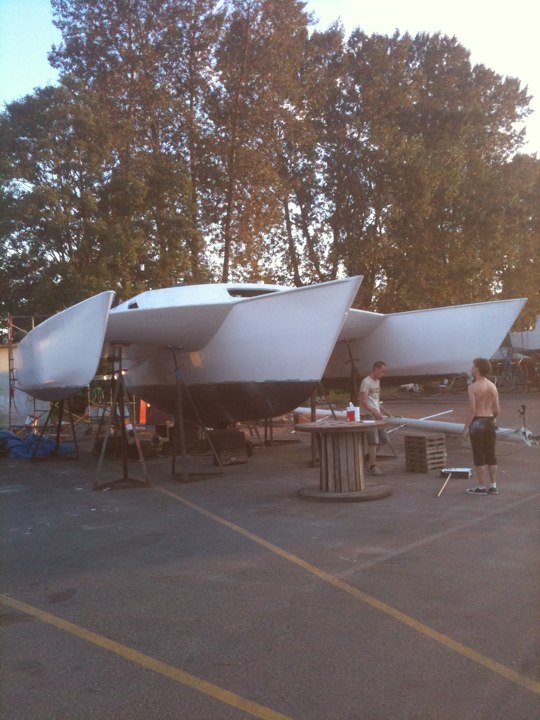
Within a couple of days, the whole boat was shiny and white. At this point, however, catastrophe struck – the paint on the bottom and hull was drying properly, but the topsides didn’t seem to be drying at all!
I don’t have clear memories of the next few days – I do remember being brought closer to tears of frustration than I have been in many years. Dark times indeed.
At least the paint on the hull sides and bottom seemed to be drying properly… the primer used there had been a two-part epoxy primer by Interlux, but the topside primer was a two-part epoxy from a different company, and as far as we could tell it didn’t dry the same as the paint on the bottom, and the off-gassing of the primer drying caused “solvent entrapment”, causing the Brightside to still be tacky three days after application.
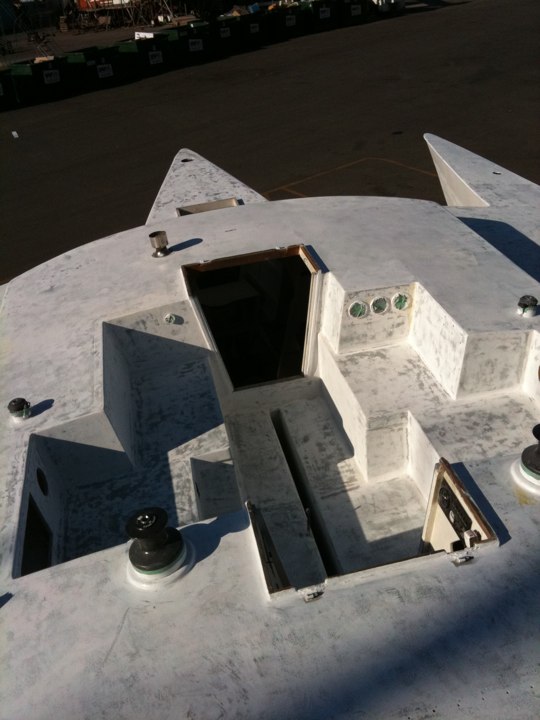
We had no choice but to sand all the new white paint off and start over from the primer again. Two more solid days of sanding nonstop, and we were back to square one. Sanding gummy, partly-dried paint is way more work than sanding old, dried paint, and we went through hundreds of sanding discs.
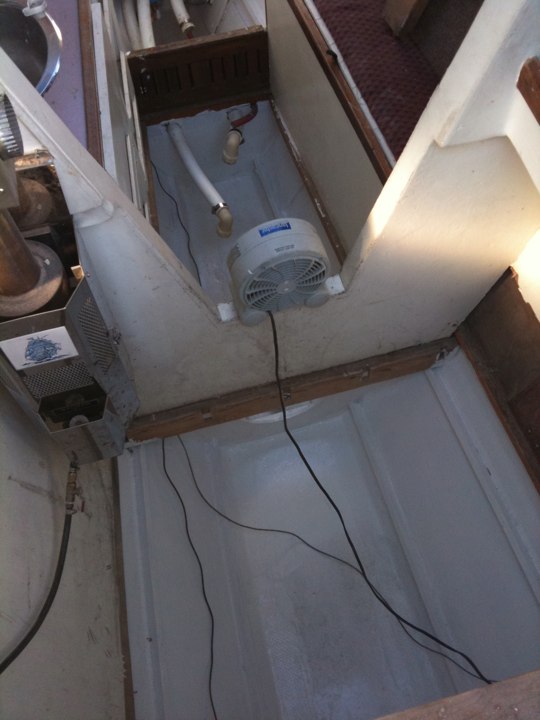
Since there were three of us sanding, but only two sanders, we took the time to gut the bilges in the forward cabin and apply a couple of coats of thick, tough Interlux ‘BilgeCote’ epoxy paint. Wow – the bilges went from a dark, dirty, scary gutter to a reasonably nice place for extra storage!
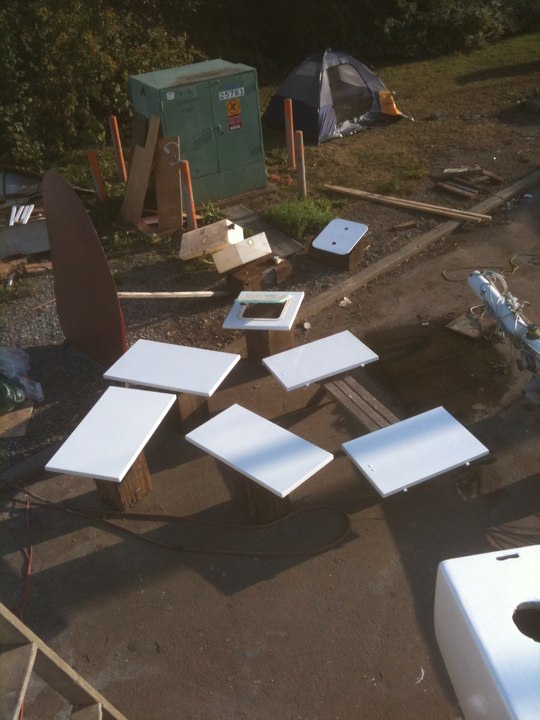
I had nearly forgotten about the hatch covers – all of them needed minor repairs, a good sanding and several coats of paint. A few days of work and they were shiny and new again.
In the background is James’ tent, which he lived out of for several weeks.
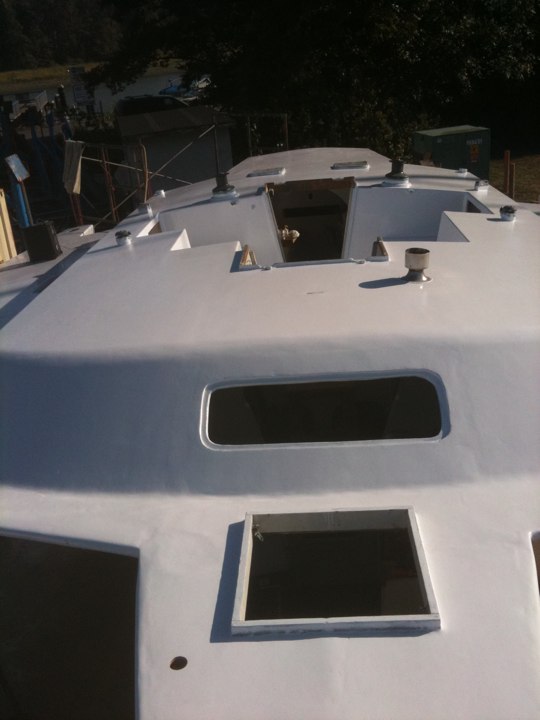
FINALLY, the topsides were painted again – it took far longer than expected, and I got my first sunburn of the summer, working 14-hour days trying to get this goddamned project finished and back in the water!
In this photo you can see the repairs to the front window evident, now that it’s all one color; I thought I had spent enough time sanding the area, but I guess it could have used one more pass with thickened epoxy and another hour or two of sanding.
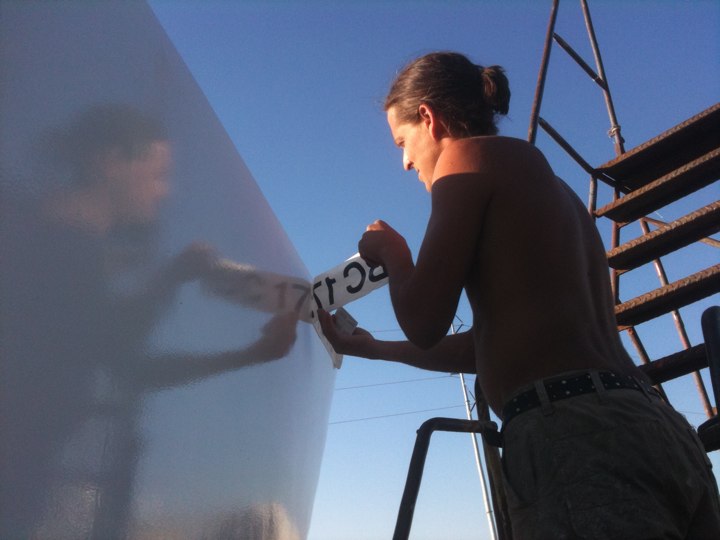
The registration numbers going on, for the first time. The VPD would be pleased about this, since they’d fined me $100 earlier in the summer for not having them displayed. That was my first police fine since a speeding ticket fifteen years prior!
I love how shiny the hull is in this photo!
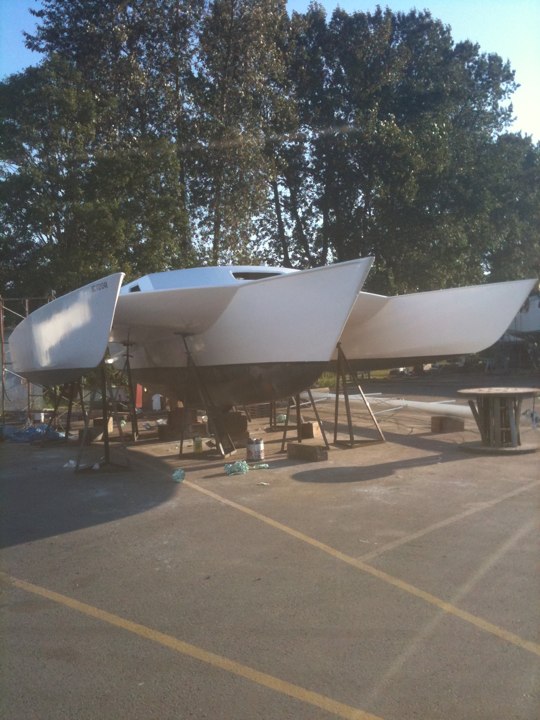
When the tape finally came off, she was looking amazing! I had many boatyard folks come over to congratulate me on the work, saying how impressed they were. Dan, James and I had been working on her nearly every single day since the start of the summer, and it was finally starting to show. Of course, there was still a tonne of work to be done before she could go back into the water – but at least the outside was (mostly) finished…
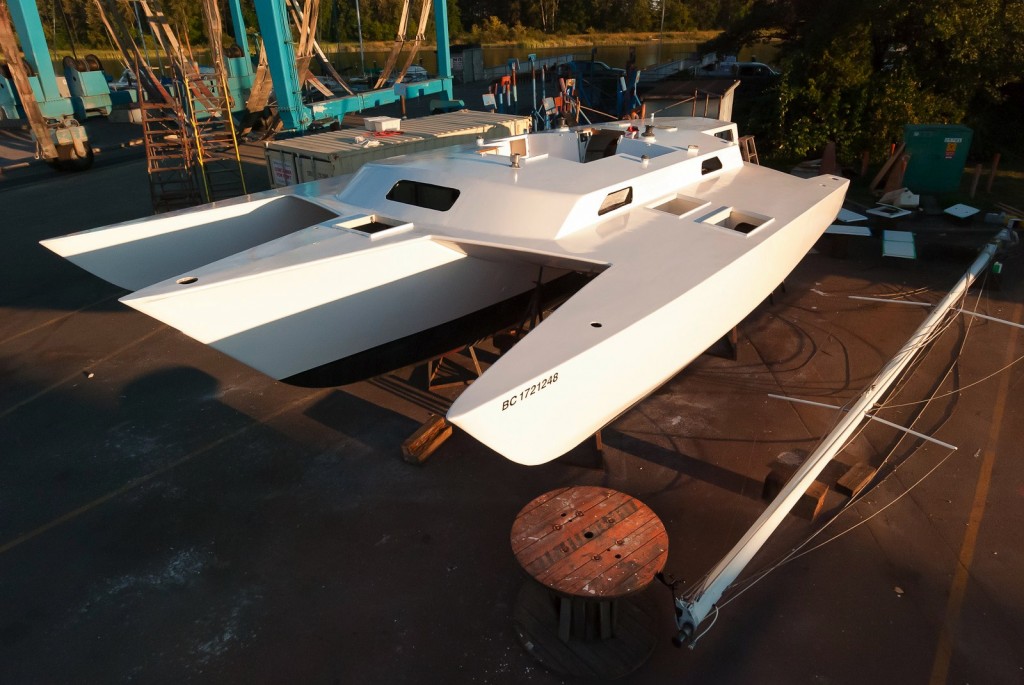
Ernst came out to visit and take a few pics with his fancy camera-on-a-stick rig – a long, extendable monopod with a remote trigger. He got this shot and the next one on a beautiful sunny afternoon.
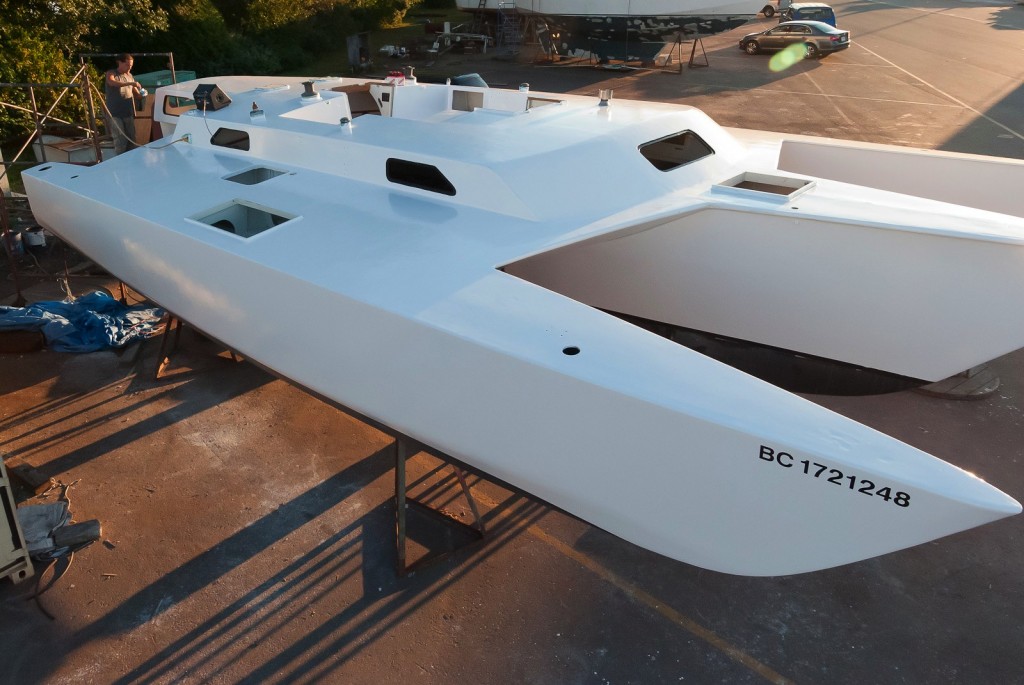
This is probably my favourite shot of the entire summer – she just looks so fast and smooth! The decks are so shiny – of course, we’d still have to apply two more coats of paint yet, a couple of coats of anti-skid paint so that walking across the wet deck wouldn’t result in a swim.
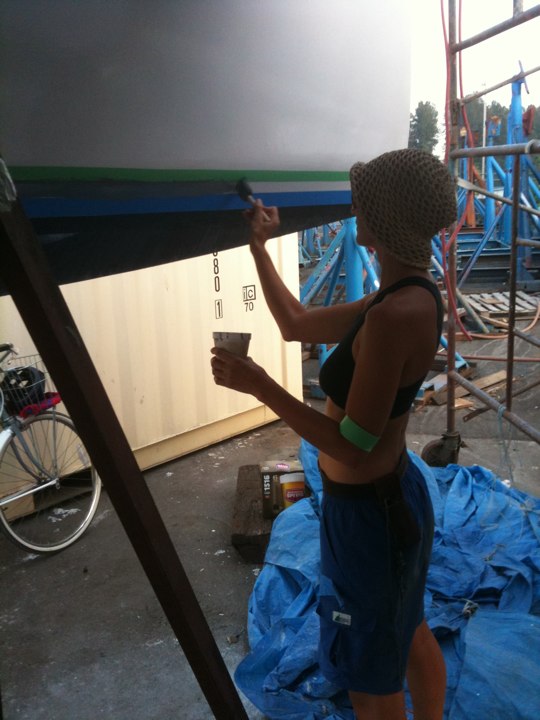
Kym came out and spent a few days in the boatyard to help with the work – she had some time off, and as someone who enjoys working on boats she was happy to help. I put her to work taping off the bootstripe, a just-for-looks stripe around the base of each hull. This was a much larger job than either of us anticipated, and taping alone took almost seven hours!
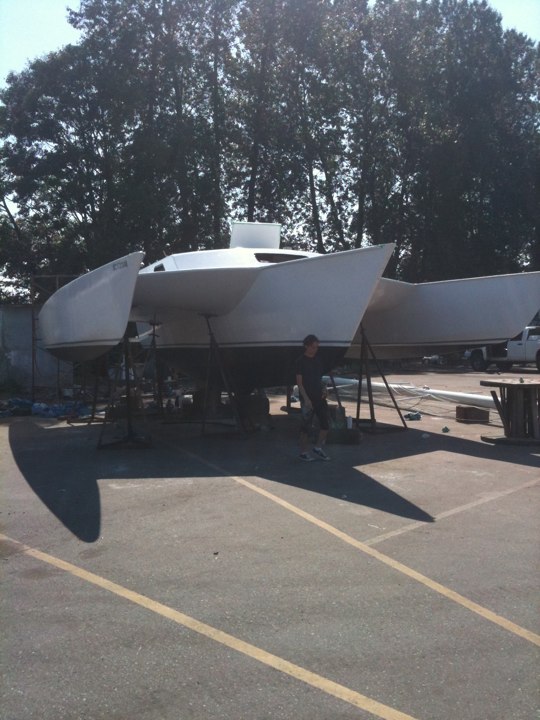
With the masking tape removed, the bootstripe looked fantastic, well worth the effort. The Searunner Construction Manual says that a bootstripe can make the difference between a boat and a yacht.
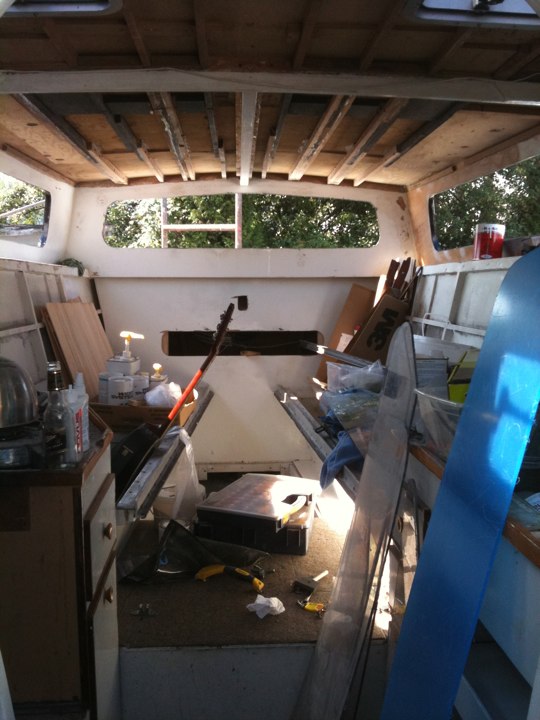
With all the work on the outside, we had pretty much completely neglected the interior of the boat which was still completely gutted. If I had any intention of moving back into the boat as my home there would be a lot of work to be done yet!
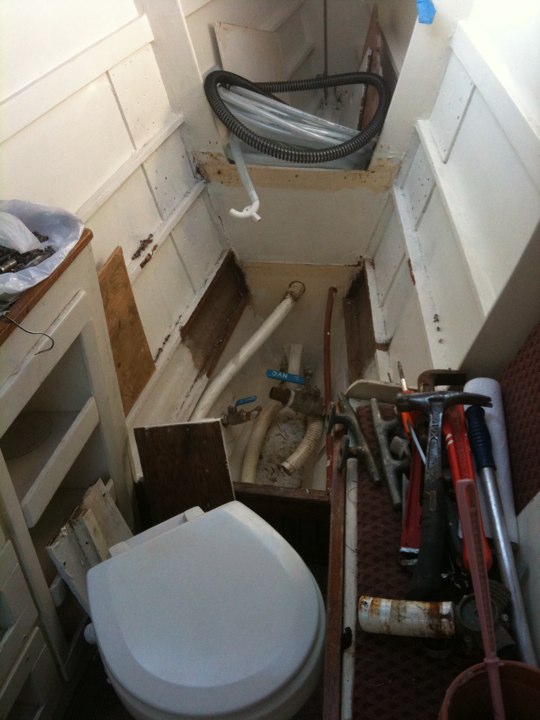
I found a new marine toilet – a Groco ‘Model K’ – on Craigslist for $200 delivered. Given that the Model K retails for over $1000, I thought this was a great chance to upgrade my bathroom facilities, and jumped on the deal. The new toilet was a good 10cm taller than the old one, however, and so the pedestal would have to be lowered – it was as good a time as any to rip everything out and start from scratch.
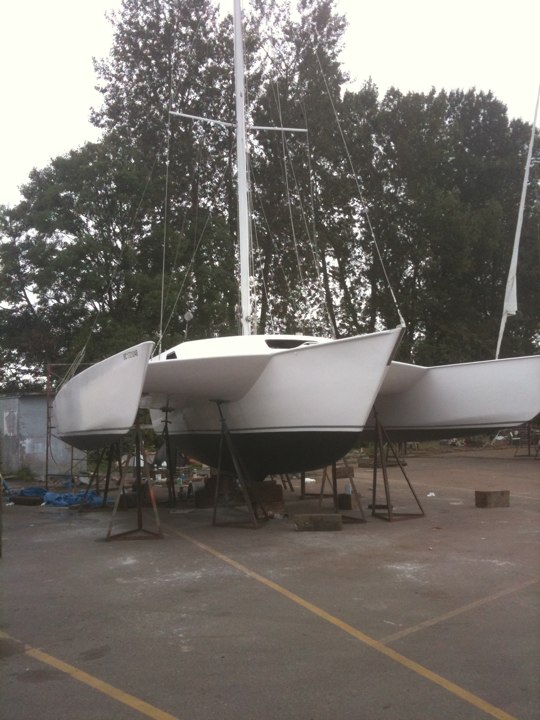
Once the chainplates were reinstalled and the two coats of antiskid paint were applied, it was as good a time as any to get the mast back up. Michael Flynn took the day to come and help re-rig Tie Fighter – his help was welcomed, especially since he’s a professional rigger with a tonne of sailboat experience!

Of course, re-masting the boat left a chunk of rope at the top of the mast. Someone had to go up to retrieve it, so I tied my climbing harness into the mainsail halyard and Michael cranked me up with the main winch while Kym tailed the line. This was the first time I’d ever been up the mast.
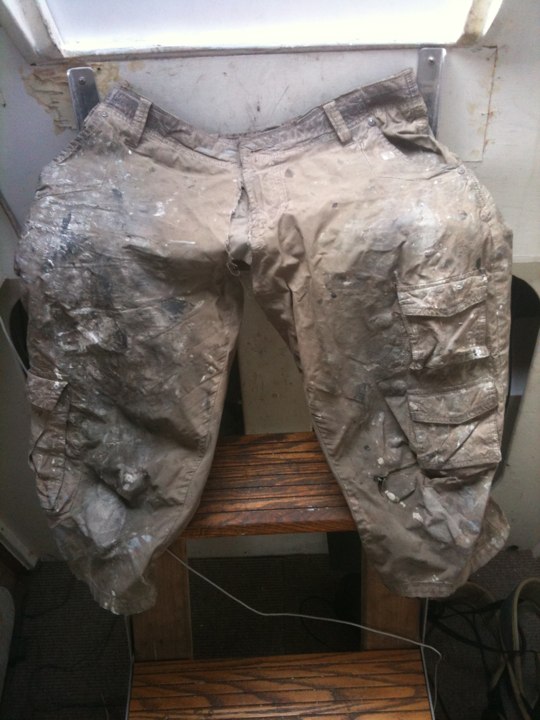
During that day, at some point I was pulling some line and managed to tear the entire crotch out of my work shorts. Last year, I wrecked probably half of my wardrobe when working on the boat – this year, I decided early to designate a single pair of pants as my work pants, and I spent most of the summer in these shorts. By the end, the legs were so thick with paint and epoxy and sweat that they were stiff, and the pants could almost stand up on their own!
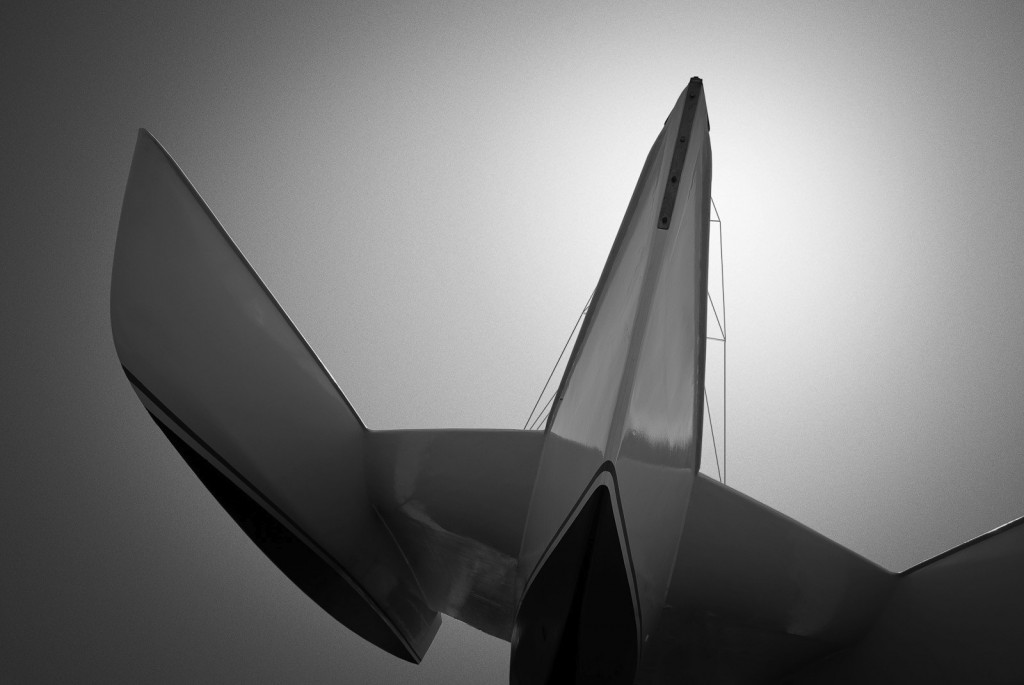
Ernst came out again to take a few more shots of Tie Fighter – I finagled him into helping me reinstall the centerboard at this point, which was a brutal job – the centerboard trunk is approximately three meters long by two meters deep, and there’s a 3cm hole in the centerboard itself which needs to match up to a pair of 3cm holes found deep in the bilge. The process of reinstalling the centerboard is much like threading a needle, only with the needle being 100kg and needing a winch to move it. After several hours trying, Ernst came up with the final solution which was to draw arrow lines radiating out from the centerboard’s hole, and to look into the trunk with a flashlight to see the lines. Once the lines were drawn, we had the centerboard lined up and the holding pin installed within minutes!
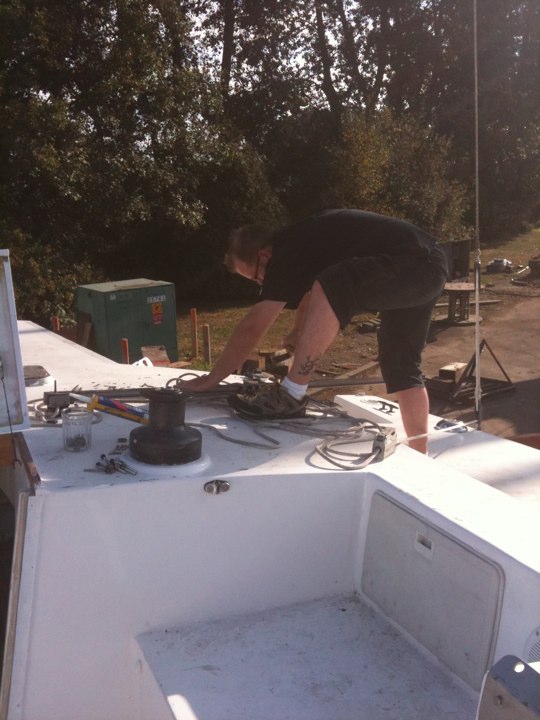
My brother-in-law Scott came out to help with a few of the final rigging tasks, between working and school. Here he’s lining up the bolt-holes on the traveler.
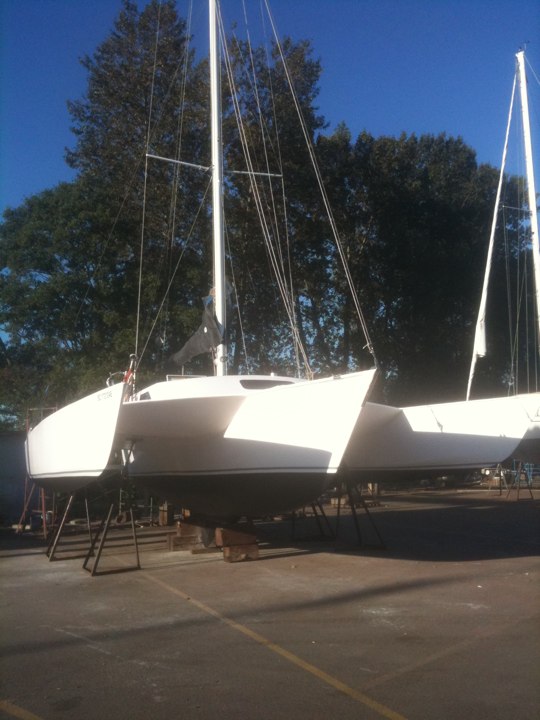
FINALLY, she was ready to go back into the water. I was filled with pride – this was by far the largest and most difficult project I’d ever been a part of, much less in charge of. I took this final photo – you can see my bicycle aboard, ready to go back to living on the water.
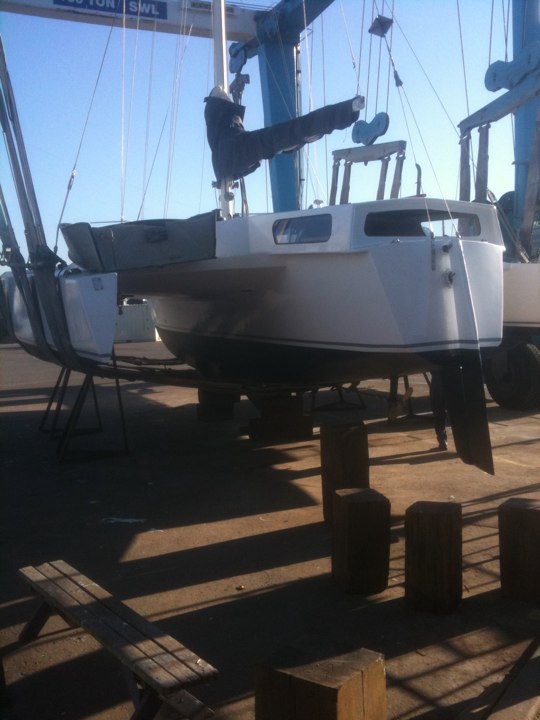
The dinghy was lifted back up onto the deck by a friendly forklift operator, and the lifting straps were put into place…
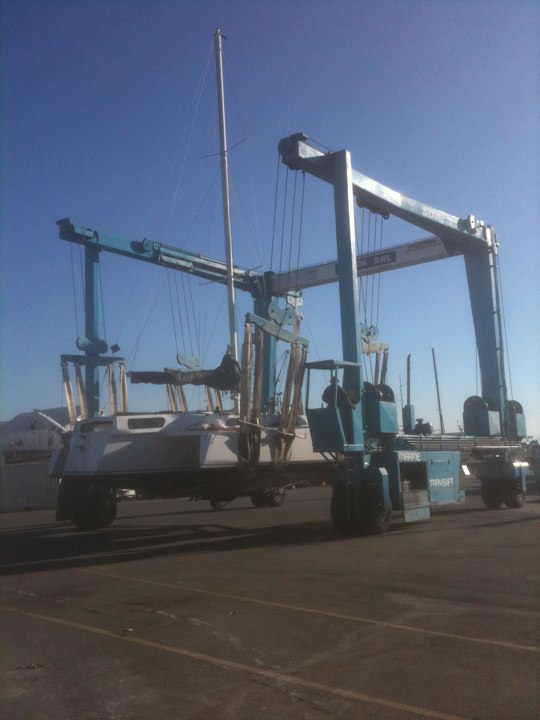
Across the yard we went!
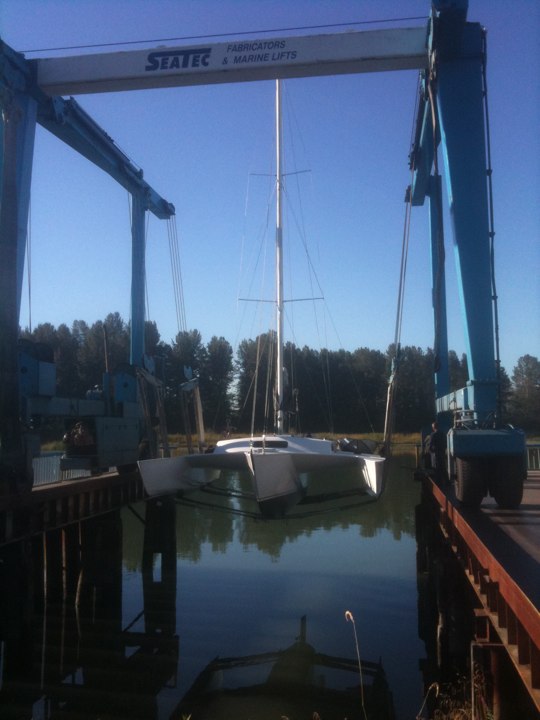
On August 24th, bright and early in the morning, Tie Fighter finally went back into the water. Fortunately, she floated and all of the hull repairs proved to be watertight. Unfortunately, we hadn’t had a chance to do any engine work yet, and so I couldn’t really do much besides motor down a few hundred meters and dock at C-dock, where I would spend the next two months continuing to repair and upgrade the inside of the boat.
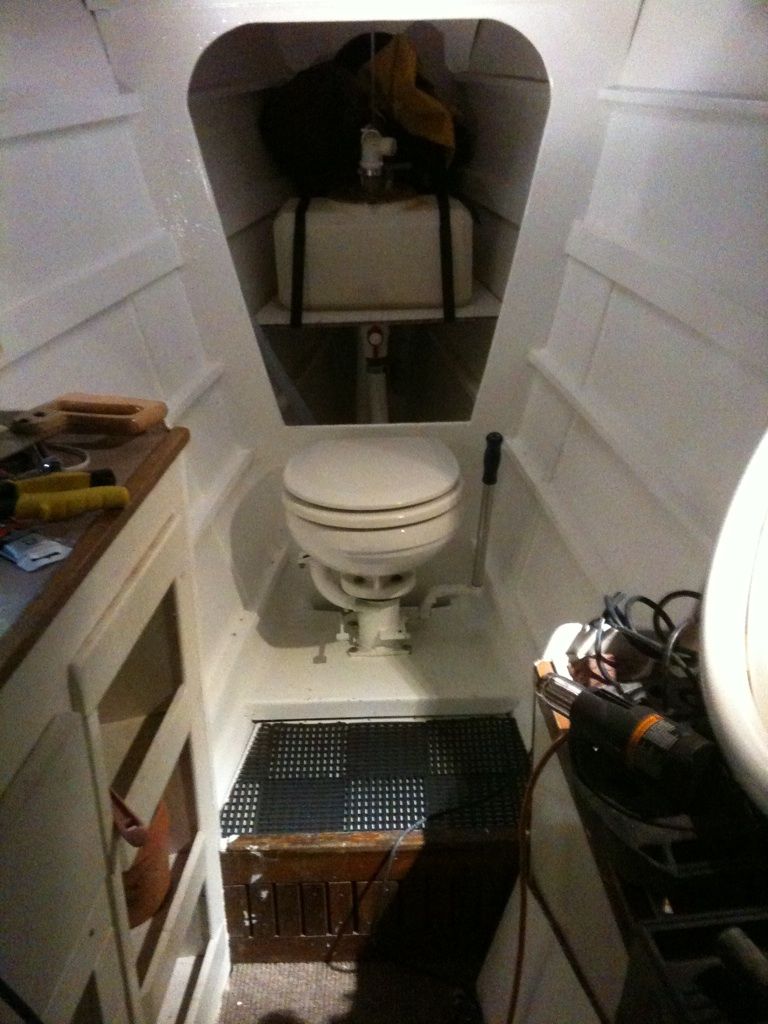
At C-dock, I had time to finish the head. Here’s a shot of the toilet installed, with the holding tank plumbed and secured to a shelf with ratcheting tiedown straps. Technically this photo is from mid-September, but I figured it would be best to include an “after” shot, given the two or three “before” pics.
As the summer came to an inevitable close, I spent a lot of time feeling bitter about the fact that I had spent the entire warm-weather months doing something that I thought would be completely finished before the summer even started. I had really wanted to spend the summer living the Vancouver lifestyle, bouncing from beach party to afterparty, sailing as much as possible, and having a great time. Instead it was several months of hard labour ,while paying through the nose for the privilege of doing so. It was my friend Dan Ross who set me straight; I was complaining about the loss of the summer when he said something like
“Actually”, he said, “I have to say, this has been probably the most interesting summer of my life – I’ve learned a tonne of new stuff, and been a part of a large project that we finished. I can’t say I have a single complaint.”
I was broadsided by that statement but when I thought about it I had to agree. It was the most interesting summer in memory, and at the end of it all I have my home to to show for it. She still has a tonne of work to be done, but she’s solid, stable and floating, and eventually she’ll take me wherever I want to go. The weakest link in the chain is me, and that’s a lesson – paid for dearly – that I’ll always have.
